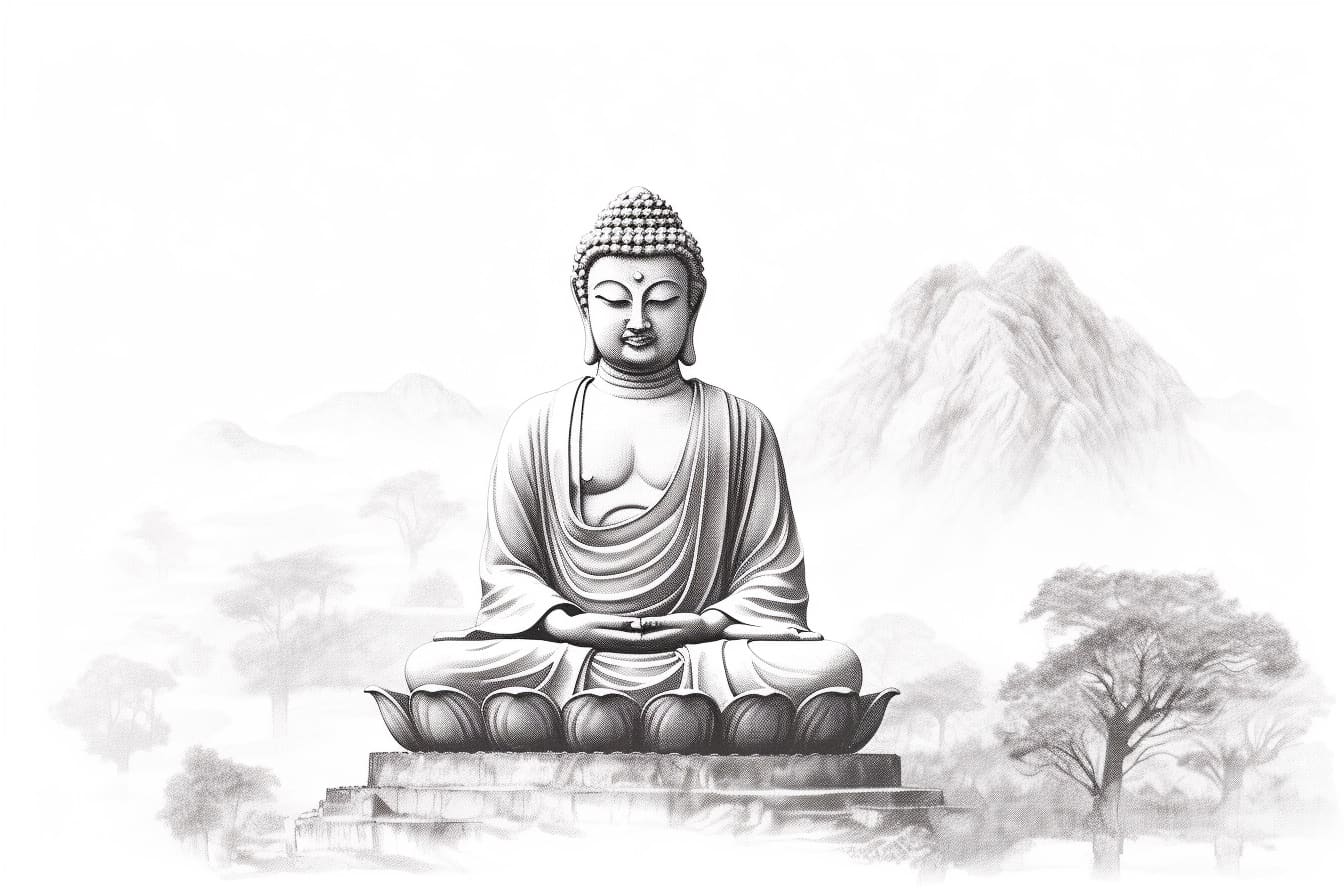
Drawing is a wonderful form of self-expression and creativity. If you’re interested in drawing religious figures, learning how to draw a Buddha can be a rewarding experience. Buddhas are often depicted with serene expressions, symbolizing peace and enlightenment. In this tutorial, I will guide you through the process of drawing a Buddha, step by step.
Materials Required
Before we begin, gather the following materials:
- A pencil
- A eraser
- Drawing paper
- Colored pencils or markers (optional)
Now that we have our materials ready, let’s get started!
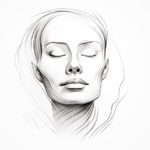
Step 1: Sketching the Head and Face
Begin by lightly sketching an oval shape for the head. This will serve as the foundation for the Buddha’s face. Next, draw a vertical line down the center of the oval, starting from the top and ending near the bottom. This line will help you position the facial features accurately.
Step 2: Adding Facial Features
To draw the eyes, place two almond-shaped ovals along the vertical line, leaving some space in between. These eyes should be slightly slanted and have an overall calm expression. Add curved lines above each eye to represent the eyebrows.
Moving on to the nose, draw a small, straight line just below the center of the oval. Then, add a curved line under the nose to represent the mouth. Keep the mouth small and gentle, reflecting the Buddha’s peaceful nature.
Step 3: Shaping the Head
Now that we have the facial features sketched, let’s define the shape of the head. Start by drawing curved lines that connect the outer edges of the oval to the bottom of the face. These lines should create a gentle curve, emphasizing the peaceful nature of the Buddha.
Step 4: Drawing the Ears and Hair
Buddhas are often depicted with elongated earlobes, symbolizing wisdom and enlightenment. To draw the ears, add two elongated loops on either side of the head, just below the eyes. These loops should start from the level of the eyebrows and end slightly above the bottom of the oval.
Next, draw the Buddha’s hair. Create a wavy pattern around the head, extending it slightly beyond the oval shape. Take your time to add details and give the hair a flowing and peaceful appearance.
Step 5: Adding Decorative Elements
To enhance the drawing, you can add decorative elements such as a halo or a crown. A halo symbolizes enlightenment, while a crown represents wisdom and spiritual authority. Place the decorative element above the Buddha’s head, aligning it with the shape and size of the head and hair.
Step 6: Refining and Erasing Guidelines
Now that you have the main features sketched, take a step back and observe your drawing. This is the perfect time to refine any areas that need adjustments. Use your eraser to remove any unnecessary guidelines and clean up the drawing.
Step 7: Coloring (optional)
If you prefer, you can add color to your drawing using colored pencils or markers. Traditional Buddha drawings often feature vibrant colors, but you can choose any color scheme that you find appealing. Consider using soft and calming colors that complement the serene nature of the Buddha.
Conclusion
Drawing a Buddha requires patience, attention to detail, and a focus on capturing the peaceful essence of this spiritual figure. By following these step-by-step instructions, you can create a beautiful representation of a Buddha. Remember to use your creativity and adapt the drawing to your own style.
Drawing religious figures can be a meaningful and fulfilling artistic practice. I hope this tutorial has been helpful in guiding you through the process of drawing a Buddha. Enjoy the journey of creating art and exploring your own creativity!