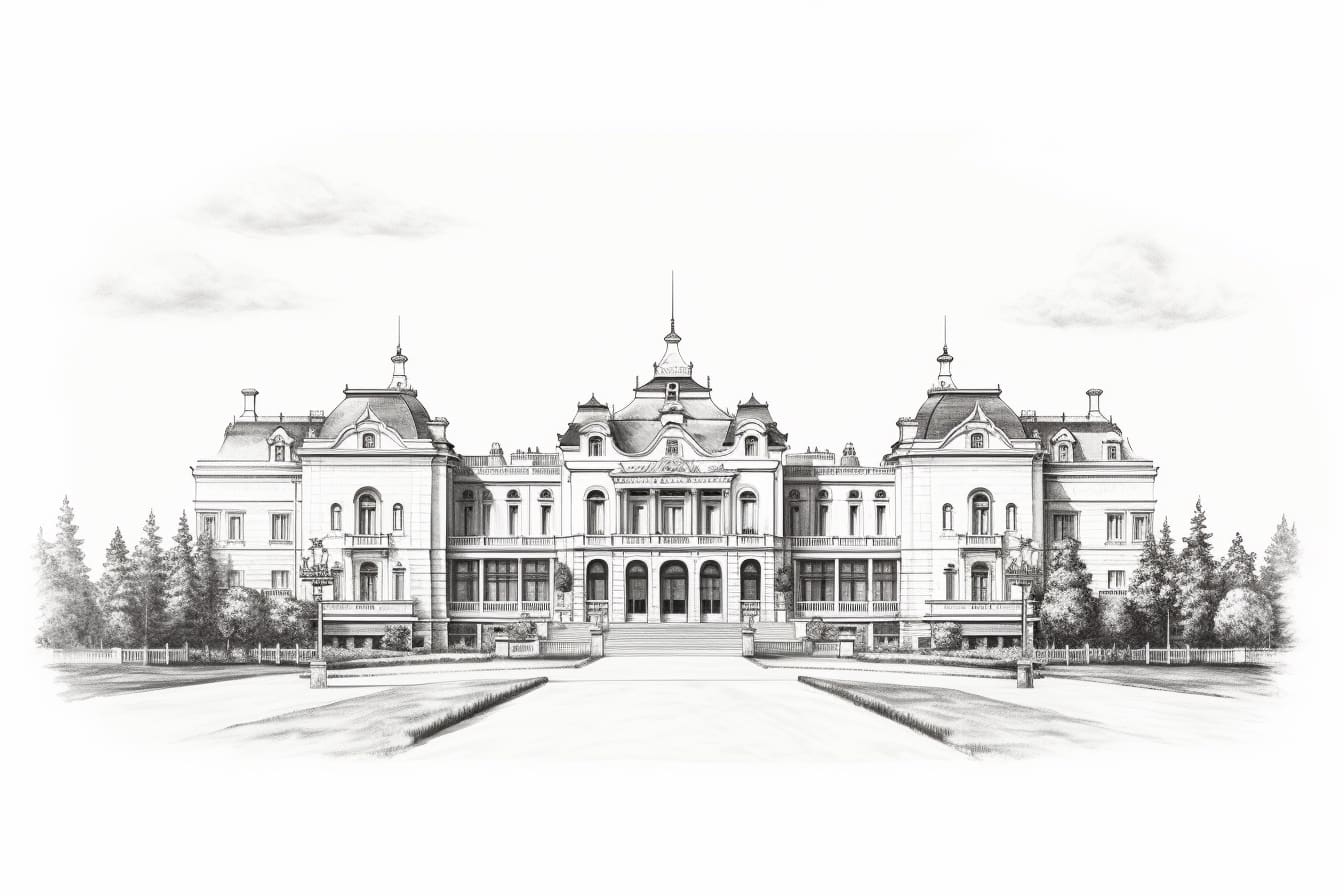
Welcome to this step-by-step guide on how to draw a palace! In this tutorial, I will walk you through the process of creating a stunning palace drawing from start to finish. Whether you are a beginner or an experienced artist, this guide will provide you with the necessary instructions to bring this architectural wonder to life on paper. So, let’s get started!
Materials Required
To begin with, gather the following materials:
- A set of drawing pencils (ranging from 2H to 6B)
- Drawing paper or sketchbook
- Eraser
- Ruler
- Compass
- Set square or triangle
- Drawing board (optional but recommended)
Now that you have everything you need, let’s dive into the steps!
Step 1: Start with Basic Shapes
Begin by lightly sketching the basic shapes that will form the foundation of your palace. Start with a rectangle for the main structure, and then add smaller rectangles for the wings or additional buildings. Use a lighter pencil, such as a 2H, for this initial sketch.
Step 2: Add Details to the Main Structure
Using your ruler, start adding more details to the main structure of the palace. Draw lines to indicate the edges of the walls and windows. Remember to keep your lines straight and parallel. Use a 2B pencil to make these lines more visible.
Step 3: Create the Roof and Towers
Next, focus on creating the roof of the palace. Draw diagonal lines from the top corners of the main structure to form a triangular shape. Add smaller triangles for the towers and turrets. Use your compass to create circles for dome-shaped roofs, and add smaller details like windows and decorations.
Step 4: Develop the Facade
Now it’s time to work on the facade of the palace. Add more details such as columns, arches, and balconies. Use your ruler to ensure accuracy and symmetry. Don’t forget to sketch the entrance and any grand staircases that might adorn your palace.
Step 5: Refine the Details
Go back to your initial sketch and start refining the details of the palace. Use a softer pencil, such as a 2B or 4B, to add shading and depth to the different elements of the building. Pay attention to the light source and add shadows accordingly. Also, focus on the texture of the walls and roofs, making them appear realistic.
Step 6: Add Surroundings and Landscaping
A palace is rarely seen in isolation, so let’s add some surroundings and landscaping to complete the drawing. Sketch some trees, bushes, and flowers in the foreground or background. You can also add a path or a fountain to enhance the overall composition.
Step 7: Finalize Your Drawing
Once you are satisfied with the overall look of your palace, go over the lines with a darker pencil, such as a 4B or 6B, to make them more defined. Erase any unnecessary lines and smudge the shading gently to create a smooth transition between light and shadow. Don’t be afraid to add more details or make small adjustments until you are happy with the final result.
Conclusion
Congratulations on completing your palace drawing! By following these step-by-step instructions, you have learned how to create a stunning architectural masterpiece. Remember to practice regularly and experiment with different styles and techniques to further enhance your drawing skills. So, grab your pencils and let your creativity soar as you embark on new artistic endeavors!


