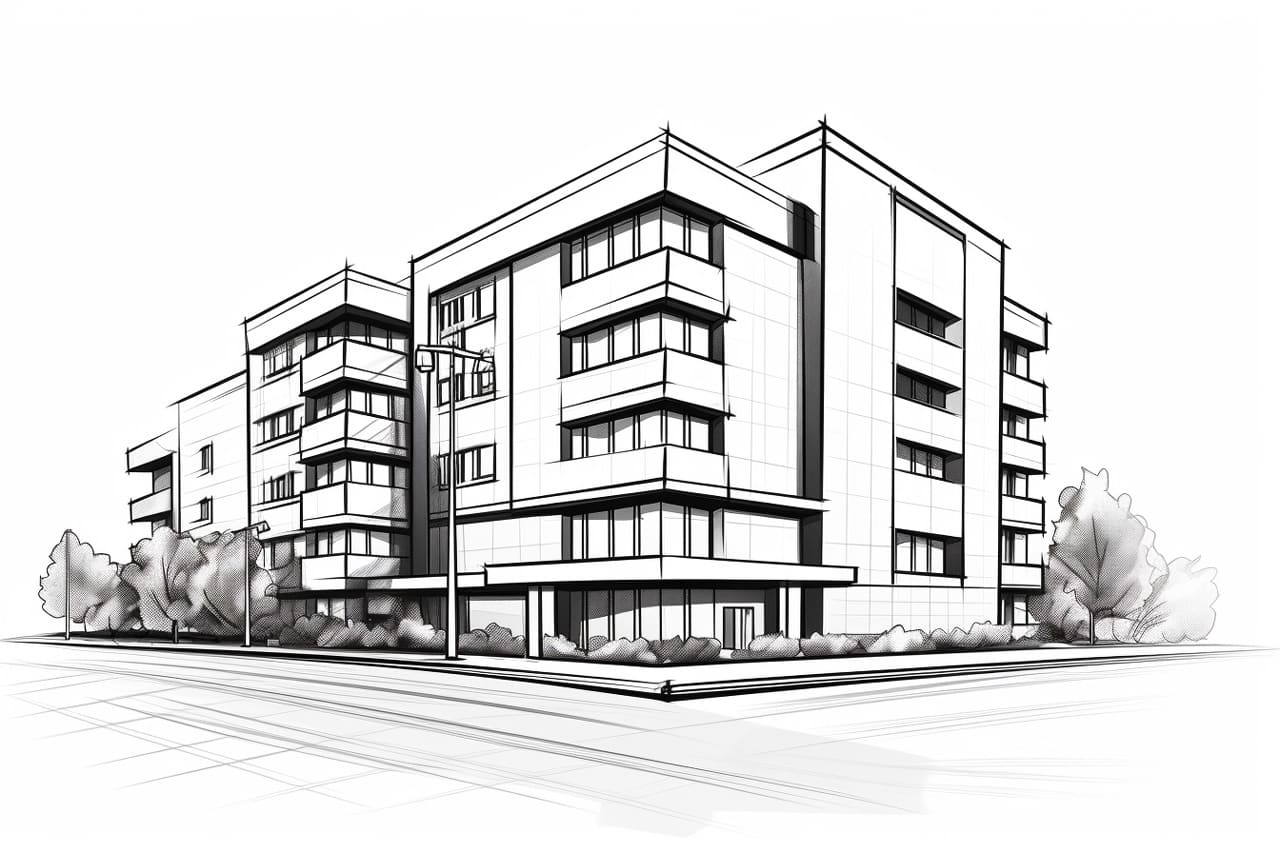
Welcome to this step-by-step guide on how to draw a building! Whether you’re an aspiring artist or just looking to develop your drawing skills, this tutorial will walk you through the process of creating a realistic building drawing. With the right materials and a little patience, you’ll be able to create stunning architectural sketches in no time. So let’s get started!
Materials Required
Before we begin, make sure you have the following materials on hand:
- Sketchbook: Choose a sketchbook that has good-quality paper, preferably with a heavier weight to prevent bleed-through.
- Pencils: Use a range of graphite pencils, such as 2B, 4B, and 6B, to achieve varying degrees of shading.
- Eraser: Have a soft kneaded eraser or a vinyl eraser for correcting mistakes and adding highlights.
- Ruler: A straight edge ruler will help you create precise lines and measurements.
- Fine-tipped pens: Consider using fine-tipped pens such as technical pens or fineliners for adding details and textures.
- Colored pencils (optional): If you want to add color to your drawing, have a set of colored pencils ready.
Now that you have your materials ready, let’s start drawing a building!
Step 1: Gather Reference Images
To draw a realistic building, it’s essential to have visual references. Look for photographs or images of buildings that inspire you. Pay attention to the architectural elements, such as windows, doors, and overall structure. Having a reference image will help you understand the building’s proportions and details.
Step 2: Start with Basic Shapes
Begin by lightly sketching the basic shapes that make up the building’s structure. Use simple geometric shapes like rectangles, squares, and triangles to represent different parts. Focus on capturing the overall proportions and perspective of the building.
Step 3: Add Details
Now it’s time to add details to your building drawing. Look closely at your reference image and start sketching the windows, doors, and any other architectural features. Use your ruler to create straight lines and maintain accuracy. Take your time with this step, as it’s crucial for capturing the unique characteristics of the building.
Step 4: Develop the Lighting and Shadows
To make your building drawing more realistic, you need to consider the lighting and shadows. Determine the direction of the light source in your reference image and shade accordingly. Use your pencils to create subtle gradations of tone, giving your drawing a three-dimensional feel. Pay attention to the areas where shadows fall and where the light hits the building’s surfaces.
Step 5: Add Texture and Details
Now that you have the basic structure and shading in place, it’s time to add texture and details to your building drawing. Pay attention to the different materials used in the building, such as bricks, glass, or concrete. Use your fine-tipped pens or pencils to create textures and patterns. Add small details like window frames, doorknobs, or architectural embellishments to make your drawing more realistic.
Step 6: Refine and Adjust
Take a step back and analyze your drawing. Look for areas that need refinement or adjustment. It’s common for mistakes to happen, especially when drawing complex structures like buildings. Use your eraser to correct any inaccuracies or clean up unwanted lines. Remember, practice makes perfect, so don’t be discouraged if your drawing doesn’t turn out exactly as planned.
Step 7: Optional: Add Color
If you want to take your drawing to the next level, consider adding color using colored pencils. Start by lightly layering colors on areas that need shading or highlighting. Blend the colors smoothly to create a realistic effect. Use your reference image to guide your color choices and maintain accuracy.
Conclusion
Drawing a building may seem daunting at first, but with practice and the right techniques, you can create impressive architectural sketches. Remember to gather reference images, start with basic shapes, add details, develop lighting and shadows, and refine your drawing. Don’t forget to enjoy the process and embrace any mistakes as learning opportunities.
Now that you have the basic steps, grab your sketchbook and give it a try! Start small with simple buildings and gradually challenge yourself with more complex structures. Happy drawing!


