Are you craving a sandwich? Why not draw one instead? In this step-by-step guide, I will show you how to draw a delicious sandwich in a clear, clean, and concise style. Whether you are a beginner or an experienced artist, follow these instructions and let your creativity unfold. So, grab a pen and paper, and let’s get started!
Materials Required
Before we begin, make sure you have the following materials:
- A pencil
- Paper
- Eraser
- Colored pencils or markers (optional)
Now that you have everything you need, let’s dive into the art of drawing a sandwich!
Step 1: Draw the Bread
Start by drawing two slightly curved horizontal lines to represent the top and bottom slices of bread. The shape should be similar to a rectangle with rounded corners.
Step 2: Add the Fillings
Now it’s time to add some delicious fillings to your sandwich. Draw a vertical line in the middle of the bread slices to divide them into two halves. This line will act as a guide for placing the fillings.
Step 3: Cheese
Let’s start with a classic ingredient – cheese! Draw a wavy line in one of the halves to represent a slice of cheese. You can add some details to make it look more realistic, such as small holes or ripples.
Step 4: Lettuce
Next, draw a series of curved lines on top of the cheese to represent the lettuce leaves. Make sure the lines follow the shape of the bread and overlap slightly with the cheese.
Step 5: Tomato
No sandwich is complete without tomato slices! Draw two circles or ovals on top of the lettuce, slightly overlapping each other. Add a small stem at the top to give it a more realistic touch.
Step 6: Meat or Protein
Now it’s time to add some protein to your sandwich. You can choose to draw any type of meat or protein you prefer, such as turkey, ham, or even tofu for a vegetarian option. Draw the shape of your choice on one side of the sandwich, making sure it covers the cheese and lettuce.
Step 7: Condiments
To add some flavor to your sandwich, draw some condiments on the other side. You can choose between mayo, mustard, or any other condiment you like. Use short, curved lines to represent the condiment squeezing out.
Step 8: Bread Details
Let’s add some texture and detail to the bread slices. Draw short diagonal lines across the bread to create a crosshatch pattern. This will give the illusion of the bread’s texture and make it look more realistic.
Step 9: Additional Fillings
If you want, you can add more fillings to your sandwich. Some popular options include pickles, onions, or even avocado slices. Get creative and experiment with different ingredients!
Step 10: Shadows and Highlights
To make your drawing pop, add some shading and highlights. Imagine a light source coming from one direction and use your pencil to darken one side of the bread, fillings, and other elements. Leave the other side lighter to create a sense of depth and dimension.
Conclusion
Congratulations! You have successfully created a delicious sandwich drawing. Whether you decide to keep it as a sketch or add colors with colored pencils or markers, the choice is yours. Drawing allows us to express our creativity and bring our imagination to life. I hope you enjoyed this step-by-step guide on how to draw a sandwich. Now, go ahead and let your artistic skills shine!
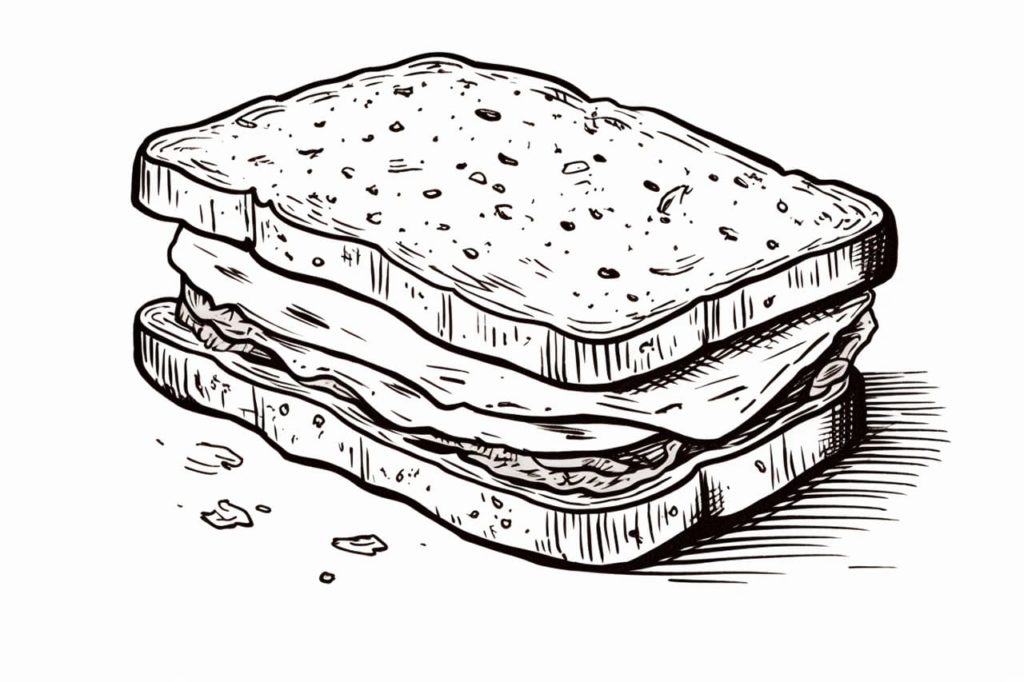
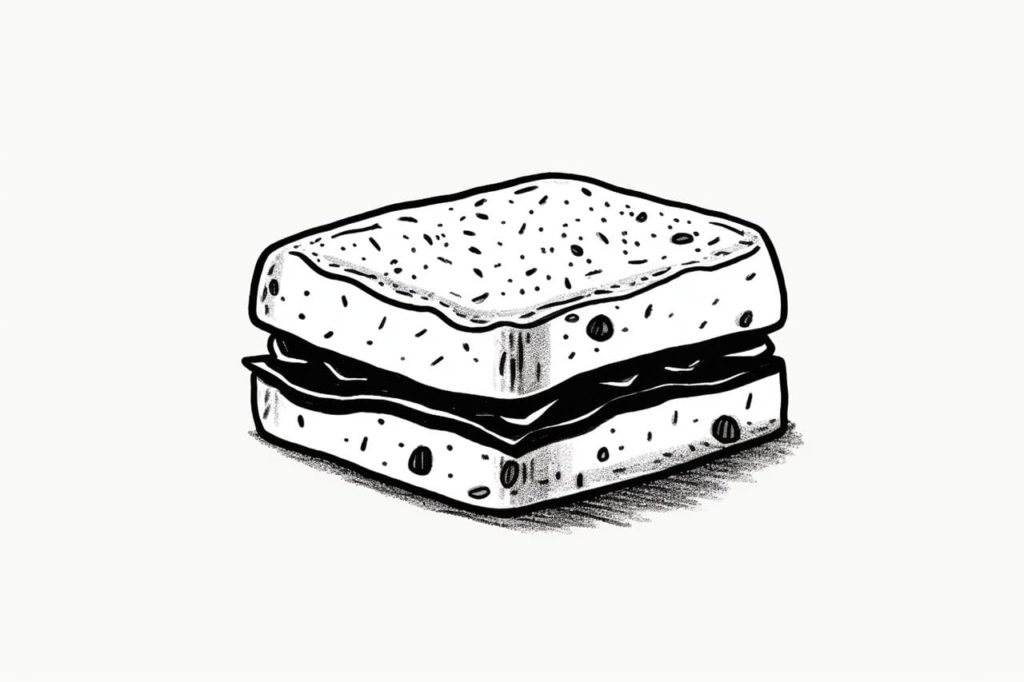
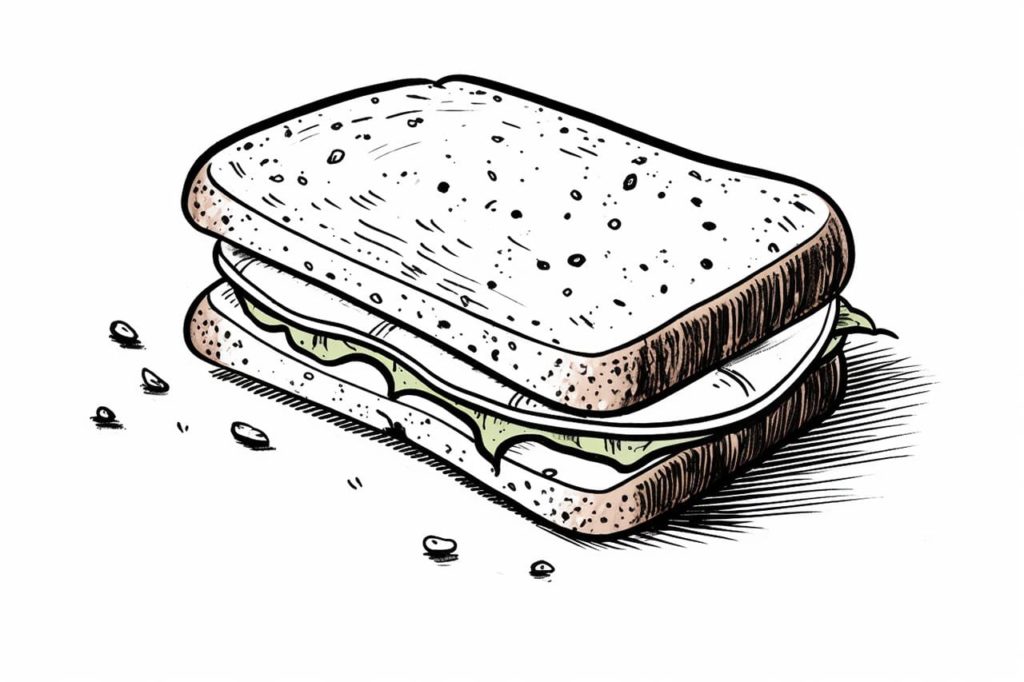
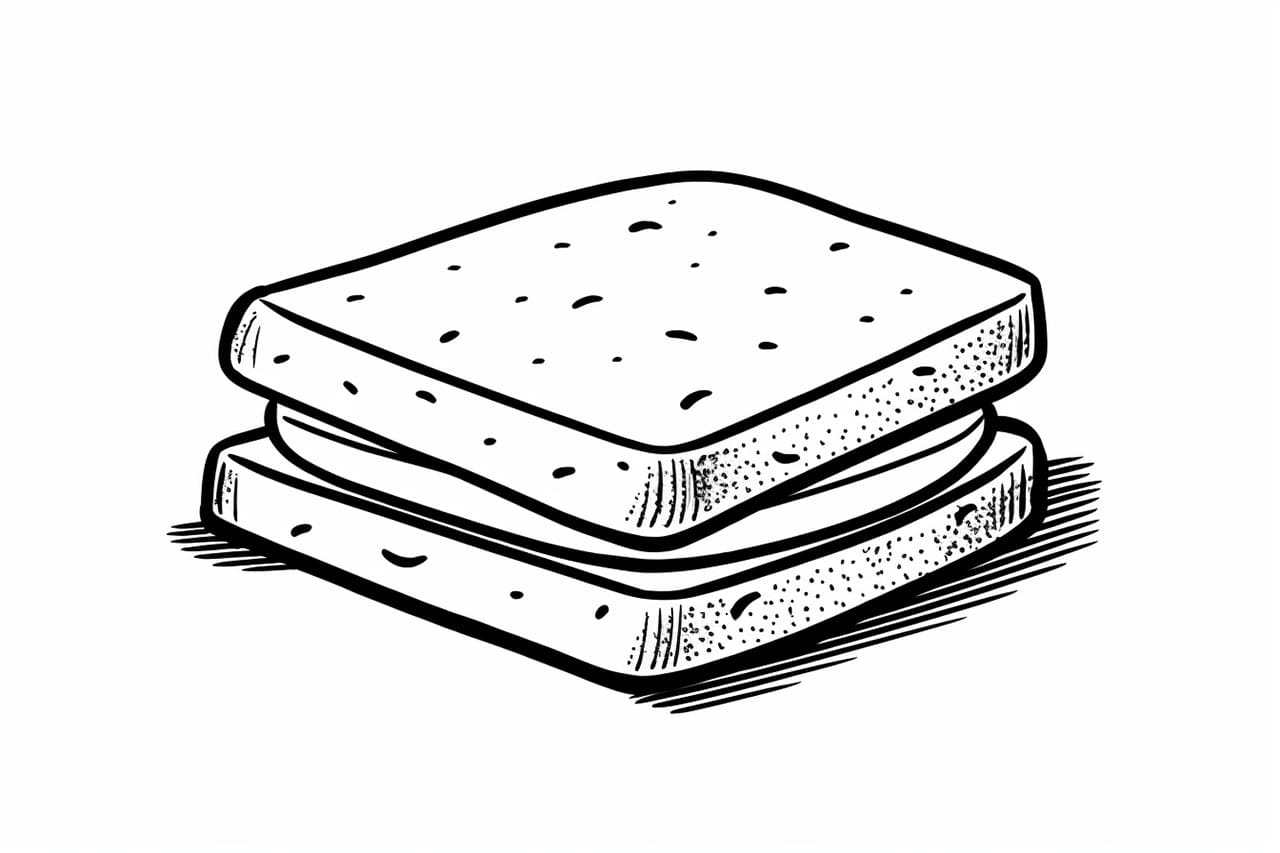
Gallery of Sandwich Drawings