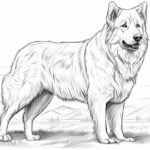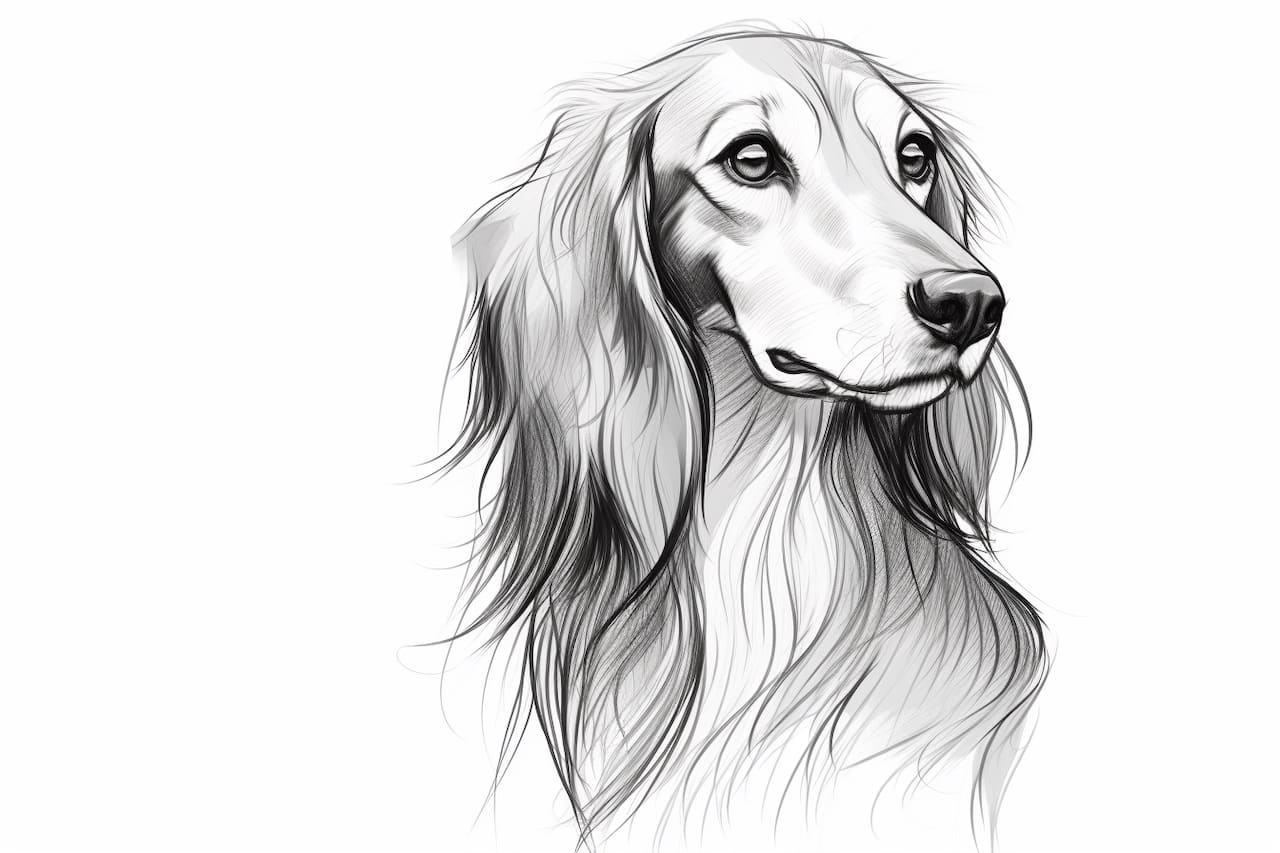
The Saluki is a graceful and elegant breed of dog that has been revered for centuries. Known for its slender and agile physique, as well as its long and silky coat, the Saluki has been depicted in art throughout history. If you are an aspiring artist who wants to learn how to draw this beautiful breed, you have come to the right place. In this step-by-step tutorial, I will guide you through the process of drawing a Saluki, helping you capture its unique features and essence. So grab your pencils, paper, and let’s get started!
Materials Required
To draw a Saluki, you will need the following materials:
- Drawing paper or sketchbook
- Pencils (preferably a range of 2H to 6B for shading purposes)
- Eraser
- Pencil sharpener
- Blending stump or tortillon (optional, for blending and smudging)
Now that we have gathered our materials, let’s dive into the step-by-step process of drawing a Saluki.
Step 1: Study the Saluki’s Anatomy
Before you begin drawing, it is essential to familiarize yourself with the anatomy of the Saluki. Pay close attention to its body proportions, head shape, ear structure, and tail carriage. Observe reference images or even real Salukis to develop a clear understanding of the breed’s unique characteristics.
Step 2: Sketch the Basic Shapes
Start by sketching the basic shapes that will serve as the framework for your Saluki drawing. Begin with a rough circle for the head and an oval for the body. Add lines to indicate the posture and position of the dog. Don’t worry about adding details at this stage; focus on getting the overall proportions and gesture right.
Step 3: Define the Saluki’s Head
Refine the shape of the head by adding more definition to the muzzle, eyes, and ears. Pay attention to the placement and size of the eyes, as they play a crucial role in capturing the Saluki’s expression. Use light, loose lines to maintain flexibility and adjust it as needed.
Step 4: Outline the Saluki’s Body
Using the basic oval shape as a guide, outline the body of the Saluki. Pay attention to the curves and contours of the breed, emphasizing its slender and muscular physique. Refine the outline as you go, ensuring that it accurately represents the Saluki’s form.
Step 5: Add Details to the Face
Now it’s time to add more details to the Saluki’s face. Start by defining the eyes, nose, and mouth. Use gentle, curved strokes to capture the softness and elegance of the breed’s features. Don’t forget to add the Saluki’s trademark long and floppy ears, which are one of its most distinctive characteristics.
Step 6: Sketch the Fur
The Saluki’s coat is one of its most striking features, so we need to pay special attention to it. Use light, short strokes to depict the texture of the fur, making sure to follow the direction of the hair growth. Gradually build up the layers of fur, adding depth and volume to your drawing.
Step 7: Refine the Body
Go back to the body of the Saluki and refine the outline, adding muscle definition and subtle curves. Add details such as the front and hind legs, as well as the tail. Make adjustments as necessary to ensure that your drawing accurately represents the grace and agility of the breed.
Step 8: Shade and Add Depth
Now it’s time to add shading to your drawing, which will give it depth and dimension. Use a range of pencils from 2H (lightest) to 6B (darkest) to create variations in tone and texture. Pay attention to the areas of shadow and light, and use gentle hatching and blending techniques to create a realistic effect.
Step 9: Finalize the Details
Take a step back and assess your drawing as a whole. Make any necessary adjustments and refine the details to ensure that your Saluki drawing accurately represents the breed. Add any additional touches or highlights to enhance the overall look of your artwork.
Step 10: Erase any Guidelines
Carefully erase any remaining guidelines or construction lines that are still visible. Use a soft eraser to remove the pencil marks without damaging the shading or details of your drawing.
Congratulations! You have successfully drawn a Saluki. By following these step-by-step instructions and paying attention to the unique features and proportions of the breed, you have captured the beauty and elegance of the Saluki in your artwork.
Conclusion
Drawing a Saluki can be a fulfilling and rewarding experience for any artist. By understanding the anatomy and characteristics of the breed, and with some practice and patience, you can create a stunning representation of this majestic dog. Remember to embrace your creativity and enjoy the process of bringing the Saluki to life on paper. So grab your pencils and start sketching your very own Saluki masterpiece today!