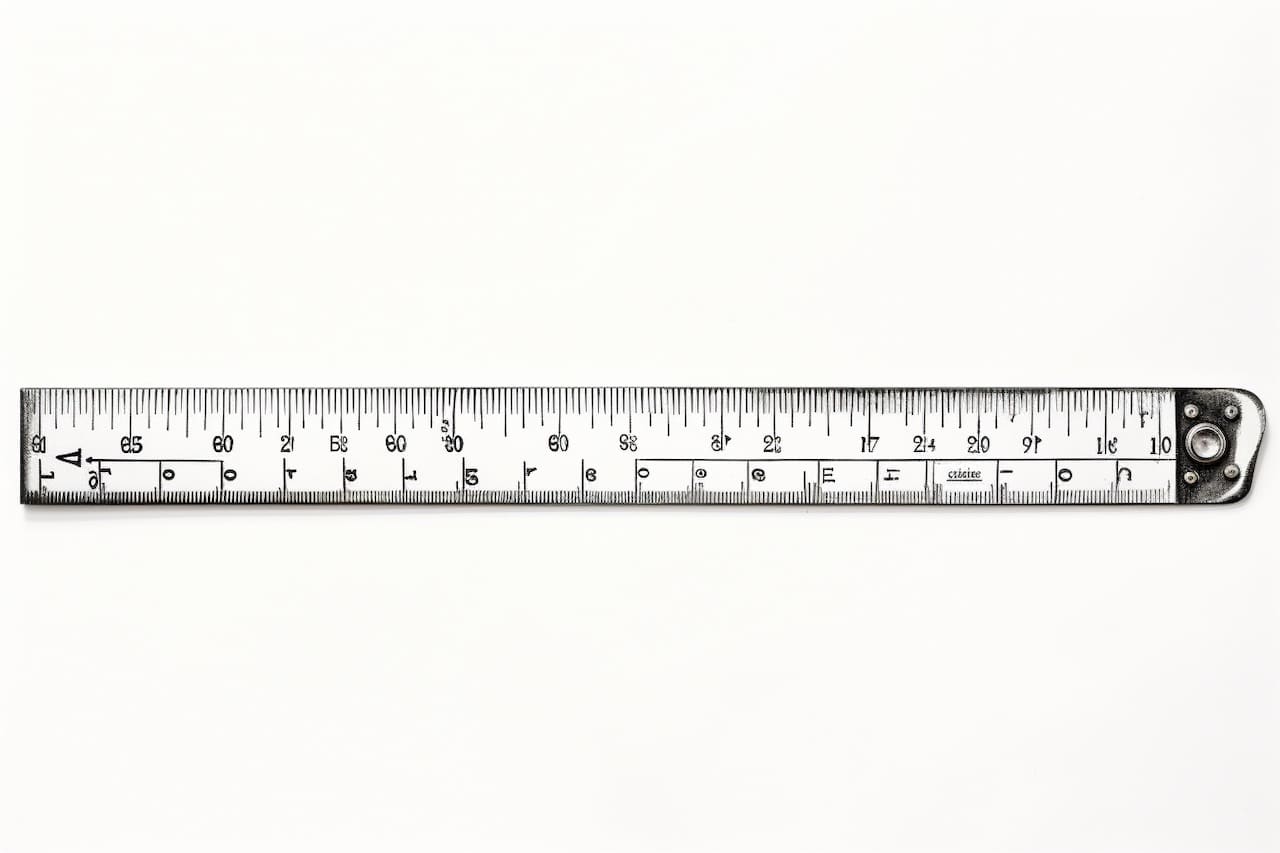
If you’ve ever wanted to learn how to draw a ruler, you’re in luck! In this step-by-step guide, I will walk you through the process of creating a realistic and accurate representation of a ruler. Whether you’re an aspiring artist or simply interested in learning a new drawing technique, this tutorial is perfect for beginners and experts alike.
Materials Required
Before we begin, let’s gather the materials you’ll need for this drawing tutorial. Fortunately, drawing a ruler only requires a few basic supplies:
- Paper: Choose a quality drawing paper that is smooth and sturdy. It should be thick enough to handle a pencil without tearing.
- Pencil: A standard graphite pencil or mechanical pencil will work great for this project. Make sure it’s sharp and ready to use.
- Eraser: Keep an eraser handy to correct any mistakes along the way.
- Ruler: It might seem obvious, but having an actual ruler on hand can provide you with a helpful reference as you draw.
Now that you have your materials ready, let’s get started with the step-by-step instructions.
Step 1: Sketch the Outline
Begin by lightly sketching the outline of the ruler. Start with a simple straight line that represents the length of the ruler. This line will act as the baseline for the rest of the drawing. Make sure it is straight and evenly spaced.
Step 2: Establish the Dimensions
Next, draw two parallel lines on each side of the baseline. These lines will determine the width of the ruler. Ensure that they are evenly spaced and parallel to the baseline. Pay close attention to the proportions and try to capture the correct ratio between the width and length of the ruler.
Step 3: Add the Measurements
Now it’s time to add the measurements to the ruler. Start at one end of the ruler and draw evenly spaced lines perpendicular to the baseline. These lines represent the marks on the ruler. Depending on the level of detail you want to achieve, you can add as many or as few marks as you like. Remember to keep the spacing consistent.
Step 4: Add the Numbers
To complete the measurements, add the numbers to the ruler. Begin by writing the numbers at each mark, representing the unit of measurement. For example, you can write “1”, “2”, “3”, and so on. Make sure the numbers are clear and legible. You can use a ruler as a reference to ensure that the numbers align properly.
Step 5: Refine the Details
Now that the basic structure of the ruler is complete, it’s time to refine the details. Use your pencil to darken the outlines of the ruler and make it more distinct. Pay attention to the edges, corners, and any other defining features of the ruler. If you made any mistakes or unwanted lines, use your eraser to clean them up.
Step 6: Add Shadows and Shading
To make the ruler appear more three-dimensional, add shadows and shading. Decide on the direction of the light source and use your pencil to add darker tones to one side of the ruler, creating a sense of depth. Gradually build up the shading by adding more layers of graphite. Remember to blend the shading using a blending stump or your finger for a smooth and realistic effect.
Step 7: Finalize the Drawing
Take a moment to step back and evaluate your drawing. Are there any areas that need further refinement? Make any necessary adjustments to ensure the ruler looks accurate and well-drawn. Once you are satisfied with the final result, carefully erase any remaining sketch lines that are no longer needed. This will give your drawing a clean and polished appearance.
Conclusion
Congratulations! You have successfully learned how to draw a ruler. This step-by-step guide has equipped you with the necessary techniques to create a realistic and visually appealing representation of a ruler. Whether you use it as a standalone drawing or incorporate it into a larger artwork, your new drawing skills will surely impress. Keep practicing and exploring new subjects, and soon you’ll be able to tackle more complex drawings with ease.