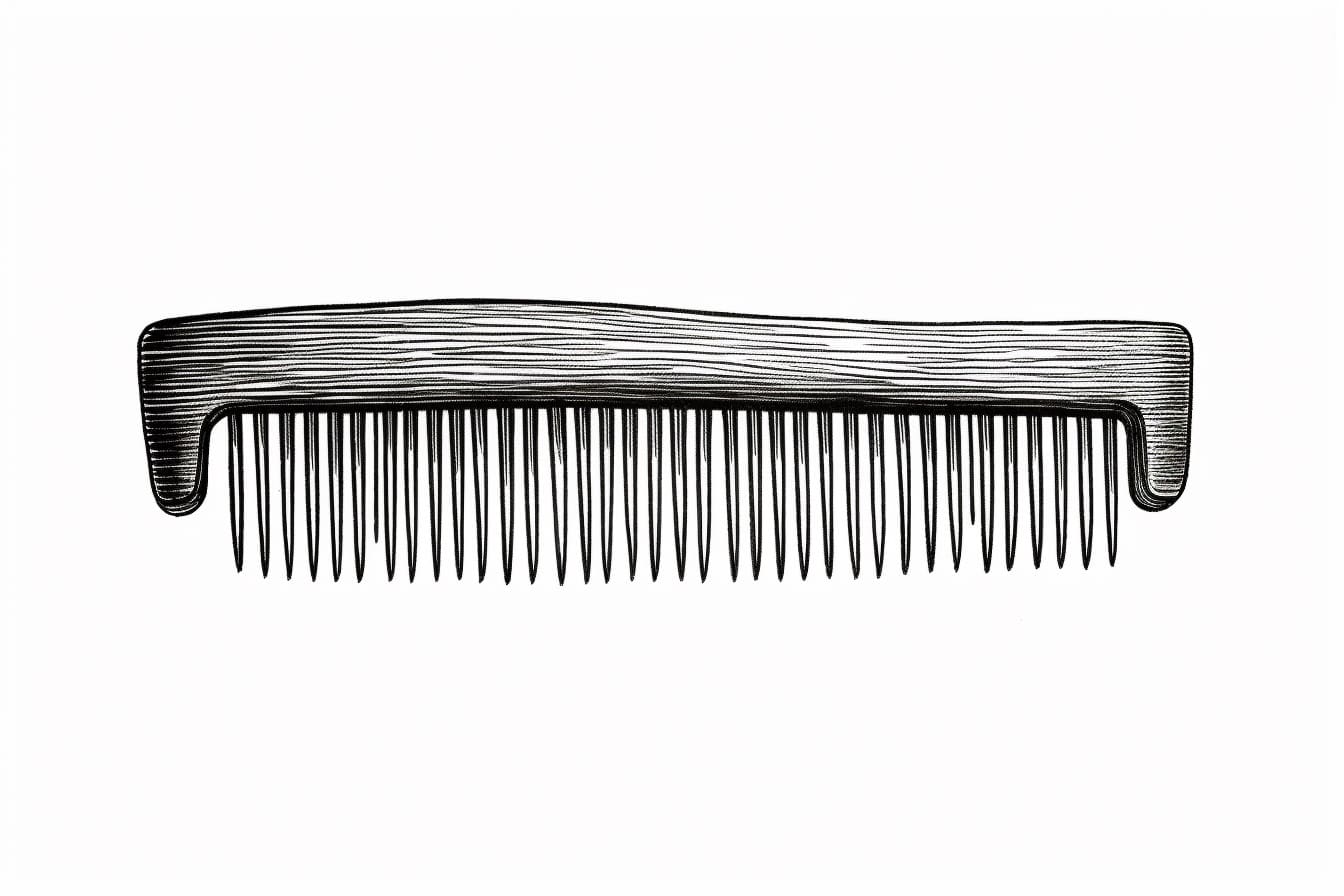
Welcome to this step-by-step guide on how to draw a comb! Whether you are an aspiring artist or simply looking for a fun and creative activity, learning how to draw everyday objects can be a great way to improve your drawing skills. In this tutorial, we will break down the process of drawing a comb into simple and easy-to-follow steps. So grab your drawing tools and let’s get started!
Materials Required
Before we begin, make sure you have the following materials ready:
- A pencil
- Eraser
- Paper
- Ruler (optional)
Now that you have everything you need, let’s move on to the step-by-step instructions.
Step 1: Draw the Base Shape
Start by drawing a long, horizontal rectangle in the center of your paper. This will serve as the base of the comb. Use light, gentle strokes, as you may need to make adjustments as you progress.
Step 2: Add Teeth
Next, draw a series of evenly spaced vertical lines extending upwards from the top edge of the rectangle. These lines represent the teeth of the comb. Make sure the lines are parallel to each other and of equal length. You can use a ruler to help you maintain consistency if desired.
Step 3: Define the Teeth
To give the teeth more dimension, add small horizontal lines at the bottom of each vertical line. These lines represent the gaps between the teeth. Make sure the gaps are evenly spaced and aligned with each other.
Step 4: Refine the Shape
Now that we have the basic structure of the comb, it’s time to refine the shape. Use your eraser to gently remove any unnecessary lines or overlapping marks. Pay attention to the edges of the rectangle and make sure they are clean and straight.
Step 5: Add Detail
To make the comb look more realistic, we can add some additional details. Start by drawing small diagonal lines on the teeth, following the angle of the teeth. These lines represent the fine ridges or grooves that are usually present on a comb. Add these lines to each tooth of the comb.
Step 6: Shade and Texture
To add depth and texture to your drawing, you can use shading techniques. Start by lightly shading the area between the teeth to create some contrast. Gradually darken the areas closer to the base of the comb, as this is where the shadows would naturally fall. You can also add some texture to the teeth by lightly sketching short lines along the length of each tooth.
Step 7: Final Touches
Once you are satisfied with the shading and texture, take a moment to review your drawing as a whole. Look for any areas that may need further refinement or adjustments. Make any necessary changes, and then give your drawing a final pass with the eraser to remove any stray marks or smudges.
Conclusion
Congratulations on completing your very own comb drawing! By following these step-by-step instructions, you have learned how to draw a basic comb. Don’t be afraid to experiment with different styles, colors, or materials to make your drawing unique. Remember, the more you practice, the better you will become. So keep drawing, stay creative, and have fun!
Thank you for joining us in this journey of learning how to draw a comb. We hope you found this tutorial helpful and enjoyable. Now go ahead and continue exploring your artistic abilities by drawing more everyday objects!


