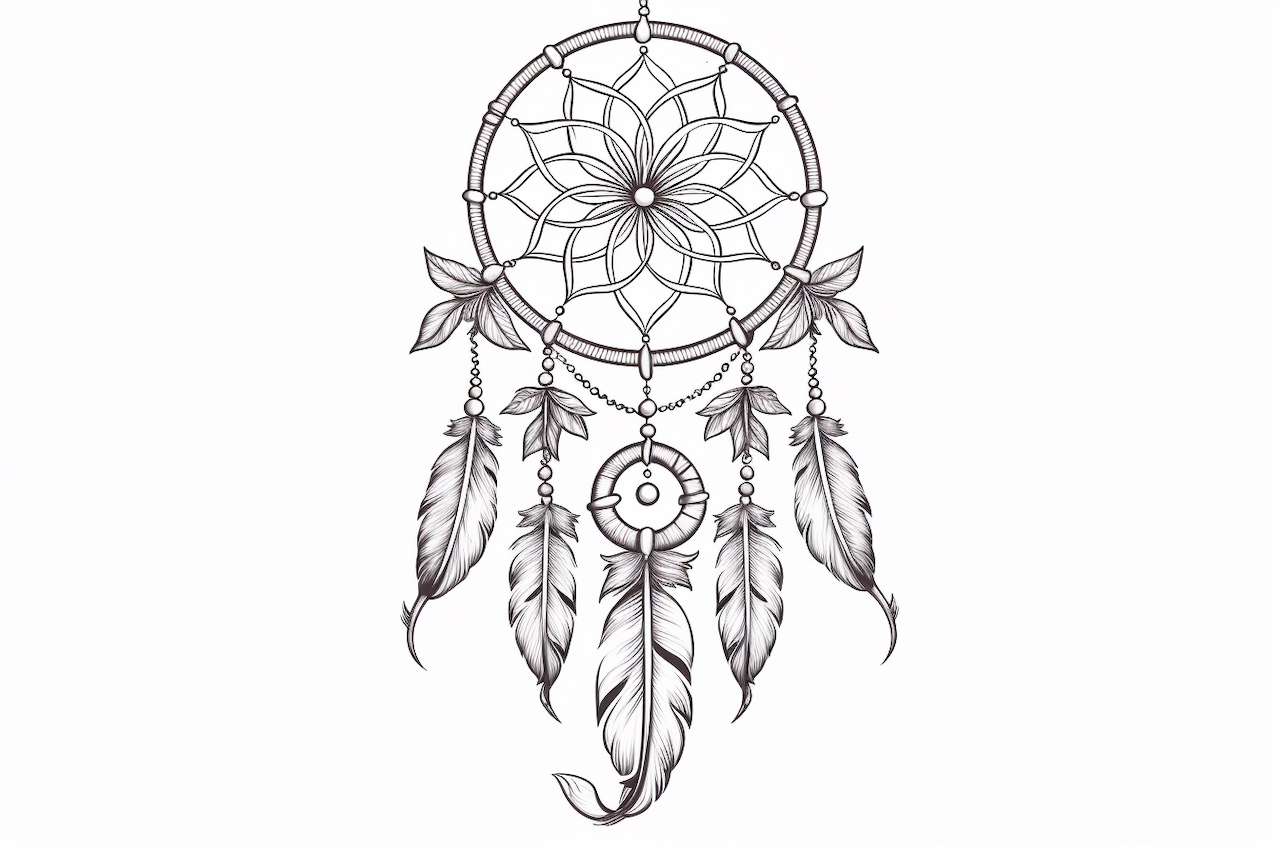
Have you ever admired the intricate beauty of a dreamcatcher? These Native American talismans are not only a stunning addition to any room, but they are also believed to filter out bad dreams and only allow positive ones to pass through. If you’ve ever wanted to create your own dreamcatcher, you’re in luck! In this step-by-step guide, I’ll walk you through the process of how to draw a dreamcatcher, starting from the basic structure to the detailed patterns. So grab your sketchbook and let’s get started!
Materials Required
Before we begin, make sure you have the following materials ready:
- Sketchbook or drawing paper
- Pencil
- Eraser
- Fine-tipped pens or markers
- Compass
- Ruler
- Colored pencils or markers (optional)
Now that you have everything you need, let’s dive into the step-by-step process of drawing a dreamcatcher.
Step 1: Draw the Outer Circle
Start by drawing a large circle in the center of your paper. Use a compass or trace around a circular object to achieve a perfect shape. This circle will serve as the frame for your dreamcatcher.
Step 2: Add the Inner Circle
Within the larger circle, draw a smaller circle near the top. The size of this circle will depend on how big you want the center of your dreamcatcher to be. This smaller circle will act as the focal point of your artwork.
Step 3: Create the Web
Now it’s time to draw the intricate web that is characteristic of dreamcatchers. Start by drawing a small circle at the center of the inner circle. This will serve as the starting point for the web.
From this central point, draw several straight lines radiating outwards towards the inner edge of the larger circle. Space these lines evenly around the circle, as these will be the base for the web.
Step 4: Connect the Lines
Next, connect the outer ends of the lines you just drew to create a continuous circle of lines. These lines should intersect with the inner edge of the larger circle. Be sure to maintain an even spacing between the lines as you connect them.
Step 5: Add the Dreamcatcher Patterns
Now that the web is complete, it’s time to add the intricate patterns that make dreamcatchers so unique. These patterns typically consist of beads, feathers, and other decorative elements.
Start by drawing small circles along the inner edge of the larger circle. These circles will represent the beads that are often found on dreamcatchers. Space them evenly around the circle, or you can experiment with different patterns and arrangements.
Step 6: Add Feathers
Feathers are another important element of dreamcatchers. Draw a series of elongated ovals or teardrop shapes hanging from the bottom of the dreamcatcher. Vary their sizes and lengths for a more dynamic and visually appealing composition. You can also add small details like lines or patterns on the feathers for added interest.
Step 7: Add Further Embellishments
To enhance the beauty of your dreamcatcher, feel free to add additional embellishments such as beads, gemstones, or any other decorative elements that you find inspiring. These extra touches will make your dreamcatcher truly unique and personal.
Step 8: Refine and Finalize
Take a moment to review your drawing and make any necessary adjustments. Erase any unwanted lines or smudges, and darken the lines you want to keep. You can also add shading or color to your dreamcatcher using colored pencils or markers if desired. This will bring your artwork to life and add depth and dimension.
Conclusion
Congratulations! You have successfully drawn a dreamcatcher from start to finish. Remember, practice makes perfect, so don’t be discouraged if your first attempt doesn’t turn out exactly how you envisioned it. With time and patience, you’ll improve your skills and create even more beautiful dreamcatchers. Now that you know the step-by-step process, you can experiment with different variations, colors, and patterns to make your dreamcatchers truly unique. So let your creativity soar and have fun drawing these enchanting talismans!