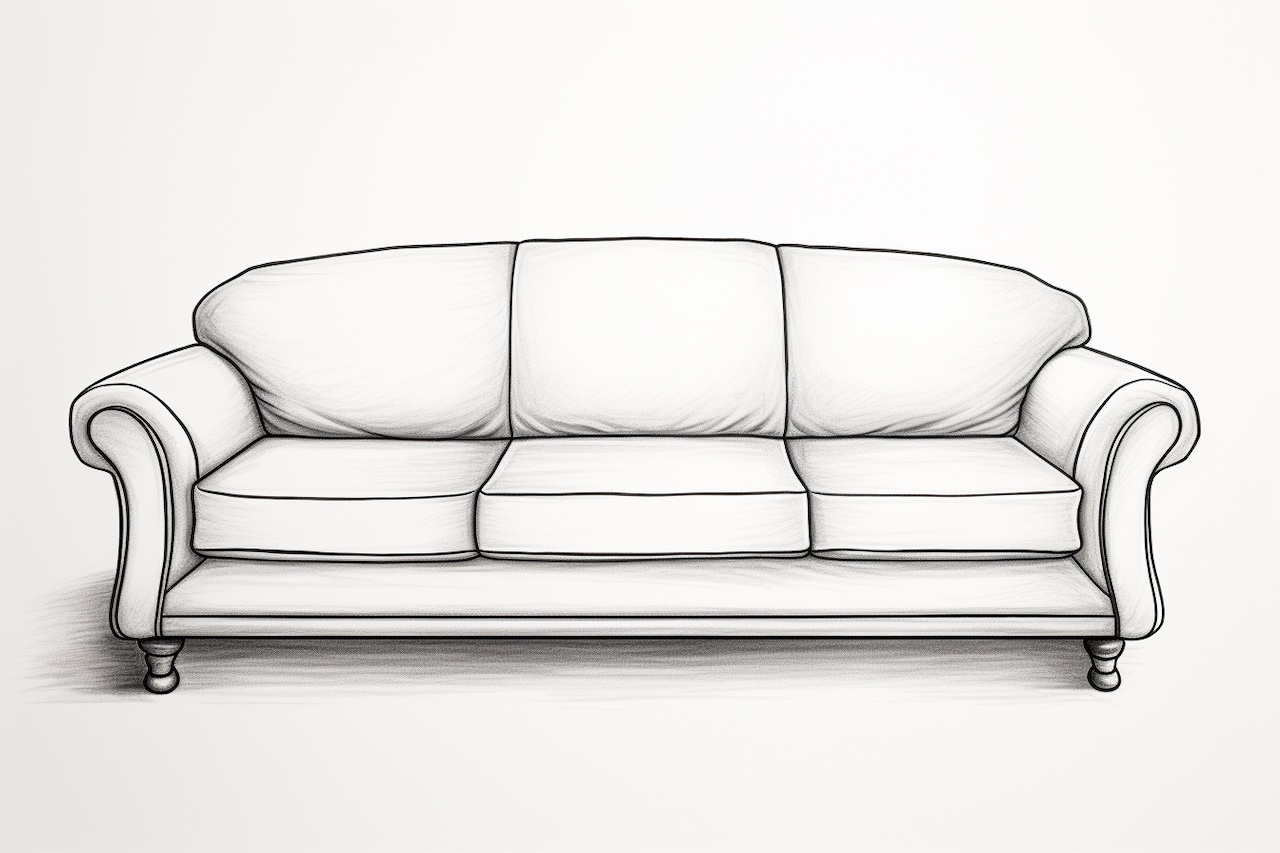
Drawing a sofa can be a fun and rewarding experience, whether you are an aspiring artist or simply looking to improve your skills. In this step-by-step guide, I will walk you through the process of creating a realistic and detailed representation of a sofa. With a little practice and patience, you will be able to capture the essence of this common piece of furniture.
Materials Required
Before we begin, let’s gather the necessary materials:
- Paper: Choose a smooth and sturdy paper that can withstand the pressure of shading and erasing.
- Pencil: Select a graphite pencil with a range of hardness, such as HB, 2B, and 4B. These different grades will allow you to achieve various tones and textures.
- Eraser: Have a kneadable eraser and a vinyl eraser on hand. The kneadable eraser is excellent for lifting off graphite and creating highlights, while the vinyl eraser is useful for more precise erasing.
- Ruler: A ruler will help you maintain straight and accurate lines in your drawing.
- Reference Image: Find a high-resolution image of a sofa that you would like to draw. It can be helpful to print it out or have it displayed on a separate device for easy reference.
Now that we have gathered our materials let’s dive into the step-by-step process of drawing a sofa.
Step 1: Outline the Basic Shape
Begin by lightly drawing a rectangular shape on your paper using a ruler. This will represent the overall outline of the sofa. Make sure to leave enough room for the entire sofa to fit within the boundaries of your paper.
Step 2: Add the Armrests and Backrest
Using your reference image as a guide, add the armrests and backrest to your basic shape. Pay close attention to the proportions and angles of these elements. Use gentle curves to create a sense of dimensionality and softness.
Step 3: Define the Cushions
Next, draw the cushions of the sofa. Start by carefully observing the reference image and sketching the general shape of each cushion. Remember that cushions can vary in size and thickness, so take your time to capture these details accurately.
Step 4: Refine the Details
Now it’s time to add smaller details that will bring your sofa to life. Pay attention to any decorative elements, such as buttons or stitching, and carefully incorporate them into your drawing. Use light, short strokes to suggest texture and depth.
Step 5: Shade and Add Depth
To create a three-dimensional appearance, it’s essential to add shading and highlights. Start by identifying the primary light source in your reference image. This will determine where the shadows fall and where the highlights occur. Use your different grades of pencils to build up layers of shading gradually.
Begin by lightly shading the areas that are in shadow, gradually increasing the pressure to create darker tones. Use your kneadable eraser to lift off graphite and create highlights on areas that catch the light. Take your time with this step, as it can greatly enhance the realism of your drawing.
Step 6: Add Texture and Details
To make your sofa drawing more convincing, focus on adding texture and details to the various surfaces. Study your reference image closely to capture the fabric patterns, wrinkles, and creases. Use your pencil to create subtle lines and shading to represent these nuances.
Step 7: Final Touches
As you near the end of your drawing, take a step back and assess your work. Are there any areas that need refinement or adjustment? Make any necessary changes to ensure the overall balance and accuracy of your sofa drawing. Take this opportunity to add any additional details that you may have overlooked.
Conclusion
Drawing a sofa is an enjoyable process that allows you to develop your observation and rendering skills. By following these step-by-step instructions, you can create a realistic and detailed representation of this common piece of furniture. Remember to be patient, practice regularly, and have fun with the process. Happy drawing!


