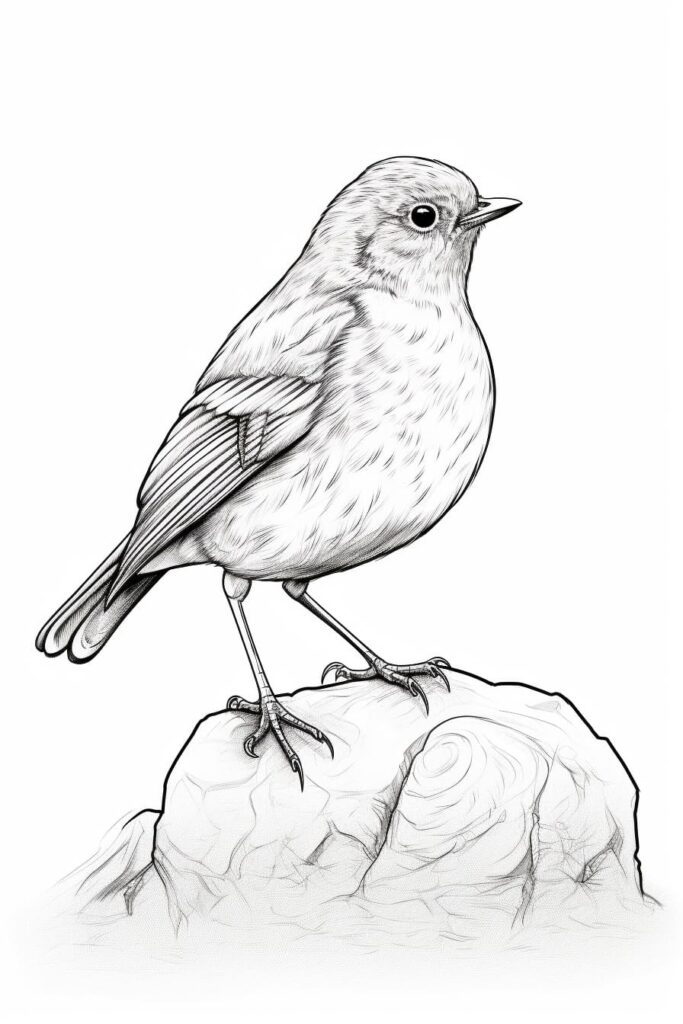
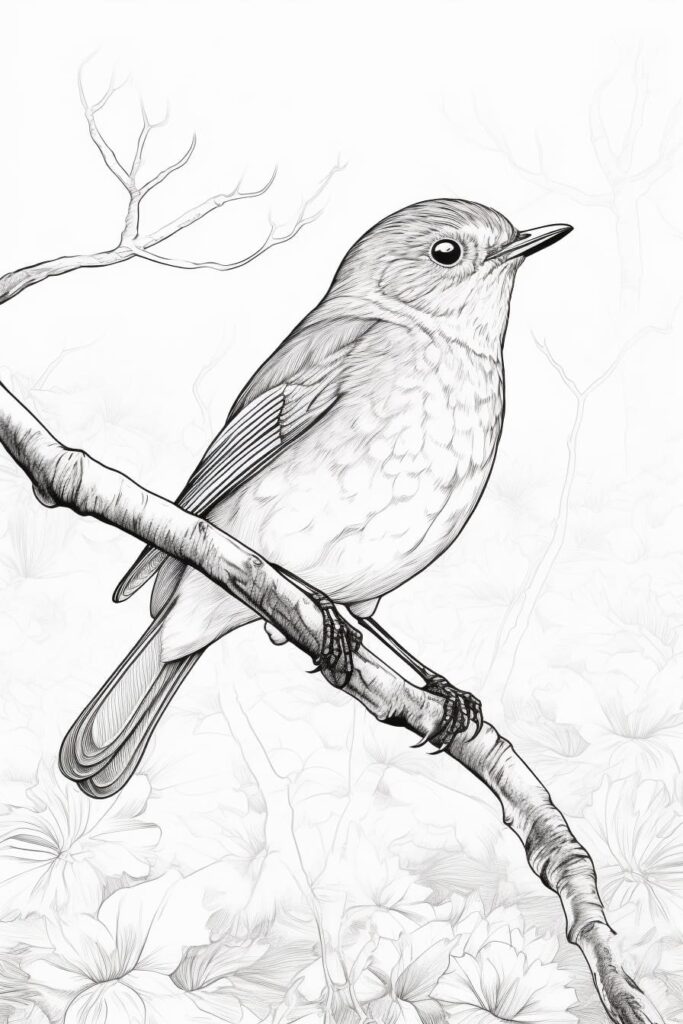
Welcome to this engaging step-by-step guide on how to draw a robin! Known for their distinctive red breasts and lively personalities, robins are not only delightful to observe but also a joy for artists to capture on paper. In this tutorial, you’ll discover a straightforward approach that breaks down the drawing process into manageable steps, allowing you to create a stunning representation of this beloved bird.
Drawing can be a rewarding experience, and by the end of this guide, you’ll have a lifelike illustration that showcases the robin’s unique characteristics. Whether you’re an experienced artist or just starting out, this tutorial is designed to help you develop your skills and enhance your creativity. So grab your materials, unleash your artistic spirit, and let’s embark on this fun and fulfilling drawing journey together!
Each step will guide you through the process, from the initial sketch to the final touches, ensuring you have a detailed understanding of how to depict a robin realistically. Are you ready to bring this beautiful bird to life on your page? Let’s get started!
Materials Required:
To begin with, you will need a few basic materials:
- Drawing paper
- Pencils (preferably a range of graphite pencils)
- Eraser
- Fine-tipped black pen or marker (optional)
- Colored pencils or markers (optional, for coloring the drawing)
Now that we have our materials ready, let’s dive into the steps to draw a robin.
Step 1: Basic Outline
Start by lightly sketching a small oval shape for the robin’s head. Then, draw a larger oval shape underneath it for the body. Connect the two ovals with a curved line to form the robin’s neck. Keep the lines loose and light at this stage as we will refine them later.
Step 2: Adding Wings and Tail
Extend a curved line from the back of the robin’s body to create the tail. Add a few gentle curves at the end to form the distinctive shape of the robin’s tail feathers. Next, draw two small curves on the body near the neck to indicate the wings. These curves should be slightly raised to give the impression of folded wings.
Step 3: Beak and Eyes
Draw a short, pointed triangle shape extending from the front of the robin’s head to form the beak. Add a small dot on each side of the beak to represent the nostrils. Now, draw two small circles within the head shape to create the robin’s eyes. Leave a small white space in each eye to give a sense of light reflection.
Step 4: Feather Details
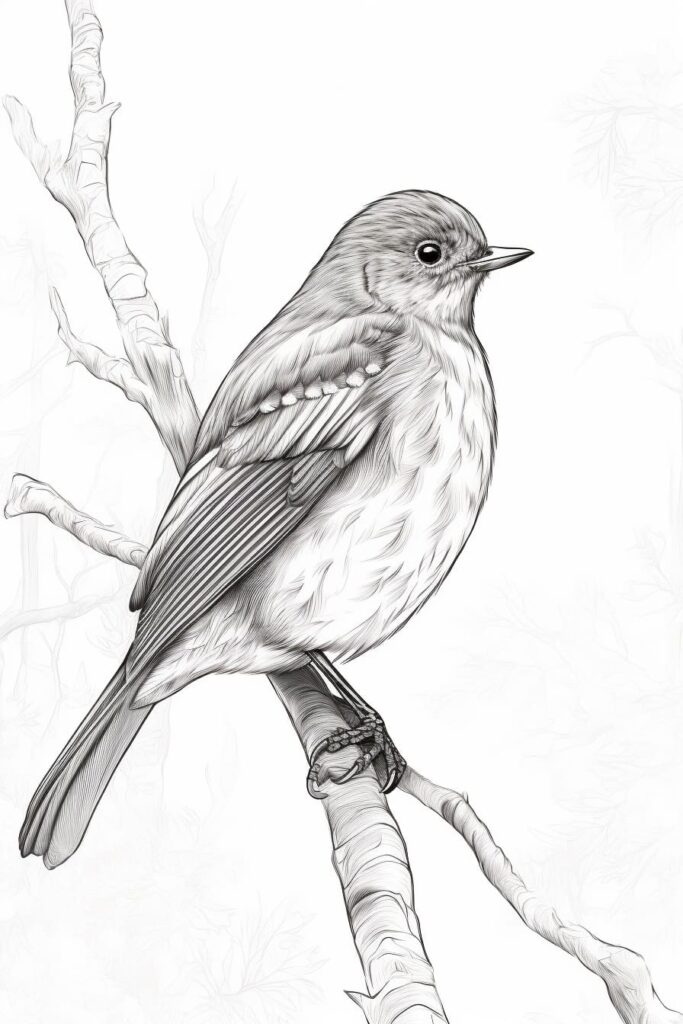
To make the robin’s feathers more defined, add a few short diagonal lines within the body, tail, and wings. These lines should follow the contour of the body and give the impression of individual feathers. Be sure to keep the lines light and varied in length to create a natural effect.
Step 5: Legs and Feet
Draw two thin, slightly curved lines extending from the bottom of the robin’s body to represent the legs. At the end of each leg, draw three small lines to form the toes. Robins have small delicate feet, so make sure to keep the lines light and dainty.
Step 6: Refining the Outline
Now that the basic shapes and features of the robin are in place, it’s time to refine the outline. Go over the main lines with a darker pencil, carefully adjusting and correcting any proportions or shapes that need refining. This step is essential to bring out the true form and character of the robin.
Step 7: Shading and Texturing
To add depth and dimension to your drawing, it’s important to add shading. Observe the robin’s reference image or real-life robin to understand the areas of light and shadow. Use your graphite pencils to lightly shade the appropriate areas. Start by applying a light layer of shading and gradually build up the darkness as needed. Pay attention to the feather textures while shading, using short, light strokes to mimic the appearance of feathers.
Step 8: Optional Inking
If you prefer a clean, bold look for your drawing, you can use a fine-tipped black pen or marker to go over the refined lines. This step is entirely optional and depends on your personal preference. Inking can give your drawing a more finished and polished appearance.
Step 9: Coloring (Optional)
If you wish to add color to your drawing, now is the time. Use colored pencils or markers to carefully fill in the various parts of the robin. Robins have a reddish-orange breast, a gray-brown back, and a yellowish beak and legs. Take your time and blend the colors gradually for a more realistic effect.
Conclusion
Congratulations! You have successfully learned how to draw a robin step by step. By following these instructions and putting your own artistic touch, you can create a beautiful representation of this charismatic bird. Remember to practice and experiment with different techniques to improve your skills. Happy drawing!
Fun Facts About Robins
- Robins are known for their distinctive red or orange breast, which makes them easily recognizable and enjoyed by bird watchers.
- They are part of the thrush family and are known for their beautiful, melodious songs, often heard during the early morning hours.
- Robins can be found across various continents, including Europe, North America, and Asia, with slight variations in their appearance and behavior.
- Unlike many other bird species, robins are often active during winter, foraging for berries and fruits even in snow-covered landscapes.
- Male robins are known to be highly territorial and use their singing as a way to defend their territory from rivals.
- Females typically build the nest and can have multiple broods in a single year, provided that food is plentiful and conditions are favorable.
- Their diet mainly consists of worms, insects, and fruits, with an ability to adapt their feeding habits depending on the season.
- Robins are a favorite subject in literature and art, often symbolizing renewal, hope, and new beginnings.
- Some species, like the American robin, have been known to form large winter flocks, sometimes numbering in the thousands.
- Robins are known to be quite curious birds and can often be seen following gardeners around, hoping to catch a worm that’s been unearthed.
Suggestions for Scenes and Settings for Robin Drawings
- Garden Gathering: Create a vibrant garden scene with robins flitting between blossoming flowers, searching for worms in the soil.
- Snowy Perch: Illustrate a robin perched on a snowy branch, its bright breast contrasting beautifully with the white background.
- Nesting Time: Draw a tender scene of a robin building its nest with twigs, nestled safely in the nook of a tree.
- Morning Song: Capture a sunrise with a robin sitting atop a tree branch, singing its melodious morning song.
- Urban Explorer: Depict a robin hopping around a bustling city park, exploring amidst benches and bustling city life.
- Woodland Wonder: Visualize a robin in a dense forest, surrounded by towering trees and filtering sunlight, capturing the essence of tranquil nature.
- Berry Feast: Picture a scene abundant with berry bushes, with robins joyfully feasting on the ripe, colorful fruits.
- Robins at Play: Design a playful scene with a few robins playfully interacting in a puddle after a refreshing rain.
- Midnight Snack: Show a robin illuminated by the moonlight, foraging for food during the hushed hours of the night.
- Garden Conversation: Illustrate a whimsical setting where robins, bumblebees, and butterflies appear to be engaged in a lively chat amidst an English garden.