Drawing the Kakariki Parrot is a fascinating artistic endeavor that allows us to capture the vibrant colors and unique features of this beautiful bird. With its bright green feathers, red crown, and playful personality, the Kakariki Parrot is a delightful subject for artists of all skill levels. In this tutorial, we will explore techniques for capturing the intricate details of the Kakariki Parrot, from its expressive eyes to its graceful wings. So grab your pencils and paper, and let’s dive into the world of drawing this charming and colorful bird!
Materials Required
To draw a Kakariki Parrot, you will need the following materials:
- Sketching paper or drawing pad
- Pencils (graphite pencils of varying hardness for sketching and shading)
- Eraser (kneaded eraser or regular eraser)
- Sharpener
- Colored pencils or markers (optional, for adding color)
- Reference image of a Kakariki Parrot
- Drawing board or table to work on
- Soft brush (optional, for blending pencil marks)
- Fixative spray (optional, to protect the finished drawing):
How to Draw a Kakariki Parrot: a Step-by-step Guide
Step 1: Gather Your Materials
- Gather all the necessary materials including paper, pencil, eraser, and colored pencils or markers for coloring your Kakariki Parrot drawing.
Step 2: Reference Image
- Find a clear reference image of a Kakariki Parrot. This will help you understand the bird’s features and colors accurately.
Step 3: Basic Outline
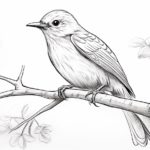
- Start by lightly sketching a basic outline of the Kakariki Parrot using simple shapes like ovals and circles for the body, head, and wings.
Step 4: Head and Beak
- Refine the outline by adding details to the head and beak of the parrot. Kakariki Parrots have a distinctive curved beak, so pay close attention to its shape and size.
Step 5: Eyes and Facial Details
- Draw the eyes, nostrils, and other facial details of the Kakariki Parrot. These details will bring the bird to life and give it character.
Step 6: Feathers and Wings
- Add feathers to the body and wings of the parrot. Kakariki Parrots have vibrant green feathers, so make sure to capture the texture and patterns accurately.
Step 7: Tail and Feet
- Sketch the long tail and detailed feet of the Kakariki Parrot. Pay attention to the shape and positioning of these features to make your drawing realistic.
Step 8: Finalize the Outline
- Go over your outline, refining any details and making sure the proportions are correct. Erase any unnecessary lines to clean up your drawing.
Step 9: Add Color
- Use your colored pencils or markers to add color to your Kakariki Parrot drawing. Remember to reference your image for accurate color placement.
Step 10: Shading and Details
- Add shading and details to enhance the depth and realism of your drawing. Pay attention to light sources and shadows to make your Kakariki Parrot drawing more dynamic.
Step 11: Final Touches
- Take a step back and review your drawing. Make any final adjustments or additions to ensure your Kakariki Parrot drawing is complete and visually appealing.
Step 12: Sign and Date
- Sign your artwork and add the date to mark its completion. Congratulations on drawing a beautiful Kakariki Parrot!
Conclusion
Great job on drawing the Kakariki Parrot! Your attention to detail and use of colors really bring this beautiful bird to life on paper. Remember, art is all about practice and exploration, so keep honing your skills and trying new techniques. Your dedication and creativity will continue to flourish as you keep creating. Keep up the fantastic work, and never stop expressing yourself through your art!
Fun Facts About Kakariki Parrots
- Kakariki parrots are known for their playful and curious nature. They are active birds that enjoy climbing, exploring, and playing with toys.
- Kakariki parrots are native to New Zealand and are also known as Red-crowned Parakeets.
- These parrots have a distinctive red crown on their head, which contrasts with their bright green plumage.
- Kakariki parrots are highly social birds and thrive on interaction with their human companions. They are known for their friendly and outgoing personalities.
- In the wild, Kakariki parrots feed on a variety of seeds, fruits, and vegetation. In captivity, they should be offered a balanced diet of pellets, fresh fruits, vegetables, and occasional treats.
- Kakariki parrots are known for their acrobatic flying skills and can be quite agile in the air.
- These parrots have a unique vocalization that includes chirps, squawks, and whistles. They are not known for talking like some other parrot species, but they can be quite vocal and expressive.
- Kakariki parrots are intelligent birds that can be trained to perform tricks and learn basic commands.
- These parrots are relatively hardy and can adapt well to different environments, making them popular pets for experienced bird owners.
- Kakariki parrots are considered endangered in their native habitat due to habitat loss and predation by introduced species. Conservation efforts are in place to help protect and preserve these beautiful birds.
Suggestions for Scenes and Settings for Kakariki Parrot Drawings
Certainly! Here are some specific suggestions for scenes and settings for drawings of Kakariki Parrots:
- Natural Habitat: Draw a Kakariki Parrot in its natural habitat, such as a lush green forest with native New Zealand flora and fauna in the background.
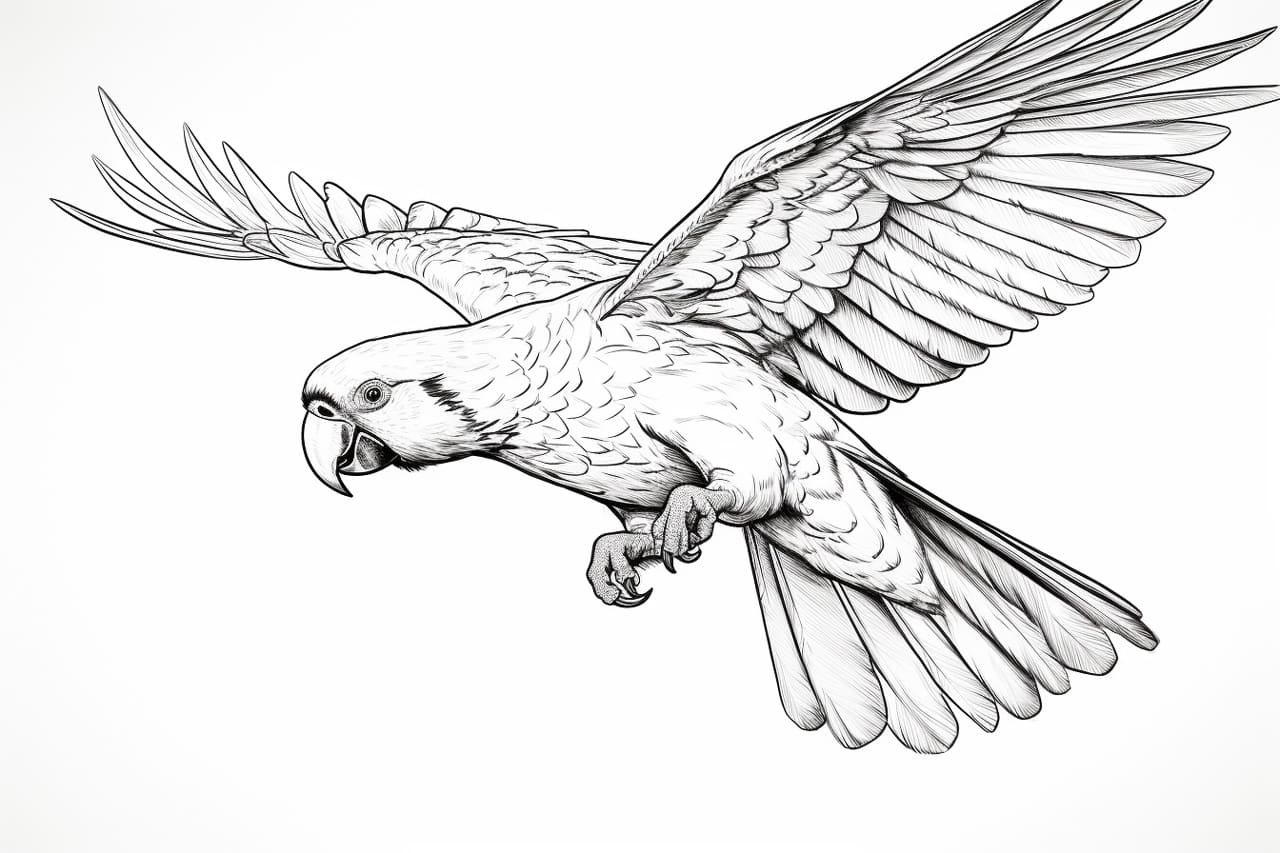
- Flight: Capture the Kakariki Parrot in mid-flight, with its wings spread out against a clear blue sky or soaring over a mountainous landscape.
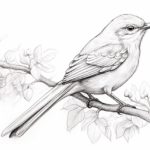
- Perched on a Tree: Illustrate a Kakariki Parrot perched on a tree branch, surrounded by colorful flowers or fruits that it might be feeding on.
- Interaction with Other Birds: Show a Kakariki Parrot interacting with other native birds, like the Tui or Fantail, in a peaceful and harmonious setting.
- Sunset Silhouette: Create a silhouette drawing of a Kakariki Parrot against a stunning sunset sky, with vibrant shades of orange, pink, and purple in the background.
- Beach Scene: Draw a Kakariki Parrot near the shore, with gentle ocean waves and sandy beaches, capturing a serene and tropical atmosphere.
- Rainforest Canopy: Illustrate a Kakariki Parrot amidst the dense foliage of a rainforest canopy, with sunlight filtering through the leaves and creating a dappled effect.
- Nesting: Depict a Kakariki Parrot in its nesting environment, showcasing the intricate details of the nest and the surrounding foliage where it raises its young.
- Urban Setting: Show a Kakariki Parrot perched on a city rooftop or amidst urban greenery, highlighting the contrast between nature and urban development.
- Seasonal Variation: Draw a Kakariki Parrot in different seasonal settings, such as a snowy winter landscape, a blooming spring garden, a sunny summer meadow, or a colorful autumn forest.