Welcome to this step-by-step guide on how to draw a raptor! In this tutorial, we will explore the process of creating a realistic and detailed drawing of this fascinating prehistoric creature. Whether you are a beginner or an experienced artist, this guide will provide you with the necessary instructions to successfully bring a raptor to life on paper. So let’s dive in and get started!
Materials Required
Before we begin, let’s gather the materials we’ll need for this drawing:
- Drawing paper: We recommend using high-quality drawing paper to withstand pencil shading and erasing.
- Pencils: A set of graphite pencils ranging from H (hard) to B (soft) will be useful for achieving different levels of shading.
- Eraser: Have a kneaded eraser or a soft rubber eraser on hand to correct mistakes and lighten areas as needed.
- Pencil sharpener: Keep a sharpener nearby to maintain a sharp point on your pencil when necessary.
- Reference image: Find a clear and detailed reference image of a raptor to assist you throughout the drawing process.
Now that we have all our materials ready, let’s begin drawing our raptor!
Step 1: Basic Outline
Start by lightly sketching the basic outline of the raptor’s body using a light pencil, like an H or HB. Begin with the head, neck, and torso. Pay attention to proportions and try to capture the unique shape of a raptor. Remember, this is just a rough outline, so don’t worry about any details at this stage.
Step 2: Body Details
Now that you have the basic outline, let’s add some details to the body. Using the same light pencil, sketch the limbs, tail, and any distinctive features of the raptor, such as its sharp claws or feathers. Focus on capturing the overall shape and structure of the raptor’s body, while still keeping the lines loose and light.
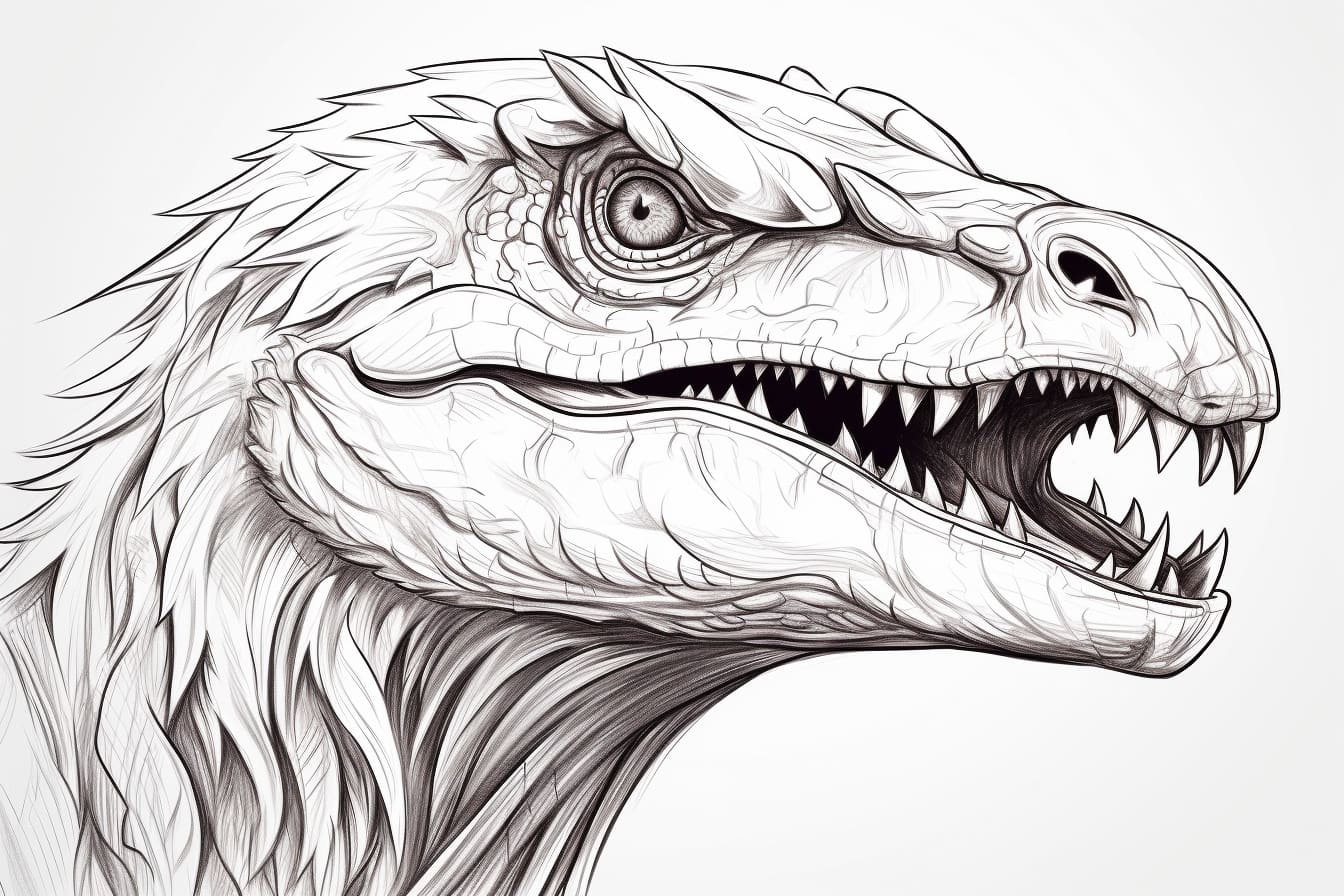
Step 3: Facial Features
Moving on to the head, start by drawing the eyes, beak, and any other facial features that define a raptor. Take your time to observe the reference image and carefully recreate these details. Pay attention to the shape and position of the eyes, the curve of the beak, and the arrangement of the teeth. Use a softer pencil, like a 2B or 4B, to add shading and depth to the facial features.
Step 4: Shading and Texture
Now that the basic structure and details are in place, let’s add shading and texture to give the raptor a three-dimensional look. Use your softer pencils to create areas of shading and define the contours of the body. Pay close attention to the reference image and gradually build up layers of shading to create a realistic appearance. Use smooth, light strokes to avoid any harsh lines and blend the shading with a blending stump or your finger for a smoother finish.
Step 5: Feather Details
If your raptor has feathers, this step will help bring them to life. Use a pencil with a sharp point to carefully draw the individual feathers. Start from the base of each feather and work your way towards the tip, paying attention to their shape and arrangement. Vary the pressure applied to the pencil to create depth and add a sense of realism to the feathers. Take your time with this step, as it can be quite intricate and require attention to detail.
Step 6: Refine and Erase
At this stage, step back and take a look at your drawing as a whole. This is the perfect time to make any necessary adjustments and refine the details. Use a kneaded eraser or a soft rubber eraser to carefully erase any unwanted lines or smudges. Pay close attention to achieving the right balance between light and dark areas and ensure that the proportions and shapes are accurate.
Step 7: Final Touches
For the final touches, use a softer pencil, like a 4B or 6B, to deepen the shadowed areas and add some extra contrast to the drawing. Create subtle highlights by lifting graphite with an eraser to enhance certain areas and add depth. Take a step back every now and then to assess your drawing and make any final adjustments as needed.
Congratulations! You have successfully drawn a magnificent raptor. With patience, practice, and attention to detail, you can create stunning drawings of various subjects. Remember, each drawing is a learning experience, so don’t be discouraged if it’s not perfect. Embrace the process and enjoy the journey of improving your artistic skills.
Conclusion
In this step-by-step tutorial, we explored the process of drawing a raptor. We started with a basic outline, added details to the body and face, added shading and texture, and finished off with feather details and final touches. By following these steps and practicing regularly, you can create impressive drawings of raptors or any other subject you desire. So grab your pencils, gather your materials, and let your imagination soar as you bring dinosaurs to life on paper!