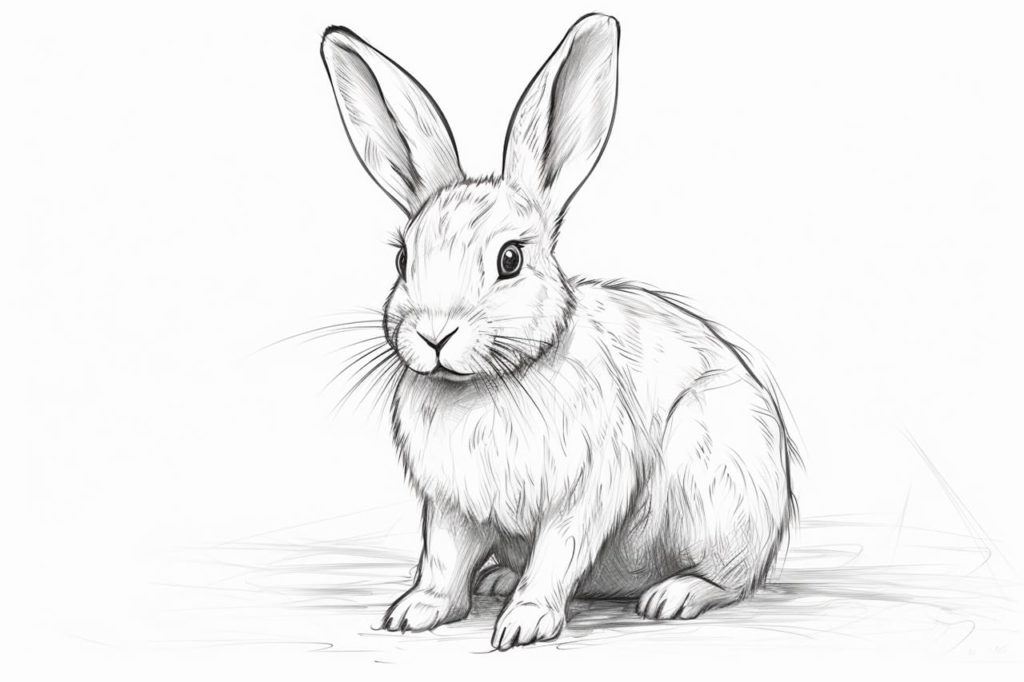
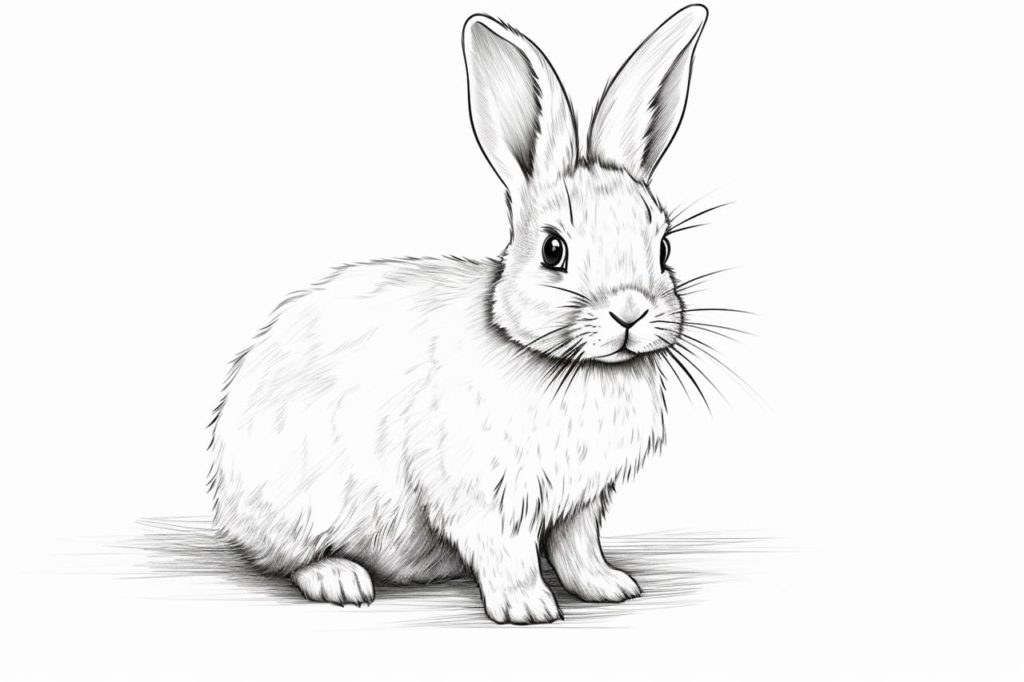
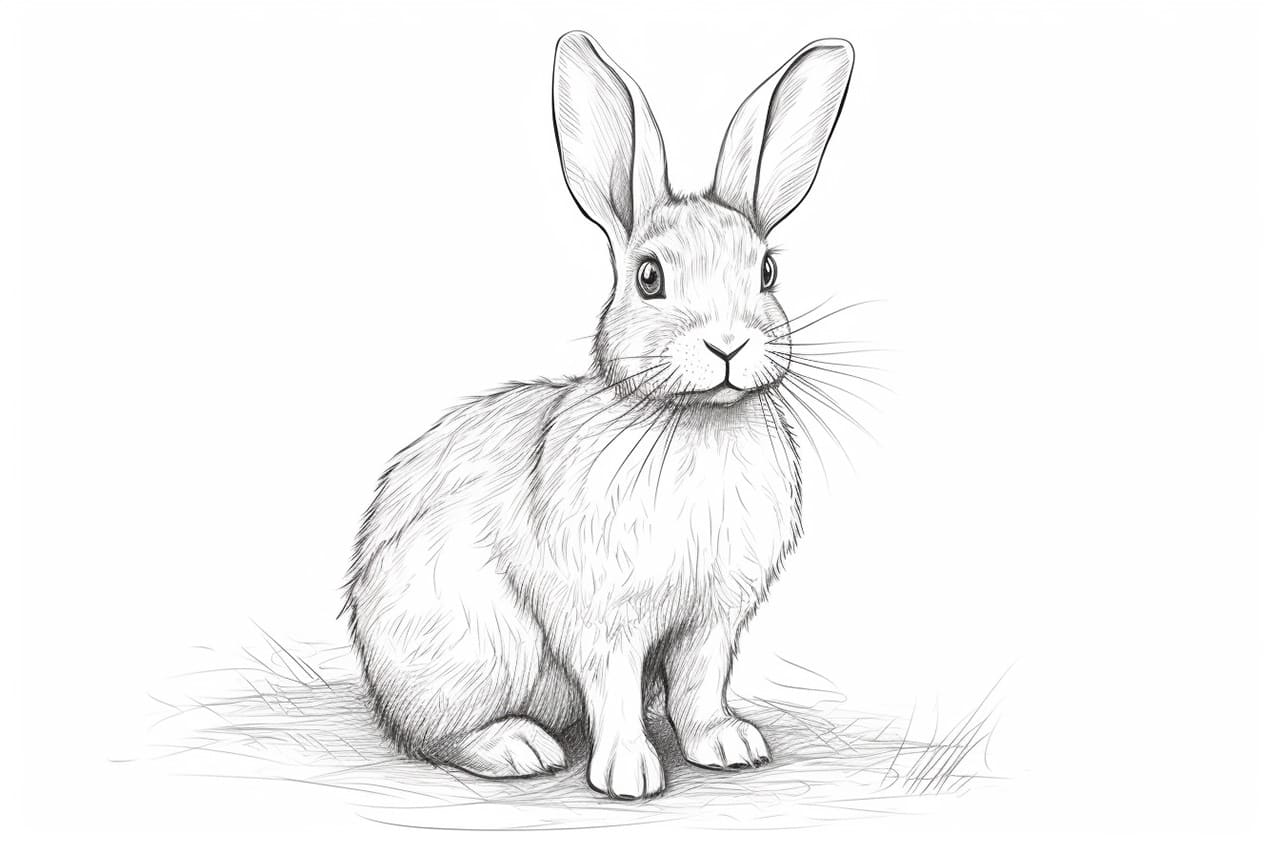
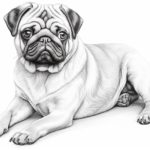
Welcome to this step-by-step guide on how to draw a realistic rabbit. In this tutorial, we will break down the process into easy-to-follow steps, allowing you to create your very own charming bunny masterpiece. So get your drawing materials ready and let’s begin!
Materials Required
Before we dive into the drawing process, let’s make sure you have all the necessary materials. Here’s a list of what you will need:
- Paper: Get a clean sheet of white paper. You can use any size, but a standard letter size (8.5″ x 11″) works well.
- Pencil: Use a medium-soft pencil, such as an HB or 2B, for sketching your initial lines.
- Eraser: A kneaded eraser is recommended as it will allow you to easily remove any unwanted lines without damaging the paper.
- Colored Pencils (optional): If you wish to add color to your drawing, have colored pencils ready.
Now that you have all your materials assembled, let’s move on to the step-by-step process of drawing a rabbit!
Step 1: Basic Shapes
Start by lightly sketching a circle for the rabbit’s head. Then, draw an oval shape attached to the circle for the body. Keep in mind that these initial shapes are just guidelines and can be adjusted later.
Step 2: Ears and Facial Features
Using the circle as a base, draw two long ears on top of the head. Make them slightly curved and pointed at the tips. Next, outline the rabbit’s eyes, which are typically large and round. Place them below the ears, leaving some space for the nose. Add a small curved line for the mouth.
Step 3: Nose and Whiskers
Draw a small triangle shape below the eyes for the rabbit’s nose. Add a curved line on each side to indicate the nostrils. Extend two lines from the nose to create the whiskers on each side of the face. Be sure to keep the lines light at this stage.
Step 4: Eyes and Fur Texture
Add more detail to the eyes by drawing circular shapes within them to represent the iris. Shade the iris, leaving a small highlight to add life to the eyes. Use short, curved lines around the eyes and mouth to give the illusion of fur texture.
Step 5: Body and Limbs
Refine the body’s shape by adding curves to suggest a more rounded form. Extend two lines downward from the body to create the front legs. Add curved lines at the bottom for the paws. For the hind legs, sketch two angled lines starting from the bottom of the body and extending downward. Add ovals at the ends of the hind paws.
Step 6: Tail and Details
Draw a fluffy tail by creating a curved shape at the back of the body. Rabbit tails are often round and puffy. Add small curved lines on the paws to represent the toes. You can also add a few extra details, such as fur lines, to enhance the overall texture of the rabbit.
Step 7: Finalize Your Drawing
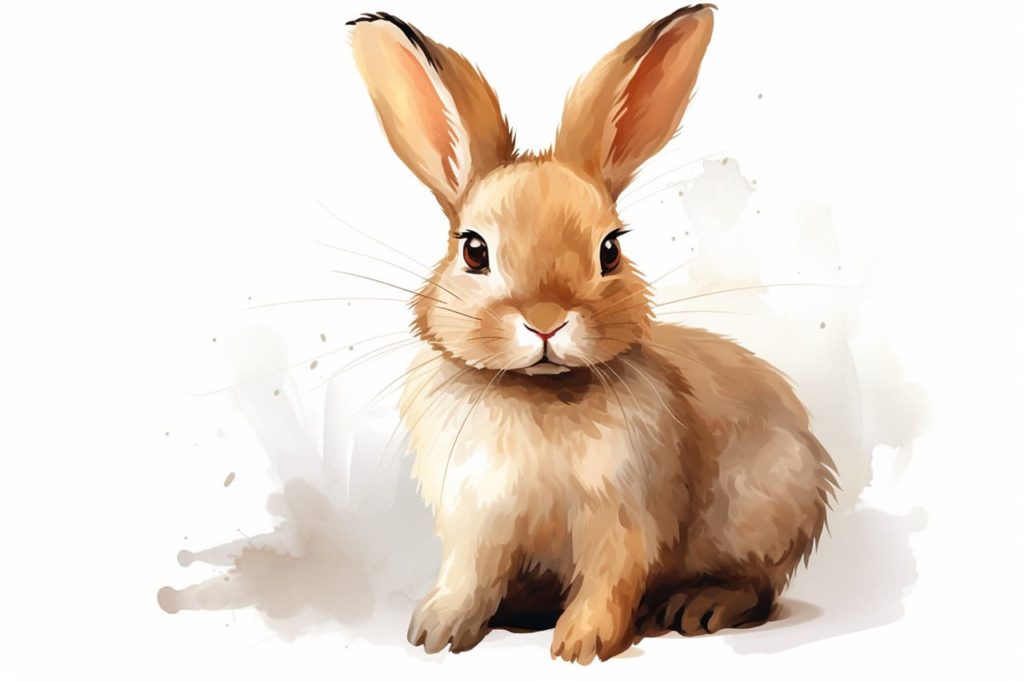
Once you are satisfied with your rabbit’s overall shape and details, darken the lines you want to keep, erasing any unnecessary guidelines. You can also add color using colored pencils to bring your drawing to life. Experiment with different shades to achieve the desired effect.
Congratulations! You have successfully drawn a realistic rabbit. Remember, practice makes perfect, so don’t be discouraged if your first attempt doesn’t turn out exactly as you envisioned. With time and practice, your skills will improve.
Conclusion
In this tutorial, we learned step-by-step how to draw a rabbit. By breaking down the drawing process into simple shapes and adding details gradually, you can create a realistic depiction of everyone’s favorite fluffy creature. So grab your pencil and give it a try! With a little patience and practice, you’ll be drawing adorable rabbits in no time.
Gallery of Rabbit Drawings
