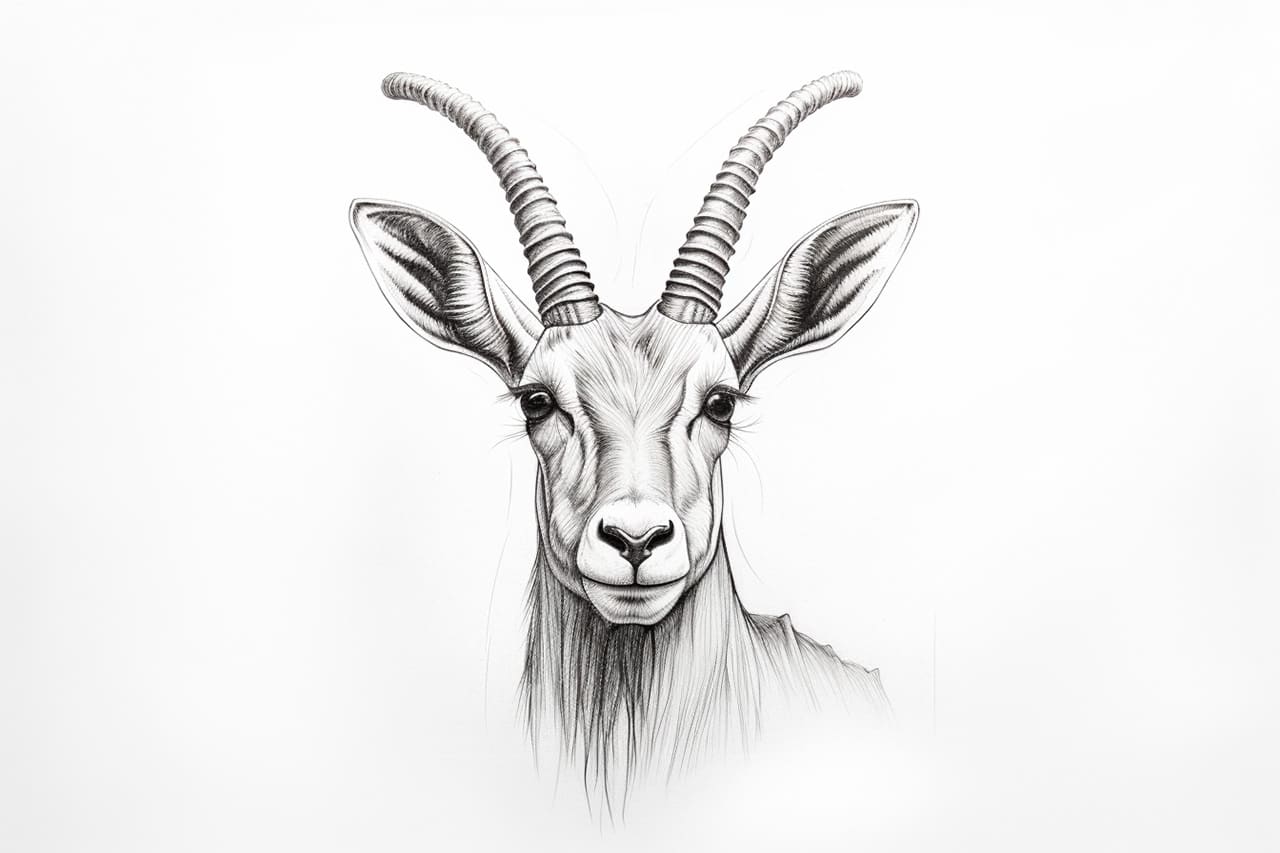
Welcome to this step-by-step guide on how to draw a saola! If you’re not familiar with the saola, it is a rare and captivating animal found in the forests of Vietnam and Laos. Drawing this unique creature can be a fun and rewarding experience, and I’m here to help you through each step of the process.
Materials Required
Before we begin, let’s gather the materials you’ll need:
- Pencil: Choose a pencil that allows you to easily erase or make lighter lines.
- Paper: Select a smooth and sturdy paper that is suitable for drawing.
- Eraser: Have an eraser handy to make corrections or lighten any dark lines.
- Fine-tip pen: Optional, but it can be helpful for outlining and adding details.
- Reference image: Find a clear photograph or illustration of a saola to use as a reference.
Now that we have everything we need, let’s dive into the step-by-step process of drawing a saola.
Step 1: Lightly Sketch the Basic Shapes
Start by lightly sketching the basic shapes that define the saola’s body. Begin with an oval shape for the head and a larger oval for the body. Connect these two shapes with a curved line for the neck.
Step 2: Add the Facial Features
Within the head shape, draw two circles to represent the saola’s eyes. Place them evenly spaced and towards the center of the oval. Next, add a small triangle-shaped nose beneath the eyes. Finally, draw a curved line for the mouth, slightly below the nose.
Step 3: Outline the Saola’s Horns
The saola is known for its long, slender horns. Draw two curved lines extending upwards from the head, starting near the top of the oval shape. Make sure the horns are symmetrical and taper towards the tips.
Step 4: Define the Body and Legs
Using the body’s oval shape as a guide, draw the saola’s body contours. Indicate the front and hind legs with simple curved lines. Remember to keep the proportions and anatomy in mind to create a realistic representation.
Step 5: Refine the Face and Ears
Now, let’s add more details to the saola’s face. Sketch the ears on each side of the head, making them slightly elongated and pointed. Don’t forget to add some texture and folds to give them depth and realism.
Step 6: Enhance the Eyes and Mouth
To bring the saola to life, focus on the eyes and mouth. Add a small circle within each eye to represent the iris, and carefully shade it to create depth. Darken the outline of the eyes to make them stand out. Add some detail to the mouth by lightly sketching the saola’s lips and teeth.
Step 7: Add Texture and Fur
Now it’s time to add some texture and fur to your saola drawing. Use short, curved lines that follow the body’s contours to represent the fur. Pay attention to the direction of the fur, which tends to be longer and flowing on the saola’s back and tail.
Step 8: Finalize the Details
At this point, you’re almost done! Take a step back and analyze your drawing. Look for any areas that need refining or additional details. Adjust the proportions if necessary and add any finishing touches to make your saola drawing truly come alive.
Wrapping Up Your Saola Drawing
Congratulations on completing your saola drawing! I hope this step-by-step guide has helped you bring this magnificent creature to life on paper. Remember, practice makes perfect, so don’t hesitate to try again and experiment with different techniques and styles.
Drawing a saola requires patience and attention to detail, but the end result is truly rewarding. With a few simple steps, you can capture the beauty and uniqueness of this rare animal. So grab your materials, find a reference image, and let your creativity soar as you draw your own saola masterpiece.