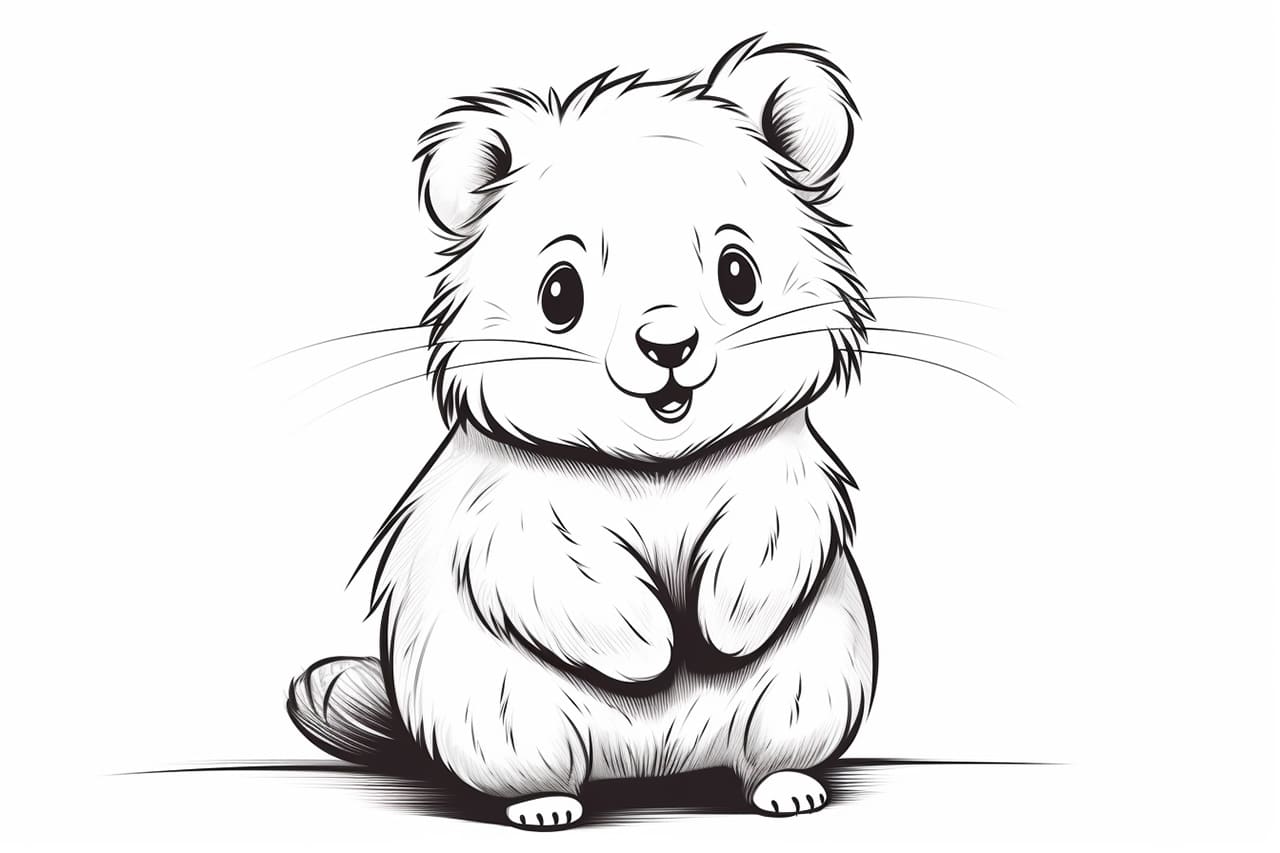
Welcome to this step-by-step tutorial on how to draw a quokka! Quokkas are small marsupials native to Australia renowned for their friendly and adorable appearance. In this guide, I will walk you through the process of capturing the unique features of a quokka on paper. So grab your drawing tools and let’s get started!
Materials Required
Before we dive into the drawing process, it’s important to gather the necessary materials. Here’s what you’ll need:
- Pencils: A range of pencils with different lead grades such as HB, 2B, and 4B.
- Eraser: A soft eraser that won’t damage your paper.
- Paper: Choose a smooth, medium-weight paper that is suitable for drawing.
Now that you have your materials ready, let’s move on to the step-by-step instructions.
Step 1: Outline the Basic Shape
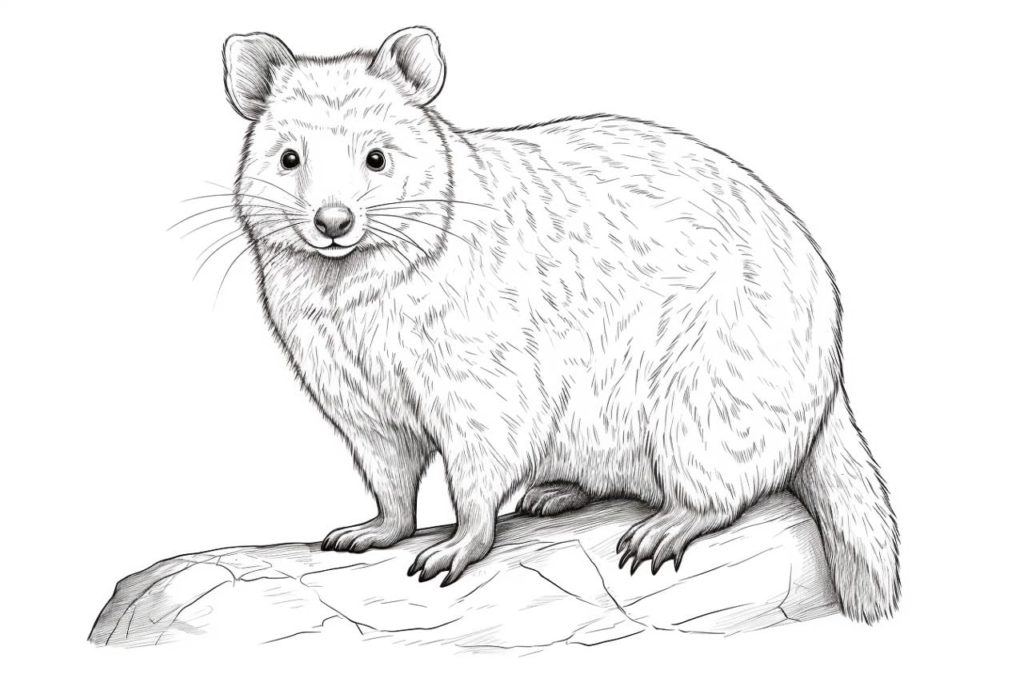
Start by outlining the basic shape of the quokka’s body. Draw a circle for the head and a slightly elongated oval for the body. Keep the lines light and loose, as you’ll be refining them later on.
Step 2: Add Facial Features
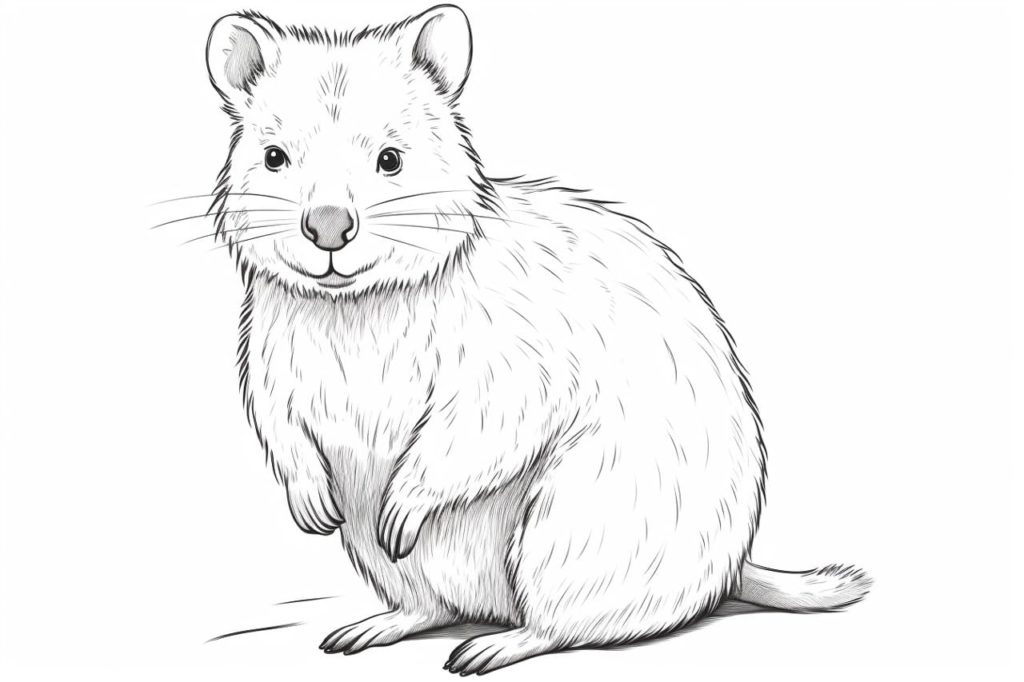
Next, let’s focus on the quokka’s facial features. Draw two large circular eyes towards the top of the head. Add a small triangular-shaped nose just below the eyes and a curved line for the mouth. Quokkas have a friendly smile, so make sure to capture that in your drawing.
Step 3: Sketch the Ears and Forehead
To give your quokka a realistic look, sketch the ears and forehead. Quokkas have rounded ears that sit slightly higher on their heads. Draw two curved lines above the eyes, shaping them like round-tipped triangles to represent the ears. Extend the lines from the ears to form the forehead of the quokka.
Step 4: Outline the Body and Limbs
Refine the outline of the quokka’s body and limbs. Add more curves to define the shape and make the body look more rounded. The limbs should be short and stubby, so draw four small ovals for the legs and two circular paws at the front.
Step 5: Add Details to the Face
Now it’s time to add some details to the face to make your quokka come to life. Draw a smaller circle within each eye to represent the pupils. Add a couple of curved lines above each eye to indicate the eyebrows. Quokkas also have distinctive tear-shaped markings that extend from the inner corner of the eye towards the cheeks, so include those as well.
Step 6: Refine the Body and Fur
Refine the body of the quokka by adding texture and fur. Quokkas have a soft, furry coat, so use short, curved lines to create the appearance of fur. Pay attention to the direction of the fur and add more lines in areas where shadows would naturally occur.
Step 7: Finalize the Facial Features
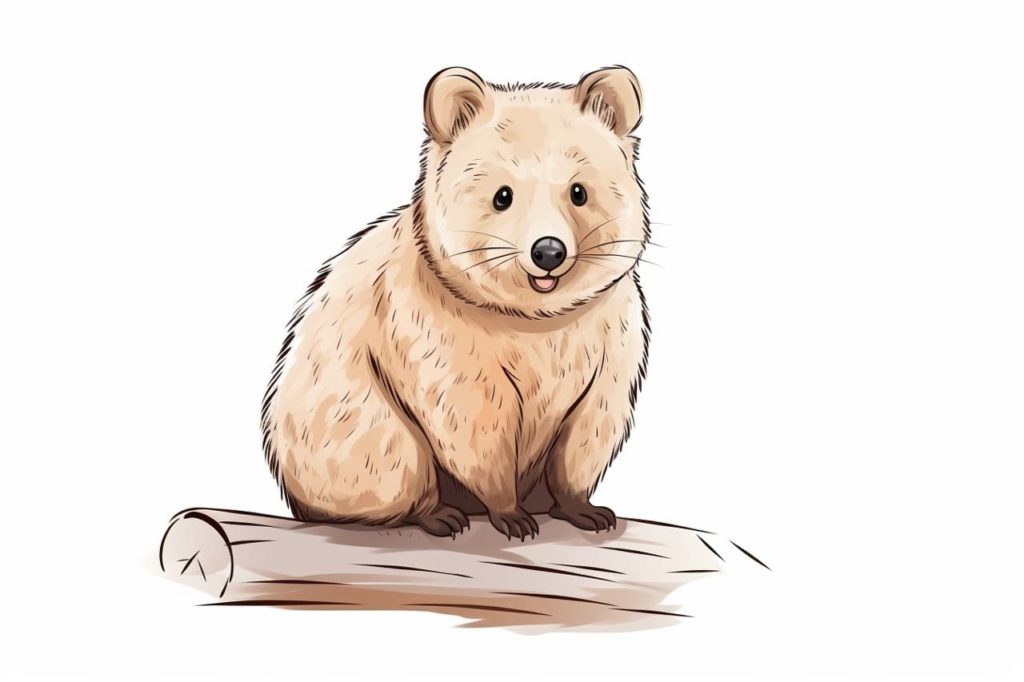
Go back to the face and finalize the details. Darken the pupils to make them stand out and add some shading around the eyes to create depth. Shade the area below the nose and mouth to give the face more dimension. Don’t forget to include a hint of the quokka’s friendly smile by lightly shading the curved line of the mouth.
Step 8: Add Background and Shadows
To enhance your quokka drawing, consider adding a simple background and shadows. Sketch a horizon line and a few small tufts of grass or a rock to create context. Use light shading to indicate the shadow areas, paying attention to the direction of the light source.
Conclusion
Congratulations, you have successfully drawn a quokka! By following these step-by-step instructions, you were able to capture the unique features and adorable nature of these small marsupials. Remember to practice and experiment with different techniques to further develop your drawing skills. Enjoy creating more quokka artworks and have fun exploring the wonderful world of art!
Gallery of Quokka Drawings