Whether you’re an experienced artist or just starting out, drawing a pond can be a fun and rewarding project. A pond is a tranquil and picturesque subject that can provide a great opportunity to practice your skills in capturing reflections, water textures, and the environment surrounding it. In this step-by-step guide, we will explore the process of drawing a pond, from laying out the initial sketch to adding details and shading. So let’s grab our drawing materials and get started!
Materials Required
To draw a pond, you will need the following materials:
- Drawing paper: Select a smooth and sturdy paper that can handle various drawing techniques.
- Pencil: Use a range of graphite pencils, starting from lighter (H or HB) to darker (2B or 4B) grades.
- Eraser: Have a kneaded eraser or a soft vinyl eraser handy for corrections.
- Drawing board: Use a drawing board or a hard surface to support your paper while drawing.
- Ruler: A straightedge ruler will help you maintain straight lines and proportions.
- Blending tools: Consider using blending stumps or tortillons to achieve smooth shading and blending.
- Reference image: Find a high-quality image or visit a pond in person to observe the details and gather inspiration.
Now that we have all the materials, let’s dive into the steps of drawing a pond!
Step 1: Sketch the Basic Shape of the Pond
Start by lightly sketching the basic shape of the pond using a light pencil. You can use a ruler to ensure straight lines and maintain proportions. Keep in mind that ponds can have various shapes, from simple geometric forms to more organic and irregular shapes. Experiment and explore different shapes until you find one that suits your vision.
Step 2: Add the Shoreline and Surrounding Environment
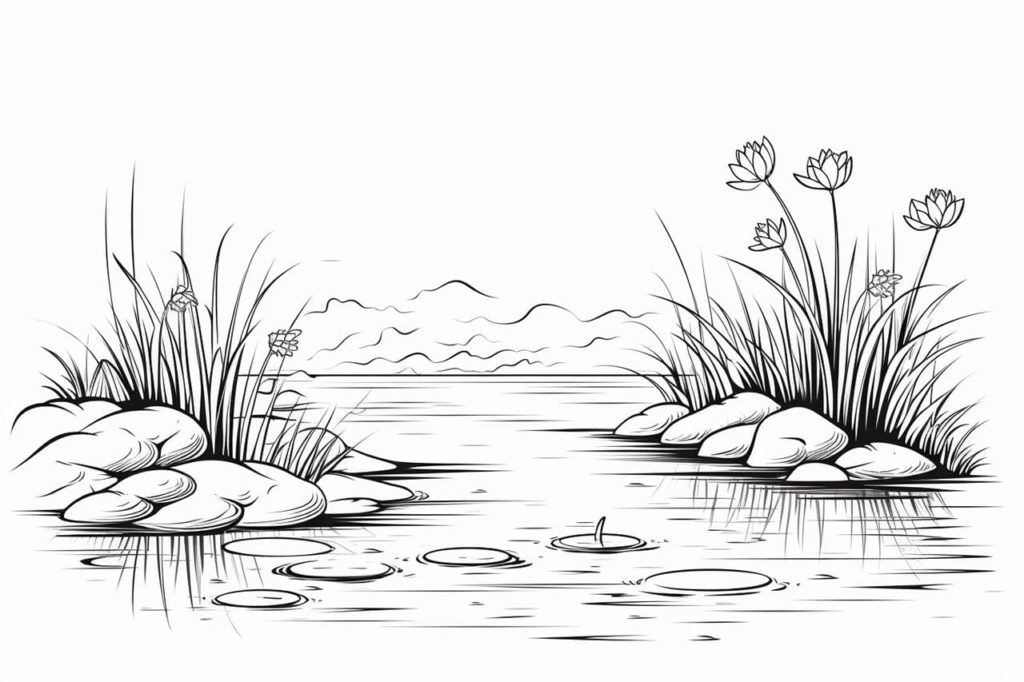
Next, sketch the shoreline of the pond by lightly drawing a line that represents the edge of the water. The shoreline may be curved or jagged, depending on the pond’s landscape. Then, add the surrounding environment, including trees, bushes, rocks, or any other natural elements. Take your time to study your reference image or observe the real-life pond to accurately capture the details.
Step 3: Define the Horizon Line and Vanishing Point
To create depth and perspective in your drawing, define the horizon line and vanishing point. The horizon line is an imaginary horizontal line that represents the viewer’s eye level, while the vanishing point is the point on the horizon where parallel lines appear to converge. Place the vanishing point on the horizon line, typically towards the center of your drawing. This will help you accurately depict the reflections and the overall perspective of the pond.
Step 4: Sketch the Reflections
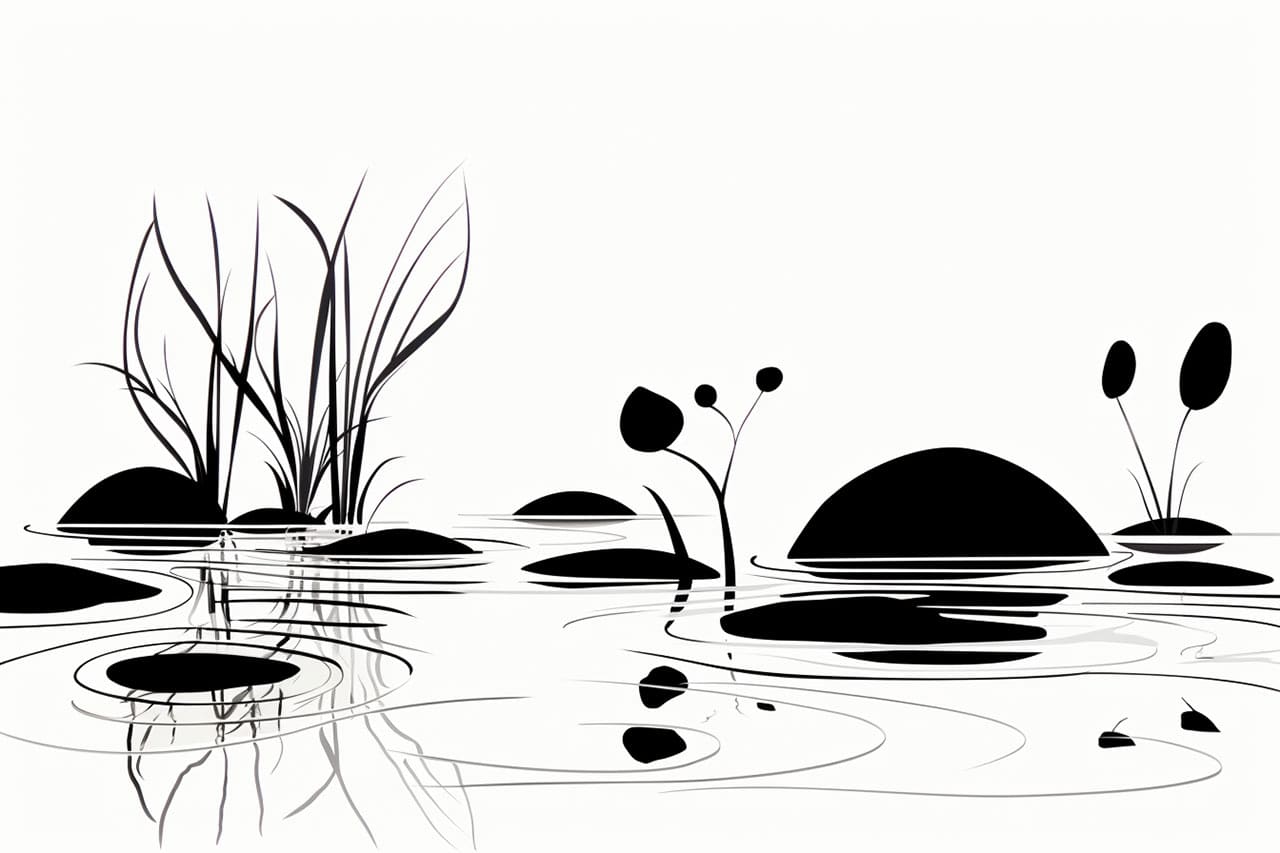
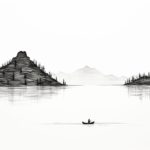
Now, focus on sketching the reflections on the water’s surface. Start by lightly drawing the basic shapes of the reflected objects, such as trees, clouds, or any other elements present in your reference image. Remember that reflections appear slightly distorted and softer than the actual objects. Take care to maintain accuracy in the proportions and positions of the reflections relative to their real counterparts.
Step 5: Add Texture and Depth to the Water
To bring the pond to life, add texture and depth to the water. Start by shading the areas of the pond that are deeper or farther away, using darker pencil grades. Gradually lighten the shading as you move towards the shoreline or areas where the water is shallower. Use a combination of hatching, cross-hatching, or stippling techniques to depict the water’s movement and texture. Pay attention to the direction of the lines to create a more realistic effect.
Step 6: Detail the Surrounding Environment
Once the water is complete, shift your focus to detailing the surrounding environment. Add texture, shades, and highlights to the trees, bushes, rocks, or any other elements present around the pond. Remember to pay attention to the lighting conditions and cast shadows that might affect the objects and the overall atmosphere.
Step 7: Finalize the Drawing with Shading and Blending
In the final step, refine your drawing by adding shading, highlights, and blending. Use darker pencil grades or shading techniques to deepen the shadows and create contrast. Pay attention to the light source in your reference image to determine where the highlights and shadows fall. Blending tools like blending stumps or tortillons can help smoothen the transitions between different shades and achieve a more realistic appearance.
Conclusion
Drawing a pond allows you to explore various techniques and elements, from capturing reflections to depicting water and the surrounding environment. By following these step-by-step instructions, you can create a beautiful and serene pond scene on paper. Remember to take your time, observe the details, and enjoy the process of bringing a pond to life through your artistic skills.
So, gather your materials, find a reference image or visit a pond in person, and let your creativity flow as you draw a pond. Happy drawing!
