Welcome to this step-by-step guide on how to draw a museum! Museums are fascinating structures that hold a wealth of history and art. In this article, we will explore the process of drawing a museum from start to finish. Whether you’re a beginner or an experienced artist, these easy-to-follow instructions will help you create a beautiful and realistic representation of a museum. So, grab your drawing supplies and let’s get started!
Materials Required
Before we dive into the drawing process, let’s gather the materials you will need:
- Drawing paper or sketchbook
- Pencil (preferably an HB or 2B)
- Eraser
- Ruler
- Fine-tipped pens or markers (optional)
- Colored pencils or markers (optional)
Now that you have your materials ready, let’s begin drawing a museum!
Step 1: Outline the Main Structure
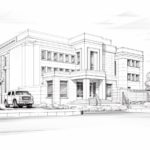
Start by drawing a horizontal line near the middle of your paper. This line will serve as the horizon line and the base of your museum. Sketch a rectangular shape above the horizon line to represent the main building of the museum. Use light, gentle strokes to create the outline.
Step 2: Add the Entrance and Windows
Next, draw the entrance of the museum. This could be a grand doorway or a set of double doors. Add details such as pillars or decorative elements around the entrance to make it more interesting. Then, draw windows along the sides of the building. Museums often have large windows to allow natural light into the exhibit spaces.
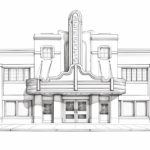
Step 3: Include Architectural Details
Now it’s time to add architectural details to your museum drawing. Museums often have unique features that make them stand out. Think about domes, columns, arches, or any other distinctive elements you’d like to include. Use your ruler to create straight lines and sharp angles for a clean and precise look.
Step 4: Draw the Roof
Draw the roof of the museum by adding triangular shapes or curves depending on the architectural style you want to portray. Consider the angles and proportions of the roof to create a realistic representation. Take your time with this step, as it can greatly affect the overall appearance of your drawing.
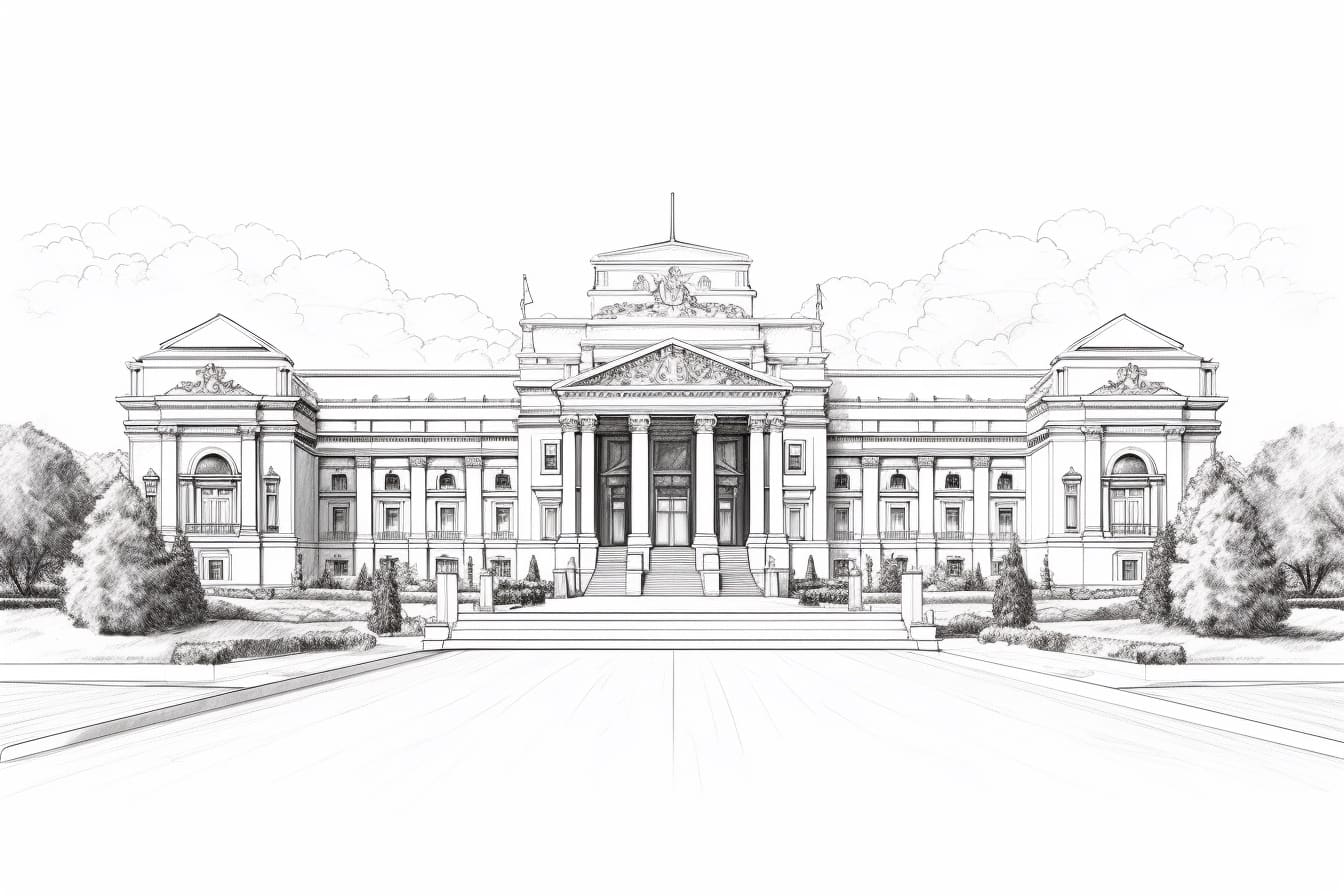
Step 5: Sketch the Facade
Add texture and depth to your museum drawing by sketching the facade. Pay attention to the details on the surface of the walls, such as bricks, stones, or any other textures that are characteristic of the museum you have in mind. Vary your pencil pressure to create light and shadow, giving your drawing a sense of dimension.
Step 6: Add Landscaping and Surroundings
A museum is not only about the building itself but also the surrounding environment. Draw trees, plants, or any landscape features you’d like to include. Consider pathways, benches, or even sculptures that can enhance the overall atmosphere of the museum area. These elements will bring life to your drawing.
Step 7: Refine the Details
Take a step aback and assess your drawing so far. Are there any areas that need refining or additional details? Use your eraser to remove any unnecessary lines or mistakes. Then, go over the main outlines of the museum with a darker pencil or pen to make them stand out. This will give your drawing a polished and finished look.
Step 8: Add Color (Optional)
If you’d like to add color to your museum drawing, now is the time to do so. Use colored pencils or markers to bring your drawing to life. Consider the materials and color palettes commonly found in museums, such as warm earth tones for the facade and vibrant hues for the surroundings. Remember to blend and layer colors to achieve a realistic and harmonious effect.
Conclusion
Congratulations! You have successfully learned how to draw a museum. By following these step-by-step instructions, you have created a beautiful representation of this historic and cultural structure. Drawing museums can be a challenging but rewarding endeavor, allowing you to explore architectural details and unleash your creativity. So, keep practicing and experimenting with different styles and techniques. With time, you’ll become a master at capturing the essence of these magnificent buildings on paper.