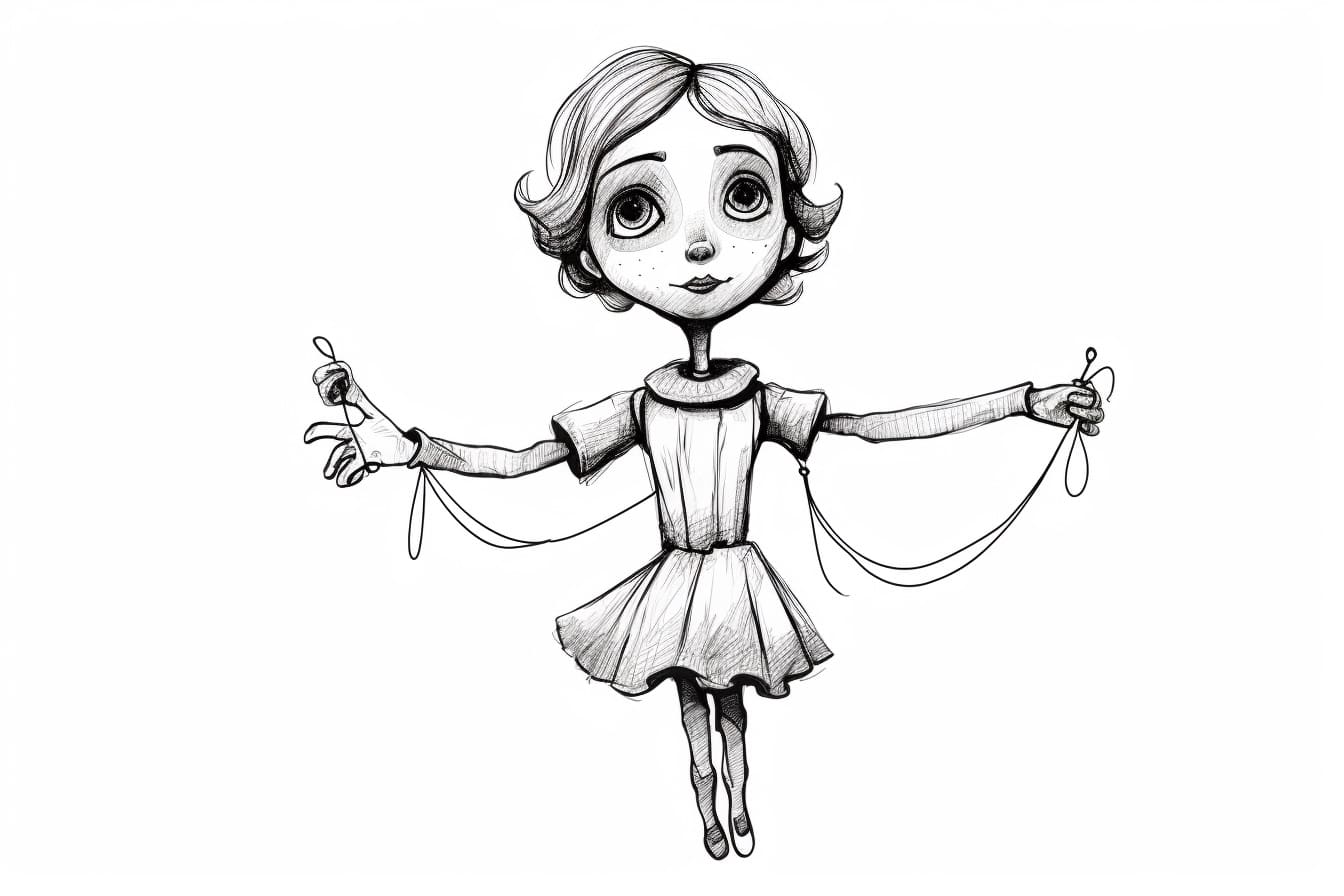
Welcome to this step-by-step tutorial on how to draw a puppet! Whether you’re an aspiring artist or simply want to explore your creativity, creating a puppet drawing can be a delightful and rewarding experience. In this guide, we’ll walk you through the process of drawing a puppet from start to finish, using easy-to-follow instructions. So grab your drawing materials and let’s get started!
Materials Required
Before we begin, make sure you have the following materials ready:
- Pencil
- Eraser
- Paper
- Colored pencils or markers (optional)
Now that you have your materials prepared, let’s dive into the steps of drawing a puppet.
Step 1: Sketching the Puppet Body
Start by drawing a large oval shape in the center of your paper. This will serve as the body of the puppet. Be sure to leave some space above the oval for the head and below it for the legs.
Step 2: Adding the Head
Draw a smaller oval shape above the body to create the puppet’s head. You can make the head as big or as small as you like, depending on the desired proportions of your puppet. Keep in mind that puppets often have exaggerated facial features, so feel free to get creative!
Step 3: Drawing the Arms and Hands
Extend two lines from the sides of the puppet’s body to create the arms. Then, draw two smaller ovals at the ends of the lines to represent the puppet’s hands. Puppets typically have larger hands and fingers, so keep this in mind as you sketch.
Step 4: Designing the Face
Now it’s time to bring your puppet’s face to life. Draw two large circular eyes on the head, leaving some space between them. Next, add a triangular-shaped nose in the center of the face, and a smiling mouth underneath. You can also add eyebrows and other facial details to give your puppet a unique expression.
Step 5: Creating the Legs and Feet
Draw two straight lines extending downward from the bottom of the puppet’s body to create the legs. At the end of each leg, draw a pair of oval shapes to represent the feet. You can add some simple shoes or decorative details to make your puppet’s feet more interesting.
Step 6: Adding Details and Clothing
Now that the basic puppet structure is complete, it’s time to add some details and clothing. You can draw hair, hats, or any accessories of your choice to personalize your puppet. Additionally, you can draw clothing by sketching simple shapes over the puppet’s body and arms. Let your imagination run wild!
Step 7: Inking Your Drawing
Once you’re happy with your pencil sketch, go ahead and trace over the lines with a pen or marker to make them more defined. You can use various line weights to add depth and dimension to your puppet drawing.
Step 8: Coloring Your Puppet (Optional)
If you prefer to add color to your drawing, now is the time to do it. Grab your colored pencils or markers and start filling in your puppet with the colors of your choice. Be sure to use light strokes and layer your colors to achieve the desired effect.
Conclusion
Congratulations! You have successfully learned how to draw a puppet step by step. By following these instructions, you should now have a charming puppet drawing that showcases your artistic skills. Remember, practice makes perfect, so feel free to experiment and create your own unique puppet designs. Have fun and keep exploring the wonderful world of art!