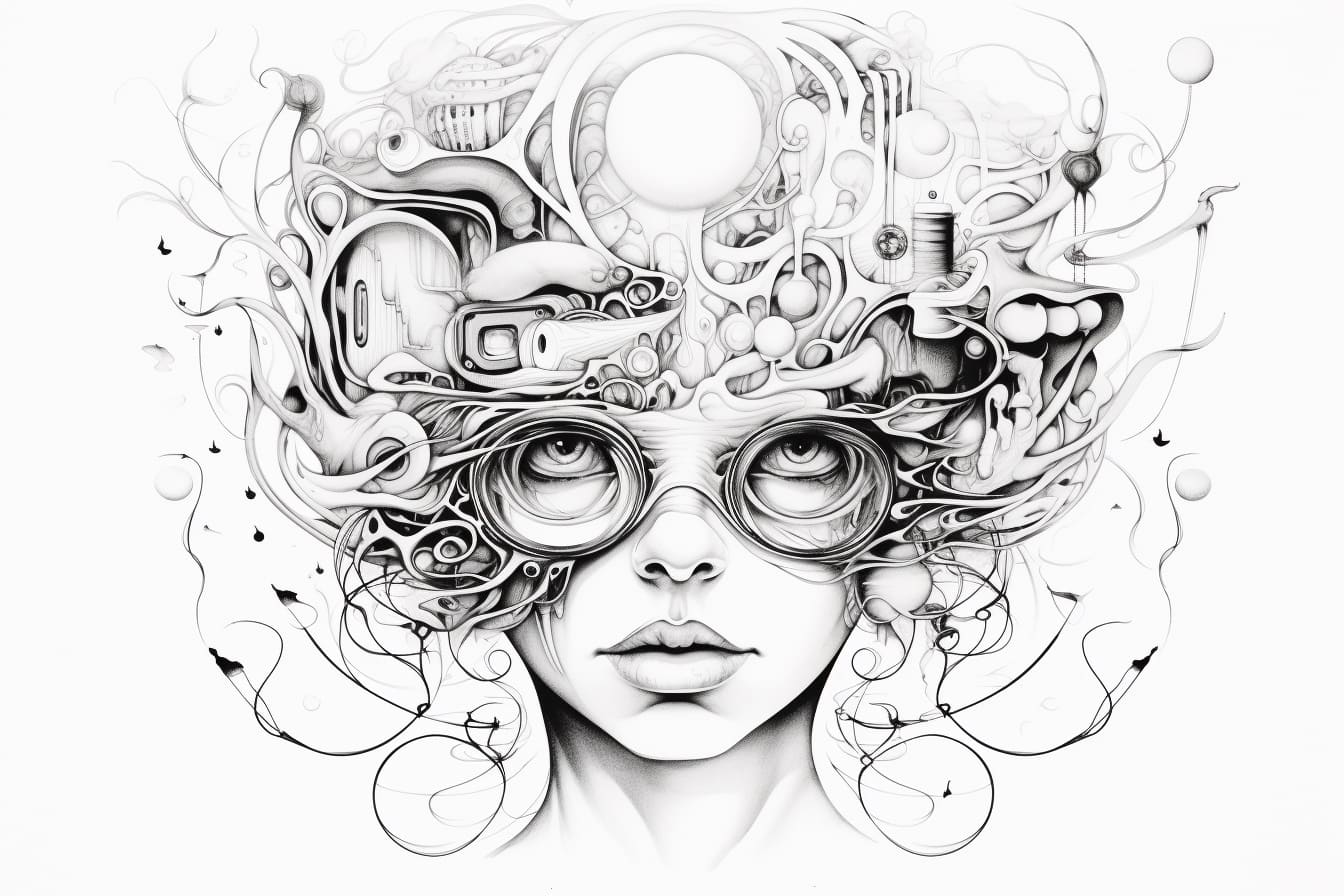
Welcome to this step-by-step tutorial on how to draw a trippy drawing! Whether you’re a beginner or an experienced artist, creating trippy artwork can be a fun and fascinating process. Trippy art is known for its vibrant colors, intricate patterns, and mind-bending illusions. So, grab your art supplies and let’s dive into the world of trippy drawings!
Materials Required
Before we begin, let’s gather the following materials:
- Drawing paper
- Pencil
- Fine-tip markers or colored pens
- Colored pencils
- Eraser
- Ruler (optional)
Now that we have everything we need, let’s get started!
Step 1: Choose a Theme or Subject
The first step in creating a trippy drawing is to decide on a theme or subject. Trippy art can be inspired by nature, dreams, psychedelia, or even your own imagination. Think about what interests you and what kind of visuals you would like to incorporate into your drawing.
Step 2: Sketch the Basic Outline
Start by lightly sketching the basic outline of your subject using a pencil. This will serve as your framework for the rest of the drawing. Take your time to get the proportions and placement just right. Don’t worry about adding too much detail at this stage; we’ll be focusing on that in the next steps.
Step 3: Add Intricate Patterns
Trippy art often features intricate patterns that create a sense of movement and optical illusions. Begin by selecting an area of your drawing where you want to include a pattern. It could be the background, clothing, or any other part of your subject. Use your imagination to come up with a pattern that resonates with the overall theme of your drawing.
With your fine-tip markers or colored pens, start adding the patterns to your drawing. Experiment with different shapes, lines, and colors. Trippy art is all about breaking the rules, so don’t be afraid to get creative and let your imagination run wild!
Step 4: Play with Colors
Now it’s time to bring your drawing to life with colors! Trippy art is typically characterized by bold and vibrant color combinations. Use your colored pencils or colored pens to fill in the different areas of your drawing.
Consider using contrasting colors or complementary color schemes to make your artwork pop. You can also experiment with blending colors together or creating gradient effects for a more psychedelic look. Remember, there’s no right or wrong when it comes to trippy art, so have fun and let your intuition guide you!
Step 5: Emphasize the Details
To make your trippy drawing truly mesmerizing, focus on adding intricate details. This can include adding more patterns, shading certain areas, or enhancing the textures. Take your time and pay attention to the smaller elements that will make your artwork stand out.
You can use your fine-tip markers, colored pens, or colored pencils to add these details. If you feel like a certain area needs more depth or dimension, consider using subtle shading techniques to create that effect.
Step 6: Clean Up and Refine
Once you’re satisfied with the details and colors in your drawing, take a moment to review your artwork as a whole. Look for any areas that may need some cleanup or refinement. Use your eraser to gently remove any unwanted pencil marks or smudges.
If you feel like certain lines or shapes need to be enhanced, go ahead and redraw them with a fine-tip marker or colored pen. This final touch-up step will ensure that your trippy drawing looks polished and cohesive.
Conclusion
Creating a trippy drawing is a fantastic way to unleash your imagination and explore the world of vibrant colors and intricate patterns. By following these step-by-step instructions, you can bring your own unique vision to life. Remember, trippy art is all about breaking the rules and letting your creativity shine!
So, grab your art supplies, let your imagination run wild, and start creating your very own trippy masterpiece!

