Welcome to this step-by-step guide on how to draw a cartoon pumpkin! Whether you’re an aspiring artist or just looking to have some fun, this tutorial will help you create a cute and festive pumpkin drawing. So grab your pencils and let’s get started!
Materials Required
Before we begin, let’s gather the materials you’ll need for this drawing tutorial:
- Paper: Choose a clean, smooth, and medium-weight paper for your drawing.
- Pencils: Have a range of pencils with different lead hardness, such as HB, 2B, 4B, and 6B, to create different shading effects.
- Eraser: A kneaded eraser or a soft white eraser will be handy for making corrections and adding highlights.
- Sharpener: Keep a sharpener nearby to keep your pencils sharp and ready to use.
- Colored pencils or markers (optional): If you’d like to add some color to your pumpkin drawing, have some colored pencils or markers ready.
Now that you have all your materials ready, let’s dive into the steps of drawing a cartoon pumpkin!
Step 1: Draw the Outline
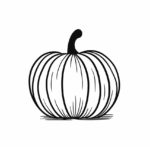
Start by drawing a simple oval shape in the center of your paper. This will be the general outline of the pumpkin. Don’t worry about making it perfect since we’ll be adding details later on.
Step 2: Add Facial Features
Now, let’s give our pumpkin some personality by adding facial features. Draw two large circular eyes near the top of the oval shape. Then, draw a small triangle for the nose just below the eyes. Finally, draw a curved line for the mouth, creating a cute and friendly expression.
Step 3: Detail the Eyes and Nose
To make the eyes more expressive, add smaller circles inside them to represent the pupils. Then, add some curved lines around the eyes to give them a whimsical look. For the nose, draw a small curved line at the bottom to make it more defined.
Step 4: Create the Mouth
To make the mouth look more cheerful, add some small U-shapes along the curved line we drew earlier. This will give the pumpkin a playful and toothy grin.
Step 5: Draw the Stem
Next, draw a small curved line at the top of the pumpkin, slightly off-center. This will be the stem. Make it slightly curved and add some jagged lines to give it a rough texture.
Step 6: Add Details and Texture
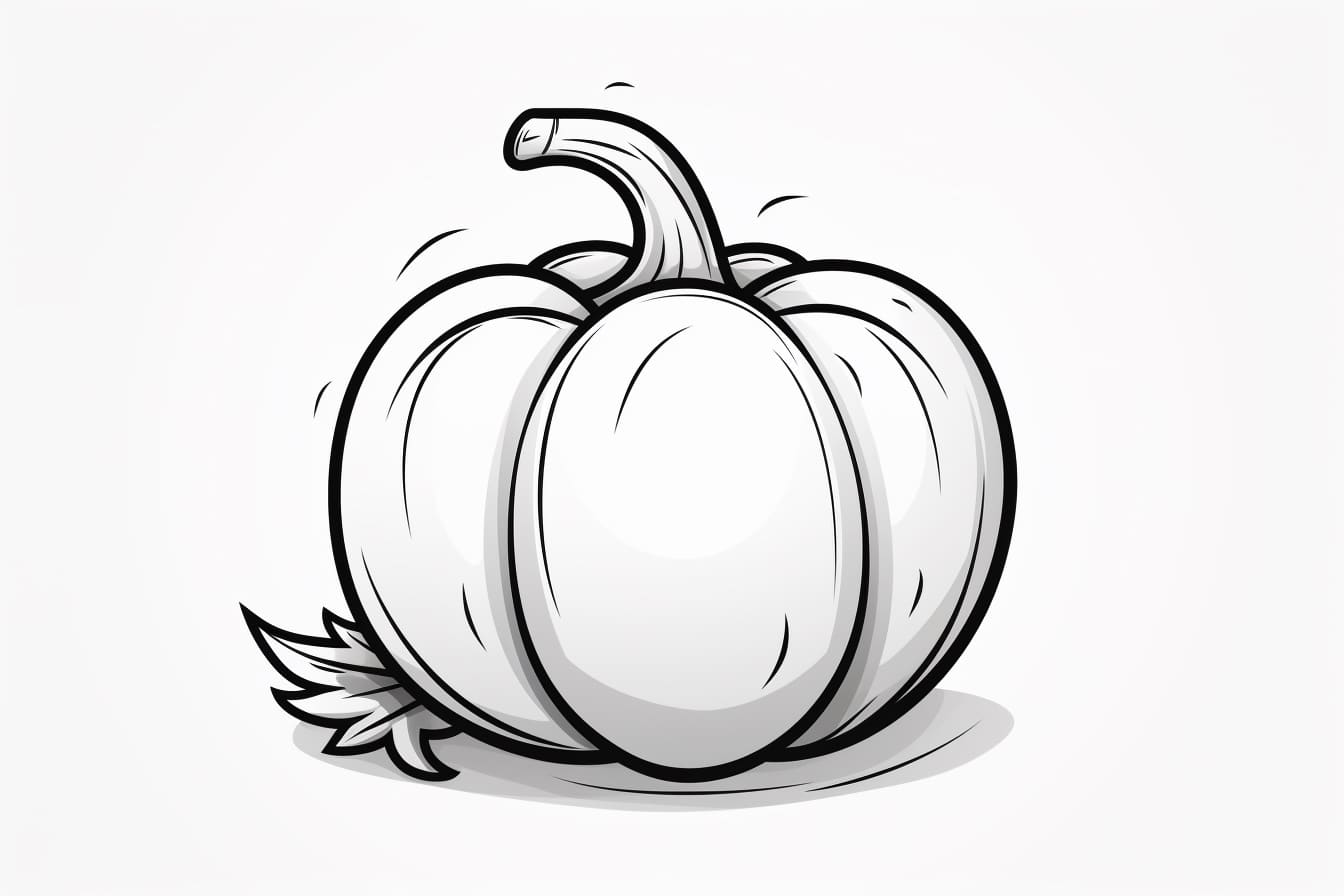
To make the pumpkin look more realistic, let’s add some texture and details. Start by drawing curved lines around the pumpkin’s outline to give it the appearance of sections. Then, add some curved lines inside these sections to create a bumpy texture. Be creative and vary the shapes and sizes of the sections to make your pumpkin unique.
Step 7: Shade and Add Depth
Now it’s time to add some shading and depth to our drawing. Use a softer pencil, like 4B or 6B, to darken the areas between the sections you drew in the previous step. Start by shading lightly and gradually build up the darkness. This will create a sense of dimension and make your pumpkin look three-dimensional.
Step 8: Highlight and Refine
To make your pumpkin drawing pop, add some highlights using an eraser. Lightly erase some areas within the sections to create highlights and give the illusion of light hitting the pumpkin. This will add contrast and make your drawing more visually interesting. Don’t be afraid to experiment with different erasing techniques to achieve the desired effect.
Step 9: Color Your Pumpkin (Optional)
If you’d like to add some color to your drawing, grab your colored pencils or markers and start coloring! Choose orange for the pumpkin body, green for the stem, and any other colors you’d like for the facial features. Remember to layer and blend the colors for a more vibrant and realistic look.
And there you have it! You’ve successfully drawn a cute cartoon pumpkin. Remember, practice makes perfect, so don’t be discouraged if your first attempt doesn’t turn out exactly as you’d imagined. Keep practicing and experimenting, and soon you’ll be able to draw pumpkins with ease!
Conclusion
Drawing a cartoon pumpkin is a fun and creative way to express your artistic skills. In this step-by-step guide, we’ve covered the process of drawing a cute and festive pumpkin from start to finish. By following these simple instructions, you can create a delightful pumpkin drawing that will impress your friends and family.
So grab your pencils, paper, and enthusiasm, and let your creativity flow. Happy drawing!