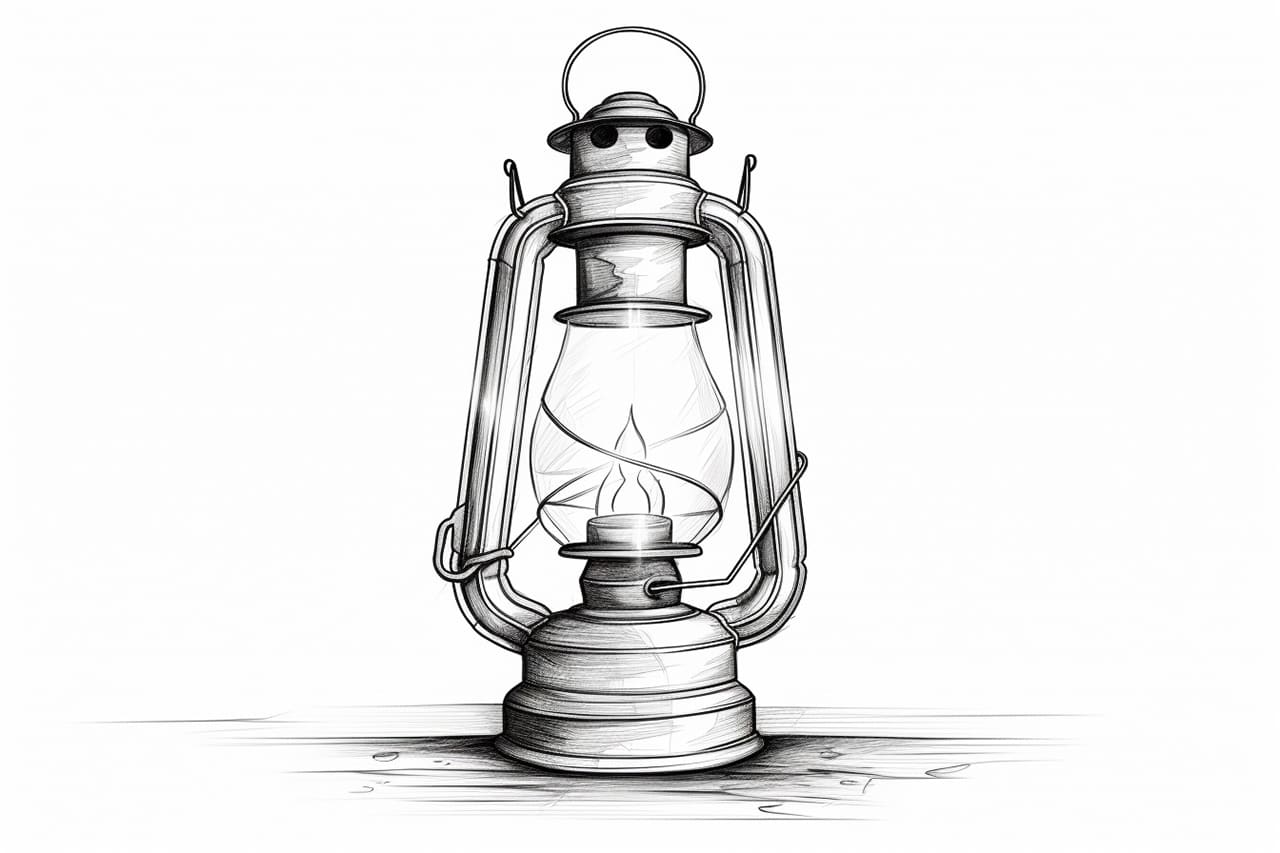
Welcome to this step-by-step guide on how to draw a lantern. Whether you’re a beginner or an experienced artist looking to expand your skill set, this tutorial will help you create a beautiful and realistic lantern drawing. By following these easy-to-follow instructions and using simple drawing techniques, you’ll be able to create a stunning piece of art. So, let’s get started!
Materials Required
Before we begin, gather the following materials:
- A pencil (preferably a mechanical pencil or a set of drawing pencils with varying degrees of lead softness)
- Eraser
- Drawing paper or sketchbook
- Ruler
- Black ink pen or waterproof fineliner
Now that you have your materials ready, let’s dive into the process of drawing a lantern!
Step 1: Sketching the Basic Shape
Start by lightly sketching a rectangle to form the main body of the lantern. Use a ruler for straight lines and try to make the sides of the rectangle slightly curved to give the lantern a more organic feel. This will be the base of your lantern.
Step 2: Adding Details
Once you have the basic shape, it’s time to add some details to make your lantern more interesting. Sketch a horizontal line near the top of the rectangle to create a guideline for the lantern’s handle. Then, add a smaller rectangle at the top of the lantern, which will serve as the lantern’s lid or cap. Feel free to get creative and add other embellishments or decorative elements as desired.
Step 3: Drawing the Handle
Using the guideline you created in the previous step, sketch a curved line to form the lantern’s handle. Make sure the handle is positioned symmetrically, and adjust its curvature to your liking. You can also add some smaller details to the handle, such as decorative patterns or textured grips.
Step 4: Refining the Shape
Now that you have the basic structure of the lantern, take a moment to refine its shape. Use your eraser to remove any unnecessary guidelines or lines that are no longer needed. This will help you achieve a cleaner and more polished look for your drawing.
Step 5: Adding Light and Shadows
To make your lantern drawing appear more three-dimensional and realistic, it’s important to add light and shadow. Consider where your light source is coming from and depict the areas that would be illuminated more brightly, as well as the areas that would be in shadow. Use your pencil to gradually darken certain areas and leave others lighter to create depth and volume.
Step 6: Inking the Drawing
Once you are satisfied with your pencil sketch, it’s time to ink your drawing. Use a black ink pen or a waterproof fineliner to trace over the final lines of your lantern. Pay attention to the thickness and consistency of your lines. You can make them thicker in certain areas to create emphasis and variation in line weight, adding interest to your drawing.
Step 7: Erasing Guidelines
After you have finished inking your drawing, use an eraser to carefully remove any remaining pencil guidelines. Take your time and erase gently to avoid smudging or damaging the inked lines. This step will help clean up your drawing and give it a more polished appearance.
Step 8: Adding Value and Texture
To bring your lantern drawing to life, consider adding values and texture. Use your pencil to shade areas of the lantern that would be in shadow, gradually building up layers of graphite to create depth and dimension. Pay attention to the texture of the lantern’s surface, adding hatching or cross-hatching to simulate the appearance of different materials or details.
Step 9: Final Touches
Lastly, take a step back and evaluate your drawing. Make any final adjustments or touch-ups as needed. Add any additional details or highlights to enhance the overall look of the lantern. Once you’re satisfied with the result, you can consider signing your artwork to make it truly yours.
Conclusion
Congratulations! You have successfully learned how to draw a lantern. By following these step-by-step instructions, using your creative flair, and practicing your drawing skills, you can create stunning and realistic lantern drawings. Remember to be patient with yourself and enjoy the process of creating art. So, grab your materials and start sketching your own beautiful lantern today!


