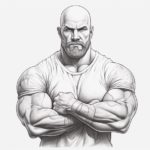
Welcome to this step-by-step guide on how to draw a fat man! In this tutorial, I will walk you through the process of creating a realistic and expressive representation of a larger individual. By following these instructions and using your artistic skills, you will be able to capture the unique features and proportions of a fat man in your drawing.
Before we begin, it’s important to note that drawing a fat man requires sensitivity and respect. It’s essential to approach this subject matter with empathy and avoid any negative stereotypes or body shaming. The goal of this tutorial is to capture the beauty and diversity of human body types.
Materials Required:
To get started, gather the following materials:
- Sketch pad or drawing paper
- Pencil set (HB, 2B, and 4B)
- Eraser
- Blending stump or cotton swabs (optional, for shading)
Now that you have the necessary materials, let’s dive into the step-by-step process of drawing a fat man!
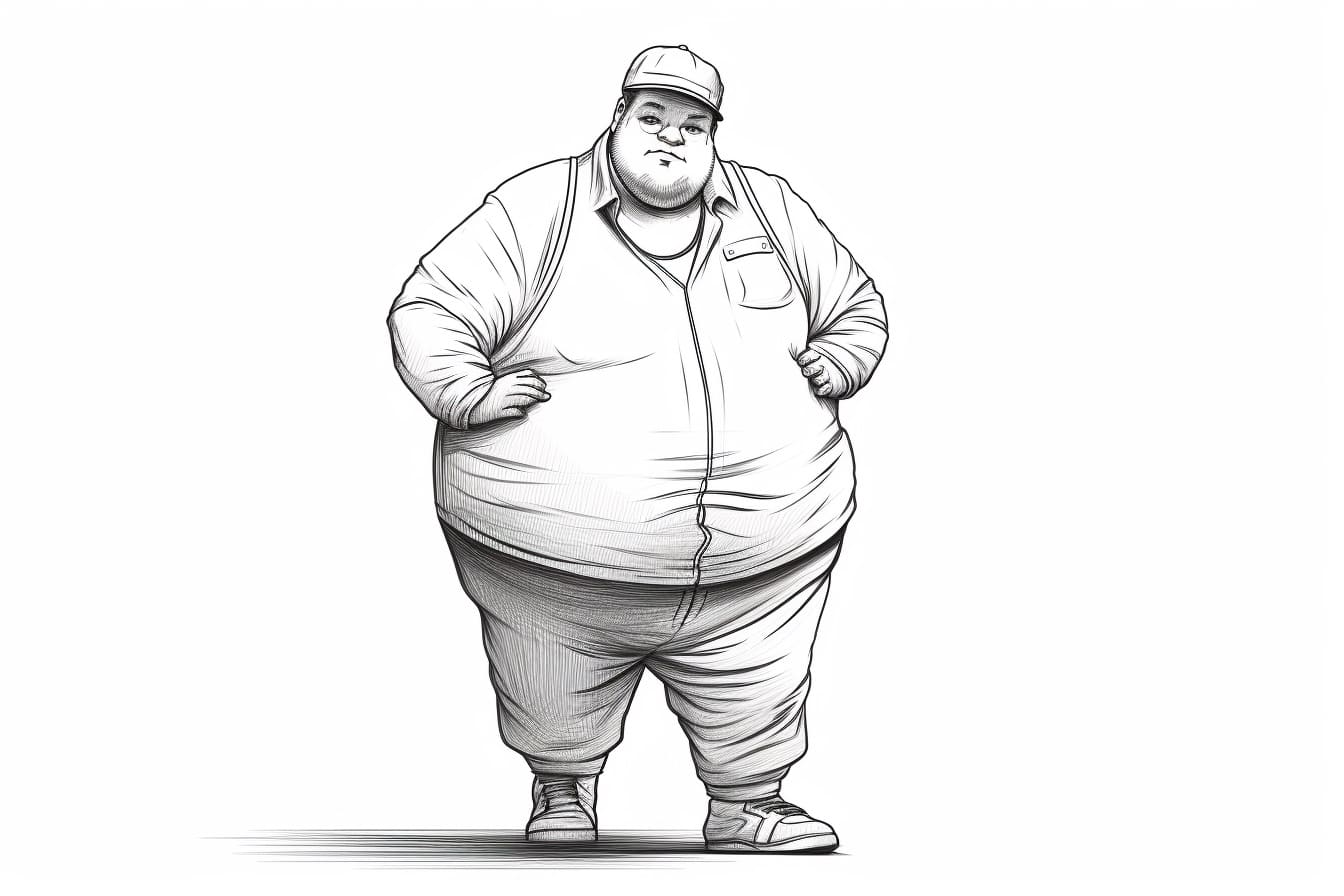
Step 1: Basic Body Shape
Begin by sketching the basic outline of the body. Start with a large oval shape for the head, followed by a rectangular shape for the torso. Remember that the size of the oval and rectangle will depend on the posture and perspective you want to depict. The rectangle should be wider in the middle to represent the belly.
Step 2: Facial Features
Next, focus on adding the facial features. Divide the head into thirds horizontally and vertically to guide you in placing the eyes, nose, and mouth. Pay attention to the specific features of the fat man you are drawing. Add extra volume to the cheeks, jawline, and neck to emphasize the weight.
Step 3: Body Proportions
Now, refine the body proportions. Adjust the width of the shoulders, arms, and legs according to the weight distribution. Remember that fat tends to accumulate in certain areas, such as the abdomen, hips, and chest. Make sure to represent this accurately in your drawing.
Step 4: Clothing and Details
Add clothing and any additional details to your fat man drawing. Think about the style and fit of the clothes, keeping in mind that they may appear tighter due to the body shape. Pay attention to folds and wrinkles, particularly around the waistline and under the arms. These details will add depth and realism to your artwork.
Step 5: Shading and Textures
To give your drawing dimension and depth, add shading and textures. Start by identifying the main light source and then shade the areas that would be in shadow. Use different pencil grades to create varying levels of darkness. Smooth out the shading with a blending stump or cotton swab if desired.
Conclusion
Congratulations, you have successfully learned how to draw a fat man! By following these step-by-step instructions and paying attention to the unique features and proportions, you can create a realistic and expressive representation of a larger individual. Remember to approach this subject matter with sensitivity and respect, celebrating the diversity of body types.
Drawing is a skill that can be developed and improved over time, so don’t be discouraged if your first attempt doesn’t meet your expectations. Practice regularly and observe the world around you to enhance your understanding of different body shapes and sizes. Enjoy the process of creating art and expressing yourself through your drawings.