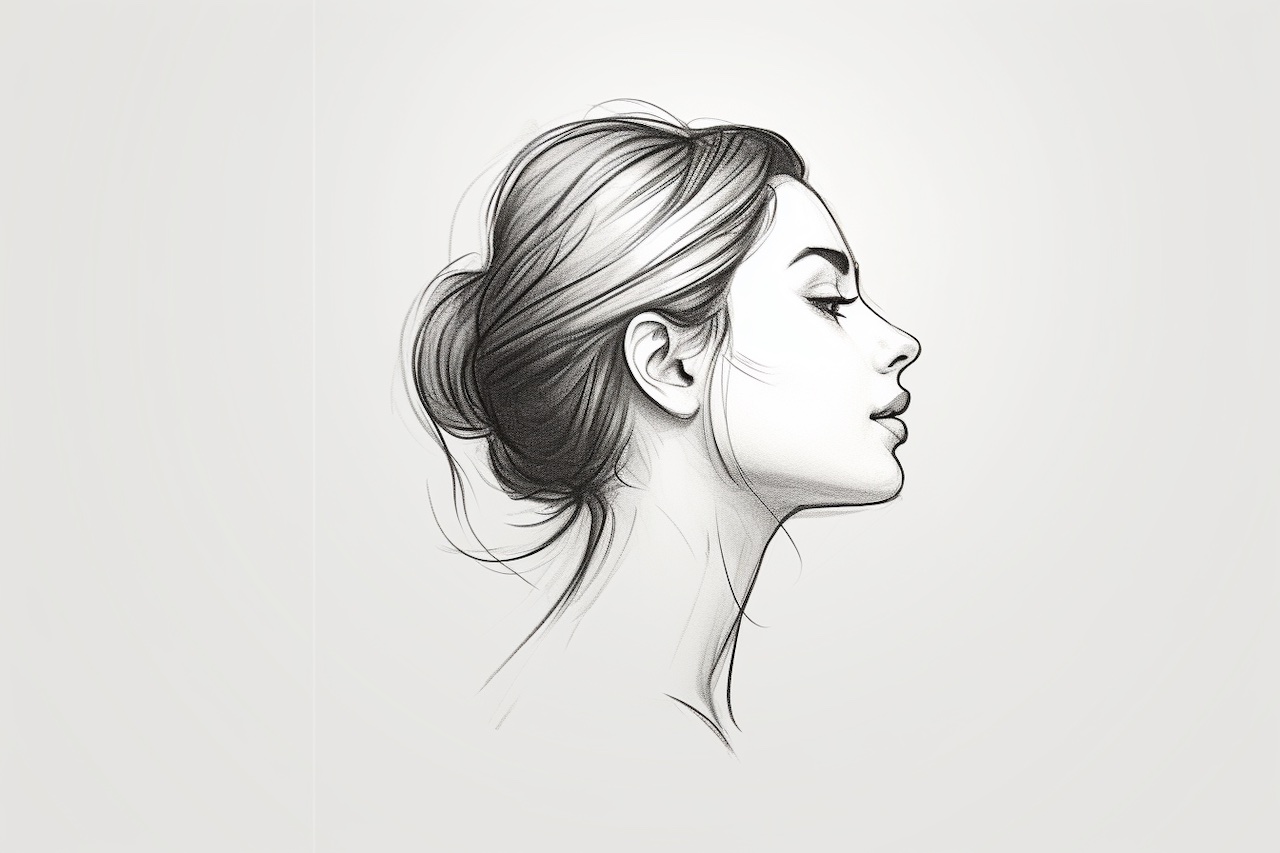
Welcome to this step-by-step guide on how to draw a profile! Whether you are a beginner or an experienced artist, learning to draw profiles is an essential skill that can be applied in various art forms. In this article, we will walk you through the process of drawing a profile from start to finish.
Materials Required
Before we begin, let’s gather the necessary materials. Make sure you have the following:
- Drawing paper or sketchbook
- Pencil (preferably 2B or HB)
- Eraser
- Fine-tip pen or marker (optional)
- Blending stump or cotton swabs (optional)
- Reference photo or model
Now that we have everything ready, let’s dive into the step-by-step process of drawing a profile.
Step 1: Basic Outline
Start by lightly sketching a vertical line in the center of your paper to serve as a guideline for the face. This line will help you maintain symmetry in your drawing. Next, draw a horizontal line intersecting the vertical line near the bottom to indicate the position of the eyes.
Step 2: Facial Proportions
Now, let’s establish the proportions of the profile. Divide the vertical guideline into five equal sections. The first section from the top will be the hairline, the second section will indicate the eyebrow line, the third section will be the line for the eyes, the fourth section for the nose, and the fifth section will be the line for the lips and chin.
Step 3: Hairline and Forehead
Using the first section as a guide, lightly sketch the shape of the hairline. Keep in mind that hairlines can vary greatly depending on the individual, so feel free to experiment with different styles. Next, draw the outline of the forehead using gentle curved lines.
Step 4: Eyes
Moving on to the third section, draw the eyes. Start by sketching the top and bottom eyelids, making sure to leave enough space between them. Add the iris and pupil, paying attention to the direction and angle of the gaze. If you find it challenging, you can draw basic almond shapes for now and add more details later.
Step 5: Nose
In the fourth section, sketch the outline of the nose. Begin by drawing a curved line for the bridge of the nose, then add the nostrils and the sides of the nose. Remember that noses come in various shapes and sizes, so take your time to capture the unique features of your subject.
Step 6: Lips and Chin
Finally, in the fifth section, draw the lips and chin. Start by outlining the shape of the upper and lower lips, paying attention to any distinctive features such as a cupid’s bow or a prominent lower lip. Then, sketch the curve of the chin, making sure it aligns properly with the other facial features.
Step 7: Refining the Features
With the basic outline complete, it’s time to refine the features of the profile. Start by adding more definition to the eyes, shaping the eyebrows, and drawing the eyelashes. Then, focus on the nose, carefully indicating the nostrils, bridge, and any other details. After that, move on to the lips, adding texture and volume.
Step 8: Shading and Textures
To bring your profile drawing to life, it’s important to add shading and textures. Begin by lightly shading the areas that would be in shadow, such as under the nose, the hollow of the eyes, and the side of the face. Gradually build up the shading by adding darker values and blending them with a blending stump or a cotton swab for a smoother transition.
Step 9: Final Details
In this final step, take a step back and analyze your drawing as a whole. Look for any areas that need refinement or adjustments. Add any necessary details, such as stray hairs, wrinkles, or skin textures. Take your time and make sure every element is well-executed and adds to the overall likeness of the profile.
Conclusion
Congratulations on completing your profile drawing! Drawing profiles can be challenging, but with practice and patience, you will gradually improve your skills. Remember to experiment with different styles and techniques to develop your own unique artistic voice. We hope this step-by-step guide has been helpful to you. Happy drawing!

