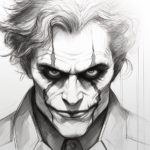
Welcome to this step-by-step tutorial on how to draw a Joker! Whether you are a beginner or an experienced artist, this guide will help you create a unique and captivating interpretation of this iconic character. So, grab your drawing materials and let’s get started!
Materials Required
To begin, gather the following materials:
- Drawing paper or a sketchbook
- Pencils of varying hardness (2B, 4B, and 6B)
- Eraser
- Sharpener
- Fineliner or pen for inking (optional)
- Colored pencils or markers (optional)
These materials will provide you with the necessary tools to bring your Joker drawing to life. Remember, you don’t need to have the most expensive or extensive set of supplies. The key is to have the basic essentials and unleash your creativity!
Step 1: Sketch the Basic Shape
Start by sketching the basic shape of the Joker’s head using light pencil lines. Begin with an oval shape for the head and then add a circle slightly below it to represent the neck. The Joker’s head is generally elongated, so keep that in mind while sketching.
Step 2: Add the Facial Features
Next, work on sketching the facial features. Begin by placing two horizontal lines across the head to serve as guides for the eyes. Then, draw two small circles for the eyes, making sure they are positioned within the bounds of the horizontal lines. Add eyebrows above the eyes, keeping in mind the expressive and exaggerated nature of the Joker’s eyebrows.
Moving on, sketch a curved line for the nose and a wide smile that extends beyond the edges of the face. The Joker’s smile is often associated with his maniacal laughter, so feel free to make it large and menacing.
Step 3: Refine the Details
Now, refine the details of the Joker’s face. Add depth and volume to the eyes by drawing the irises and pupils. Experiment with different shapes and sizes to achieve the desired effect. Don’t forget to draw the eyelids and some wrinkles around the eyes to emphasize the Joker’s sinister expression.
For the nose, add more definition by adding shading or hatching to create shadows and contours. Use curved lines to indicate the shape and texture of the nose. As for the smile, make it more prominent by adding creases and wrinkles around the edges and within the mouth.
Step 4: Work on the Hair
Moving on to the hair, the Joker’s hairstyle is often wild and chaotic. Start by sketching the general shape of the hair using loose and flowing lines. Emphasize the unruly nature of the hair by adding pointed and irregular strands. Experiment with different directions and shapes to create a dynamic and disheveled look.
Step 5: Refine the Face and Features
Now that the main elements are in place, it’s time to refine the overall appearance of the face and features. Erase any unnecessary guidelines and lightly shade areas that require depth and shading. Focus on creating contrast to bring out the Joker’s features, such as the eyes, nose, mouth, and eyebrows.
Use a softer pencil, such as a 4B or 6B, to add shading and texture to the areas that require more depth. Remember to follow the contours of the face and use light, hatching strokes for a more realistic effect.
Step 6: Ink and Outline
For added definition and clarity, you have the option to ink or outline your Joker drawing. If you choose to do so, use a fineliner or pen to carefully trace over the pencil lines. Pay attention to the outlines of the facial features, hair, and any other important details. Once the ink is dry, erase any remaining pencil marks.
Step 7: Add Color (Optional)
If you prefer a colored version of the Joker, this step is for you! Use colored pencils or markers to bring your artwork to life. Experiment with different color combinations to capture the Joker’s vibrant and unpredictable nature. Don’t be afraid to be bold and daring with your color choices.
Remember to start with lighter shades and gradually build up the colors, adding darker tones for shading and depth. Blend and layer the colors to achieve a smooth and seamless transition between different areas.
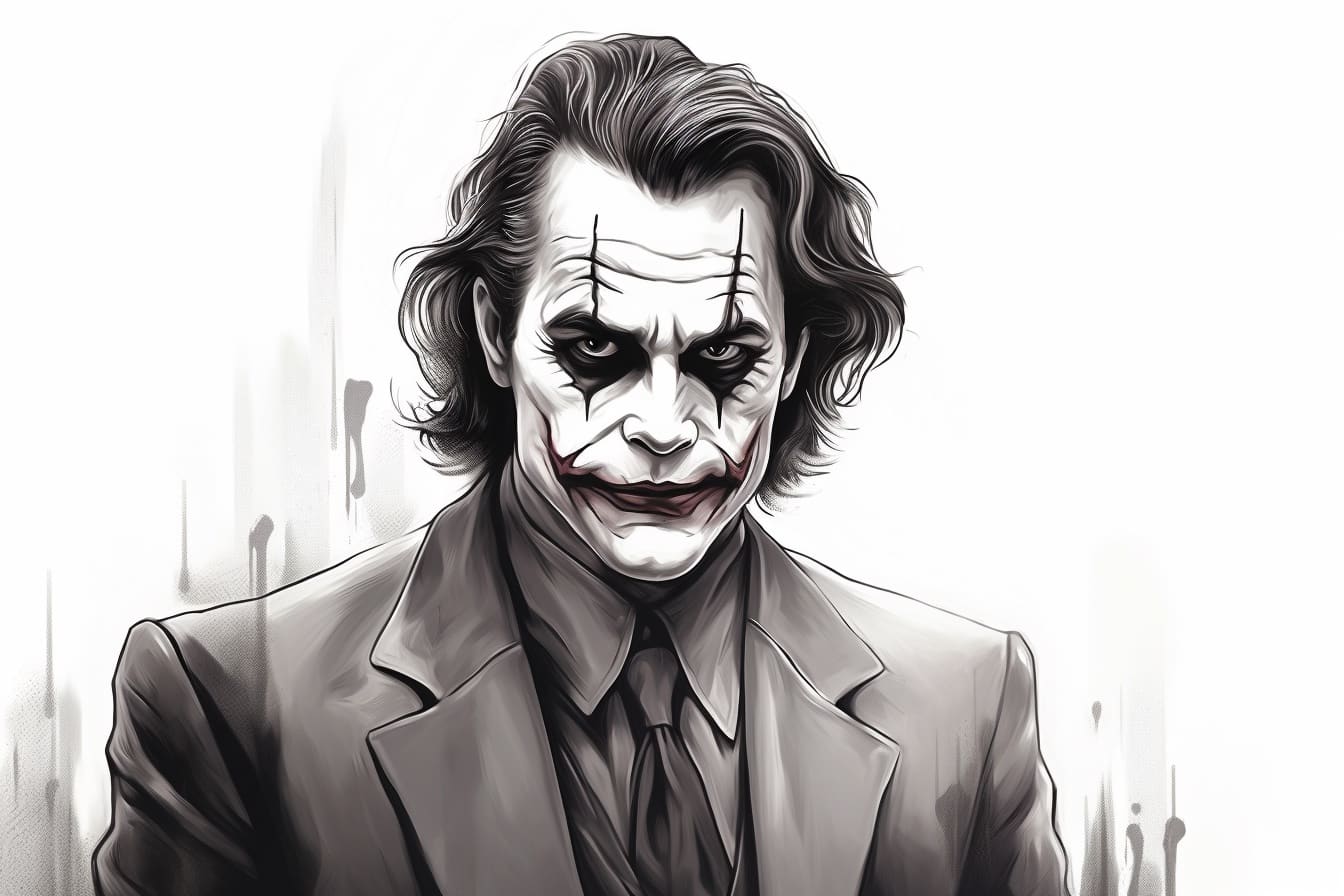
Conclusion
Congratulations! You have successfully learned how to draw a Joker. By following these step-by-step instructions and unleashing your creativity, you have created a unique and captivating interpretation of this iconic character. Keep practicing and experimenting with different styles and techniques to further enhance your drawing skills.
Remember, drawing is a continuous journey of learning and self-expression. So, don’t be afraid to explore and push your boundaries. Enjoy the process and have fun bringing your artistic visions to life!