Pinecones are not just simple structures; they are fascinating creations of nature that exhibit intricate designs and textures. Each pinecone tells a story through its unique patterns, showcasing the beauty and complexity of the natural world. Whether you have noticed them scattered across the forest floor or hanging gracefully from trees, these little wonders can inspire artists and nature enthusiasts alike.
Drawing a pinecone can be a fulfilling artistic journey, regardless of your skill level. It offers a wonderful opportunity to connect with nature while honing your drawing abilities. In this comprehensive guide, we will walk you through a series of straightforward steps that will help you capture the essence of a pinecone on paper. From the initial outlines to the final touches, you’ll learn how to infuse your drawing with the delightful details characteristic of these fascinating botanical structures.
So, if you’re ready to embark on this artistic endeavor, gather your materials and prepare to unleash your creativity. Let’s dive into the world of pinecone drawing and discover the joy that comes with transforming a natural object into a beautiful piece of art!
Materials Required
Before we begin, gather the following materials:
- Pencil (HB or 2B recommended)
- Eraser
- Drawing paper
- Fine-tip black marker or pen
- Colored pencils or markers (optional)
- Reference picture of a pinecone (optional)
Step 1: Basic Outline
To start drawing a pinecone, we will first establish its basic shape. Begin by lightly sketching a vertical line in the center of your paper, which will act as the pinecone’s spine. Then, draw a horizontal line intersecting the vertical line near the bottom to create a cross-like shape. This will serve as the foundation for the pinecone’s overall structure.
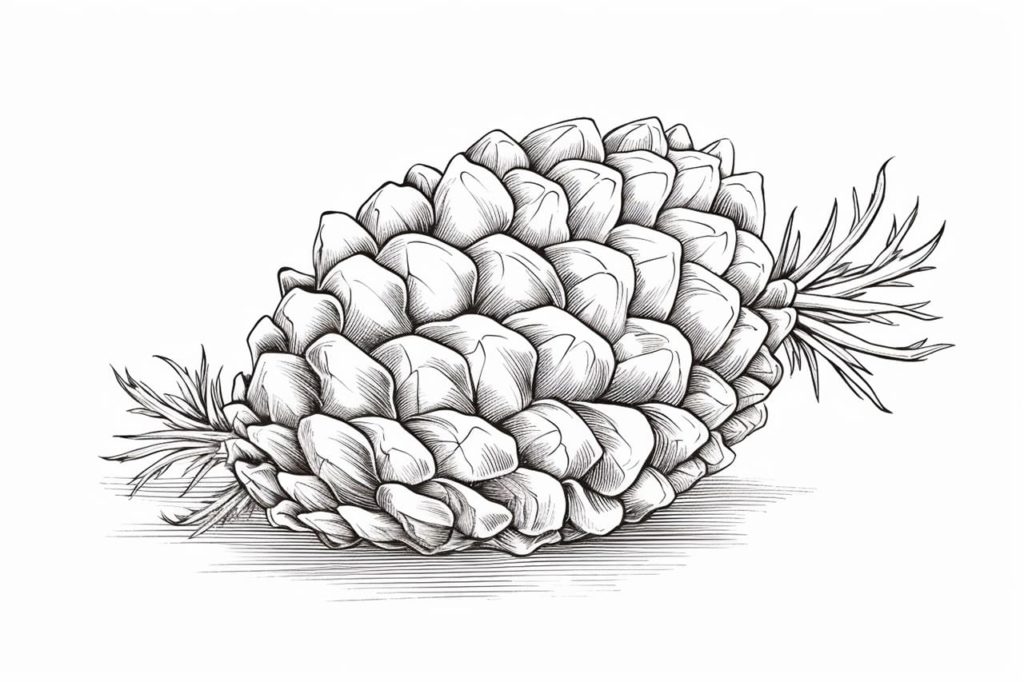
Step 2: Petal-like Scales
Next, we’ll add the petal-like scales that make up the body of the pinecone. Starting from the bottom of the cross, draw a series of curved lines that extend outward and slightly upward. These lines should resemble elongated petals, with varying sizes and shapes. Remember that pinecones have overlapping scales, so don’t be afraid to overlap some of the lines.
Step 3: Contour Lines
Now, it’s time to add contour lines to give the pinecone a three-dimensional appearance. Along the outer edge of each scale, draw curved lines that follow the shape of the scale. These lines will help define the form and add depth to your drawing. Experiment with the thickness and intensity of these lines to create a sense of volume.
Step 4: Texture and Details
Pinecones have a distinctive texture, with intricate patterns and details on each scale. To capture this texture, add small curved lines or short dashes along the contours of the scales. These lines should follow the shape of the scales and create a sense of depth and texture. Take your time with this step, as the details will bring the pinecone to life.
Step 5: Shading
To add depth and dimension to your drawing, we will introduce shading. Start by identifying the light source in your drawing. Determine where the light is coming from and visualize how it would affect the pinecone’s form. Shade the areas that would be in shadow, using hatching or cross-hatching techniques to create a sense of volume. Leave the areas that would catch the light unshaded or lightly shaded.
Step 6: Refining and Finalizing
Now that you have established the basic structure, details, and shading, take a moment to evaluate your drawing. Look for any areas that need refinement or adjustments. Erase any stray lines or smudges and add any additional details or shading as needed. Take your time with this step to ensure that your pinecone drawing is polished and complete.
Conclusion
Drawing a pinecone can be a delightful artistic endeavor, allowing you to appreciate the beauty of nature and develop your drawing skills. By following these step-by-step instructions and paying attention to the intricate details, you can create a stunning and realistic representation of a pinecone. So grab your pencils and enjoy the process of bringing the beauty of nature to life on paper!
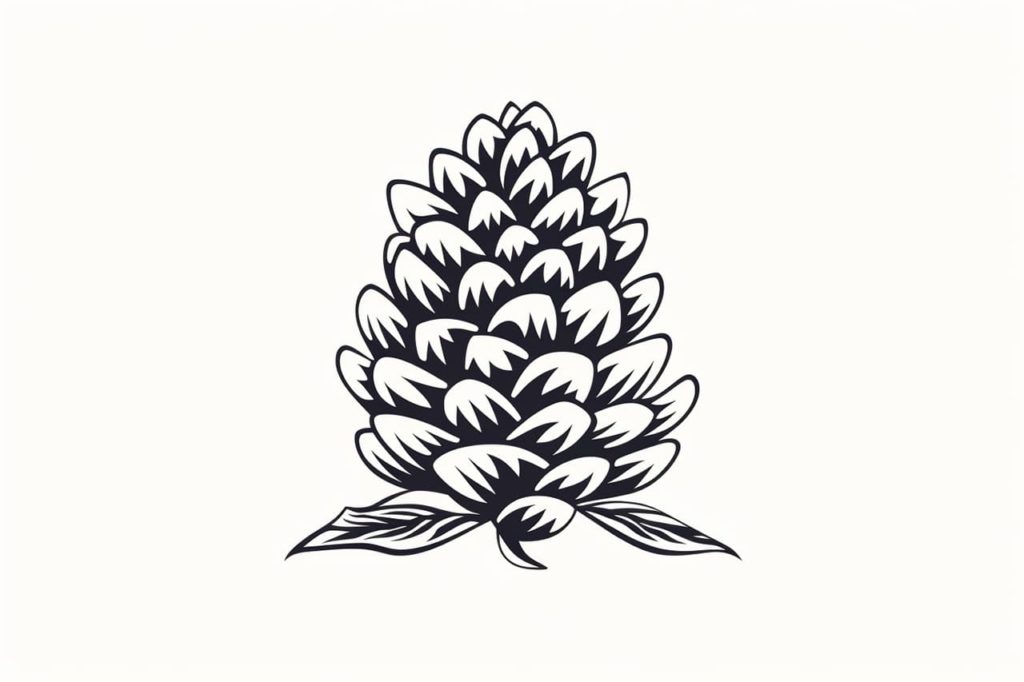
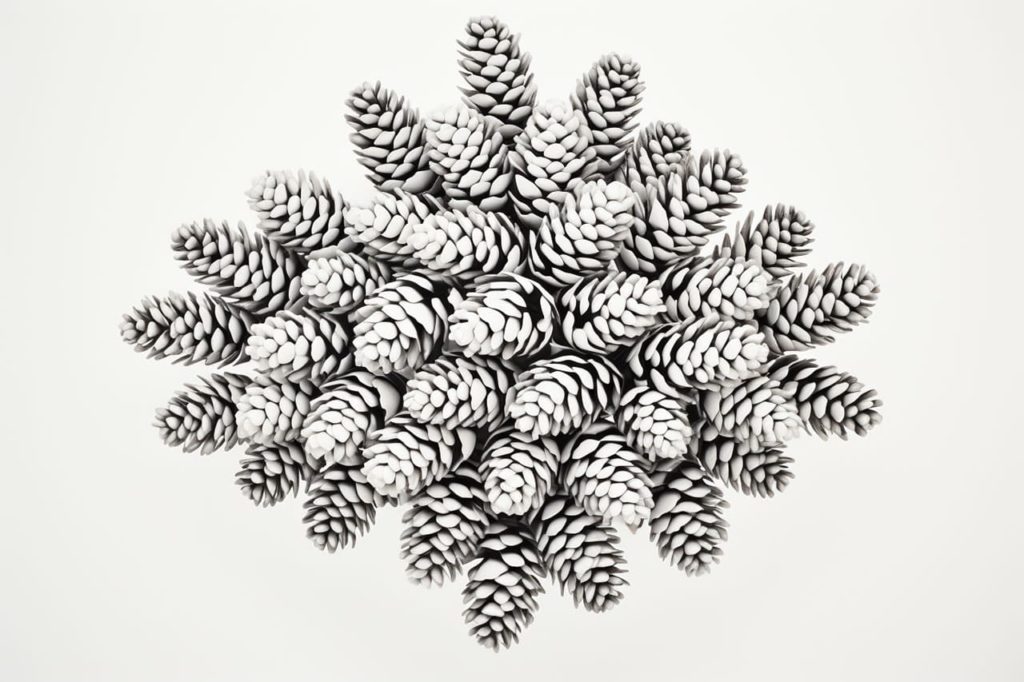
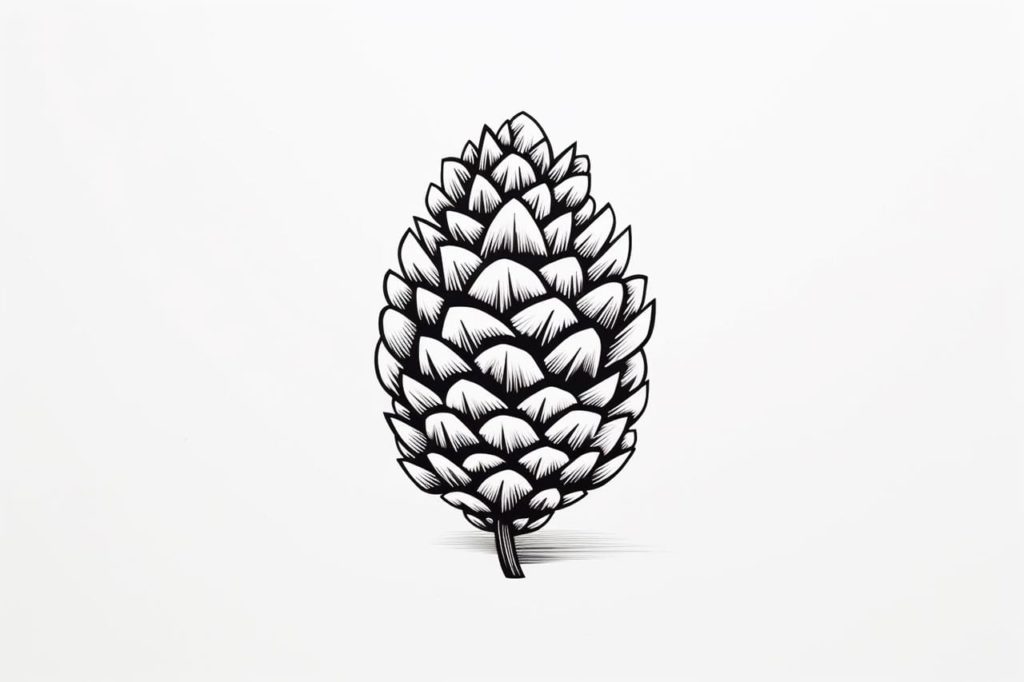
Gallery of Pinecone Drawings
Fun Facts About Pinecones
- Pinecones are not just from pine trees; various conifers, including firs, hemlocks, and spruces, also produce them.
- Their primary role is to protect seeds during development, releasing them when conditions are favorable for germination.
- Pinecones have been used traditionally in cooking and baking, especially in Mediterranean countries, where young cones are often made into syrups or jams.
- Ancient civilizations viewed pinecones as symbols of enlightenment, regeneration, and eternal life, often using them in architectural designs and art.
- Pinecones can close or open depending on weather conditions; they close when it’s moist to protect the seeds and open in dry conditions to release them.
- The largest pinecones come from the Coulter pine, which can grow up to 16 inches long and weigh over 5 pounds.
- Despite their ubiquity, pinecones play a crucial role in forest ecosystems, serving as food for wildlife like squirrels and some bird species.
- Pinecone bracts or scales are arranged in a spiral, following a Fibonacci sequence, which is a common pattern in nature.
- Artists and craftsmen often use pinecones for natural decorations, wreaths, and indoor crafting due to their unique and appealing structure.
- Some pinecones take years to mature; for example, the cones of a bristlecone pine take about three years to reach full maturity.
Suggestions for Scenes and Settings for Pinecone Drawings
- Forest Floor: Imagine a cozy forest scene with various pinecones scattered among fallen leaves, twigs, and mushrooms on the forest bed.
- Winter Wonderland: Illustrate snow-covered pinecones hanging from tree branches, with a backdrop of a frosty sunrise or sunset.
- Woodland Creatures: Create a whimsical scene of small animals, like squirrels or birds, interacting with or gathering pinecones for their winter stash.
- Close-Up Detail: Show a detailed close-up view of a single pinecone, focusing on its intricate patterns and textures.
- Rainy Day: Capture the transformation of a pinecone closing during a rainy day, with raindrops glistening on its surface, reflecting its adaptability.
- Magical Forest: Design a scene where pinecones are part of an enchanted forest, perhaps glowing softly amidst mystical creatures or fairies.
- Geometric Art: Depict a series of pinecones arranged in a geometric pattern or mandala, highlighting their natural symmetry and beauty.
- Ancient Relics: Present pinecones as ancient relics lying amidst an archaeological site, telling silent stories of the past.
- Pinecone Garland: Illustrate a decorative garland of pinecones intertwined with festive lights or ribbons, adding a touch of seasonal cheer.
- Seasonal Transition: Picture pinecones in a setting where autumn meets winter, with vivid fall colors blending into a snowy landscape.