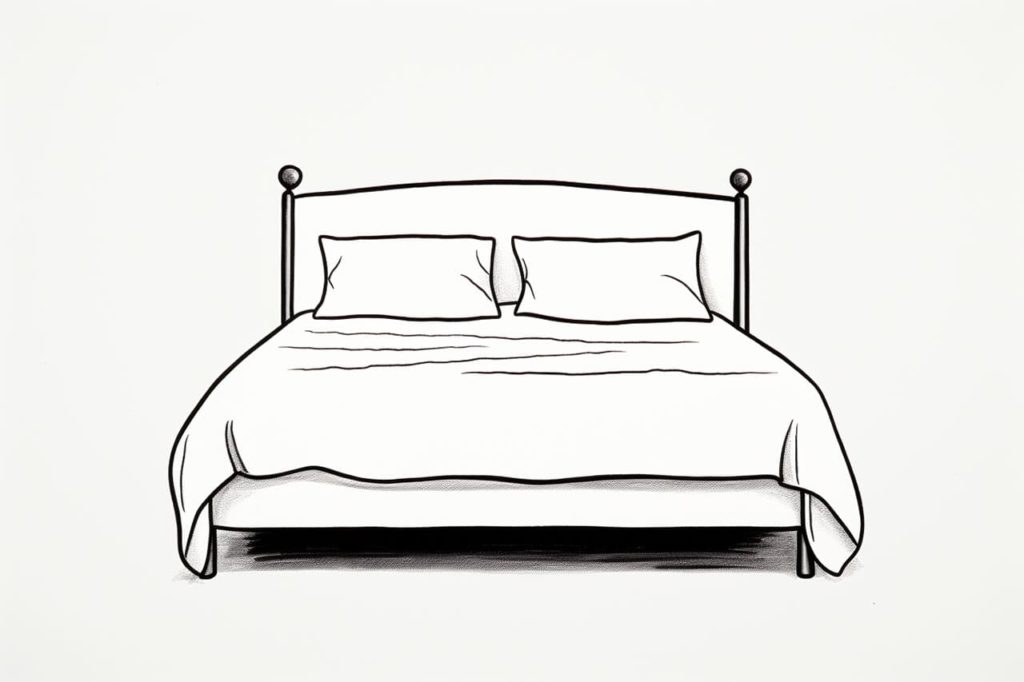
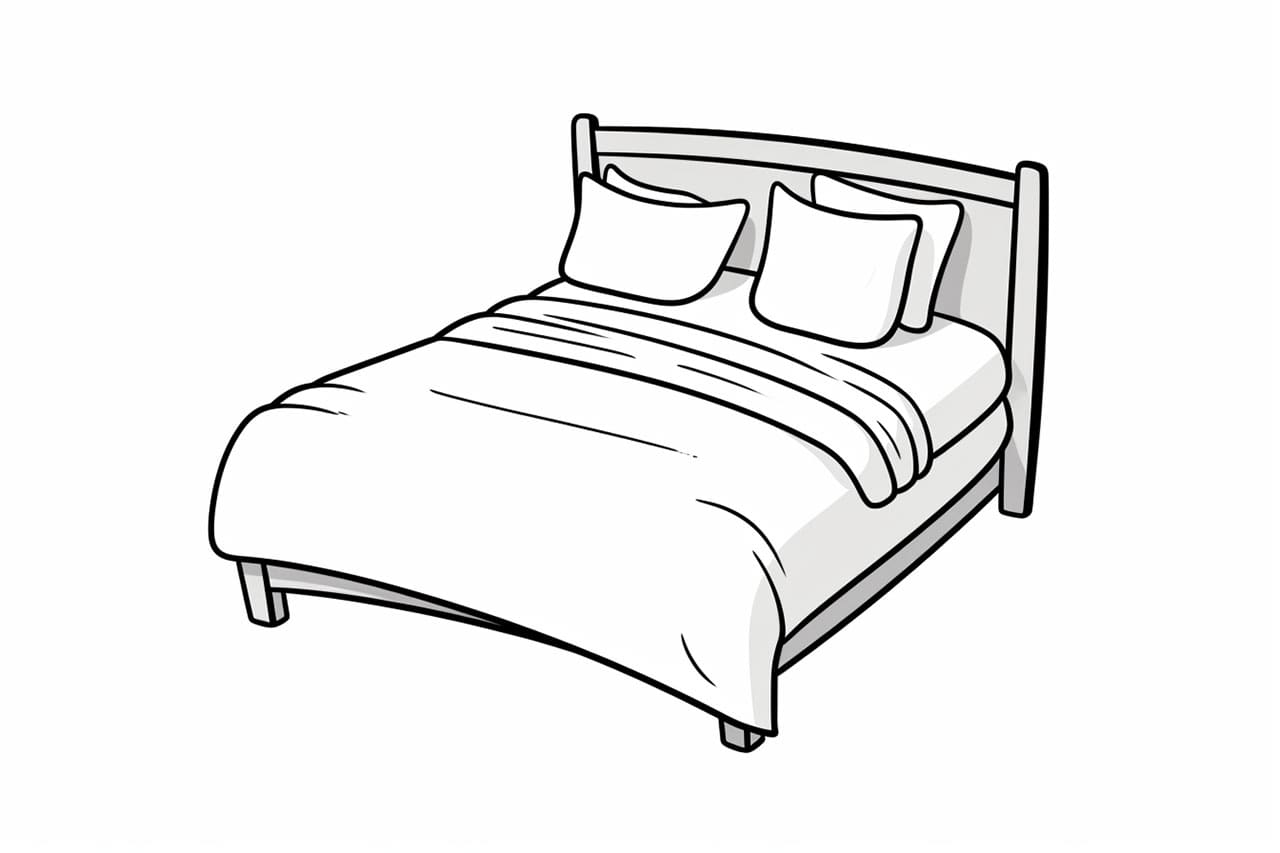
Hello and welcome to this step-by-step guide on how to draw a bed! Whether you’re an aspiring artist looking to improve your skills or just want to create a simple illustration for a project, this tutorial will walk you through the process of drawing a bed in a clear and concise manner. So grab your pencils and let’s get started!
Materials Required
Before we begin, let’s gather the materials you’ll need for this drawing:
- Paper
- Pencil
- Eraser
- Ruler
- Optional: Colored pencils or markers for adding color to your drawing
Now that you have everything you need, let’s move on to the steps of drawing a bed.
Step 1: Draw the Shape of the Bed Frame
Start by drawing the basic shape of the bed frame. Use your ruler to create straight lines and guide your pencil with light, gentle strokes. Begin at the top, drawing a horizontal line to represent the headboard. Then, draw two vertical lines down to complete the outline of the headboard and footboard. Finally, connect the footboard to the headboard with another horizontal line at the bottom.
Step 2: Add the Legs and Side Rails
Next, add the legs and side rails to your bed frame. Draw four vertical lines at the corners of the footboard and headboard to represent the legs. Then, draw horizontal lines connecting the corresponding legs at the top and bottom to create the side rails. Make sure the lines are parallel and evenly spaced.
Step 3: Sketch the Mattress
Now, let’s draw the mattress on the bed. Start by drawing the outline of the mattress within the frame of the bed. Use straight lines to create a rectangular shape that fits snugly between the headboard and footboard. Don’t worry about adding too much detail at this stage, as we’ll refine the shape later.
Step 4: Detail the Headboard and Footboard
To add some interest to your bed, let’s add some details to the headboard and footboard. Draw vertical lines within the rectangular shape of the headboard and footboard to create panels. You can also add curves or other decorative elements if you prefer a more elaborate design.
Step 5: Refine the Shape of the Mattress
Now that you have the basic outline of the mattress, let’s refine its shape. Use your eraser to gently erase any unnecessary lines and adjust the proportions as needed. Pay attention to the corners and edges to ensure they are smooth and even.
Step 6: Add Bedding and Pillows
To make the bed look cozy and inviting, let’s add some bedding and pillows. Draw a rectangle within the mattress to represent the bedsheet. Then, add a smaller rectangle on top of it to represent the blanket. Finally, draw some rectangles or squares at the head of the bed to represent the pillows. You can also add some folds or creases to the bedding to give it a more realistic look.
Step 7: Finalize the Details
In this final step, take a moment to review your drawing and add any additional details or refinements. You can darken the lines to make the drawing more defined and use your eraser to clean up any stray marks. If you’d like, you can also add color to your drawing using colored pencils or markers.
And there you have it! You’ve successfully learned how to draw a bed. With practice, you’ll be able to create more intricate and detailed bed drawings. Remember to be patient with yourself and enjoy the process of drawing.
Conclusion
In this tutorial, we’ve learned step-by-step how to draw a bed. By following the instructions and practicing regularly, you’ll be able to master the art of bed drawing in no time. So grab your pencils and get creative! Happy drawing!
Gallery of Bed Drawings


