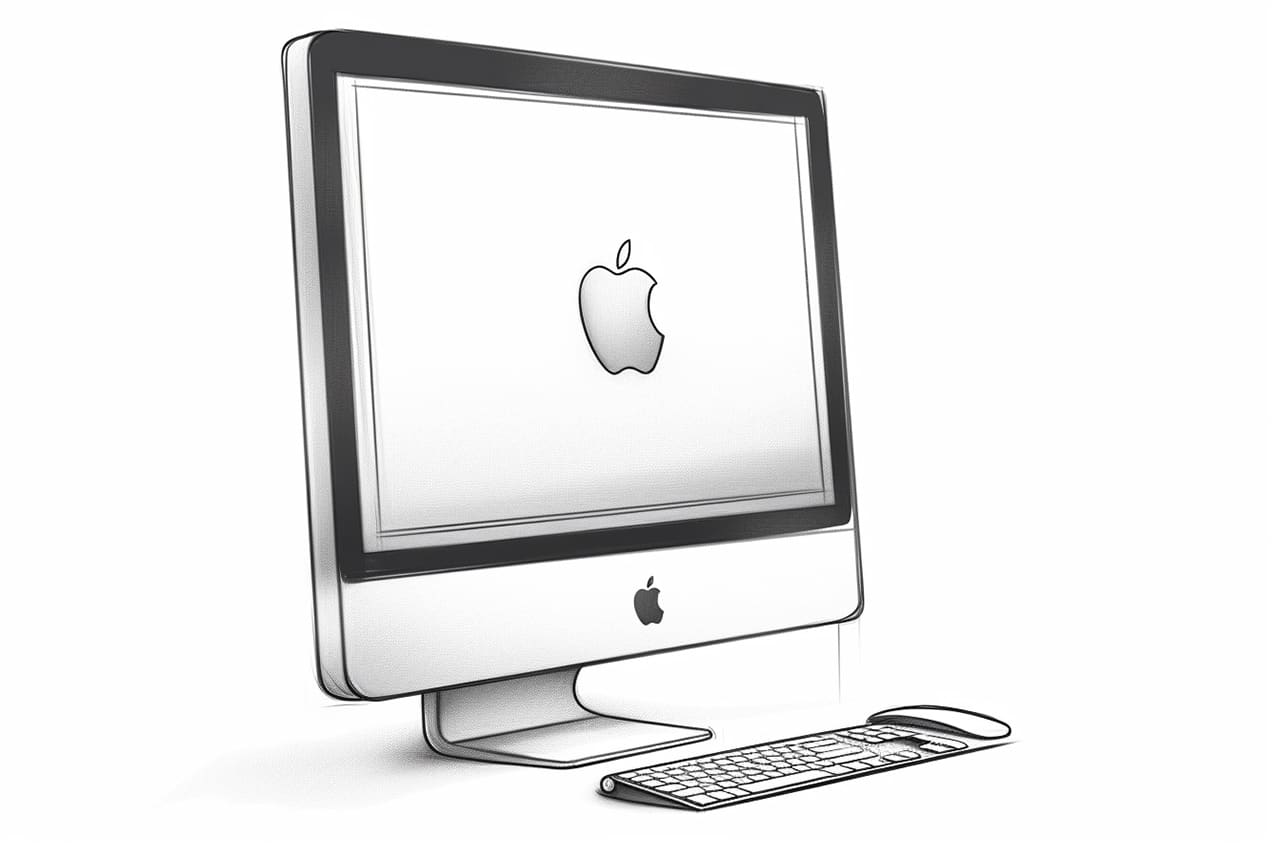
Welcome to this step-by-step tutorial on how to draw a computer. Whether you’re a beginner or have some experience in drawing, this guide will help you create a realistic computer illustration. Follow along and enjoy the process of bringing a computer to life on paper!
Materials Required
Before we begin, make sure you have the following materials handy:
- A pencil
- Eraser
- Paper
- Ruler
- Fine-tip marker
- Colored pencils or markers (optional)
Now that you have your materials ready, let’s start drawing our computer!
Step 1: Draw the Monitor
Begin by drawing a rectangle in the center of your paper. This will be the monitor. Use your ruler to ensure straight lines and equal sides. Adjust the size of the rectangle based on the size of the computer you want to draw.
Step 2: Add the Base
Next, draw a rectangular shape below the monitor to represent the base of the computer. Make sure to align it with the bottom edge of the monitor. Again, use your ruler to maintain accuracy and symmetry.
Step 3: Create the Keyboard
Move on to drawing the keyboard. Start by drawing a horizontal rectangle that is slightly wider than the base of the computer. Position it just below the monitor, leaving a small gap between the monitor and the keyboard.
Step 4: Draw the Keys
Within the rectangle you drew in the previous step, divide it into multiple smaller rectangles to represent the individual keys on the keyboard. Ensure that the keys are evenly spaced and proportional to each other. You can make the keys rounded or rectangular, depending on the style you prefer.
Step 5: Detail the Monitor
Now it’s time to add some details to the monitor. Start by drawing a thin rectangle at the top of the monitor to represent the screen frame. Next, draw a smaller rectangle within that frame to indicate the display area. Add any desired buttons or control panels on the lower part of the monitor.
Step 6: Add the Stand
To give the computer stability, draw a stand at the back of the base. Extend two straight lines from the base, meeting at a point to form an inverted “V” shape. Ensure that the stand is centered and the lines are parallel.
Step 7: Refine the Base
Take a closer look at the base and add some details to make it more realistic. You can draw ventilation slots, USB ports, or any other features commonly found on computer bases. Be creative and add your unique touch to the drawing.
Step 8: Outline the Entire Drawing
Now that you have the main elements of the computer in place, carefully go over the lines with a fine-tip marker or a darker pencil. This will make your drawing stand out and give it a polished look. Take your time as you trace the lines, ensuring smooth and confident strokes.
Step 9: Erase Guidelines
Once the ink or darker pencil lines have dried, erase any unnecessary guidelines that you initially drew. Be careful not to erase the main lines of the computer. This step will help clean up your drawing and make it neater.
Step 10: Color Your Computer (Optional)
If you wish to add color to your computer drawing, now is the time to do so. Use colored pencils or markers to bring your illustration to life. Be mindful of light and shadow to create a three-dimensional effect. Experiment with different color combinations and shading techniques to make your computer look realistic.
Conclusion
Congratulations! You have successfully learned how to draw a computer. By following these step-by-step instructions, you have created a detailed computer illustration. Remember to practice regularly and have fun exploring your artistic skills. Use your creativity to customize the computer with additional features or add your personal style to make it unique. Enjoy the process of drawing and let your imagination soar!


