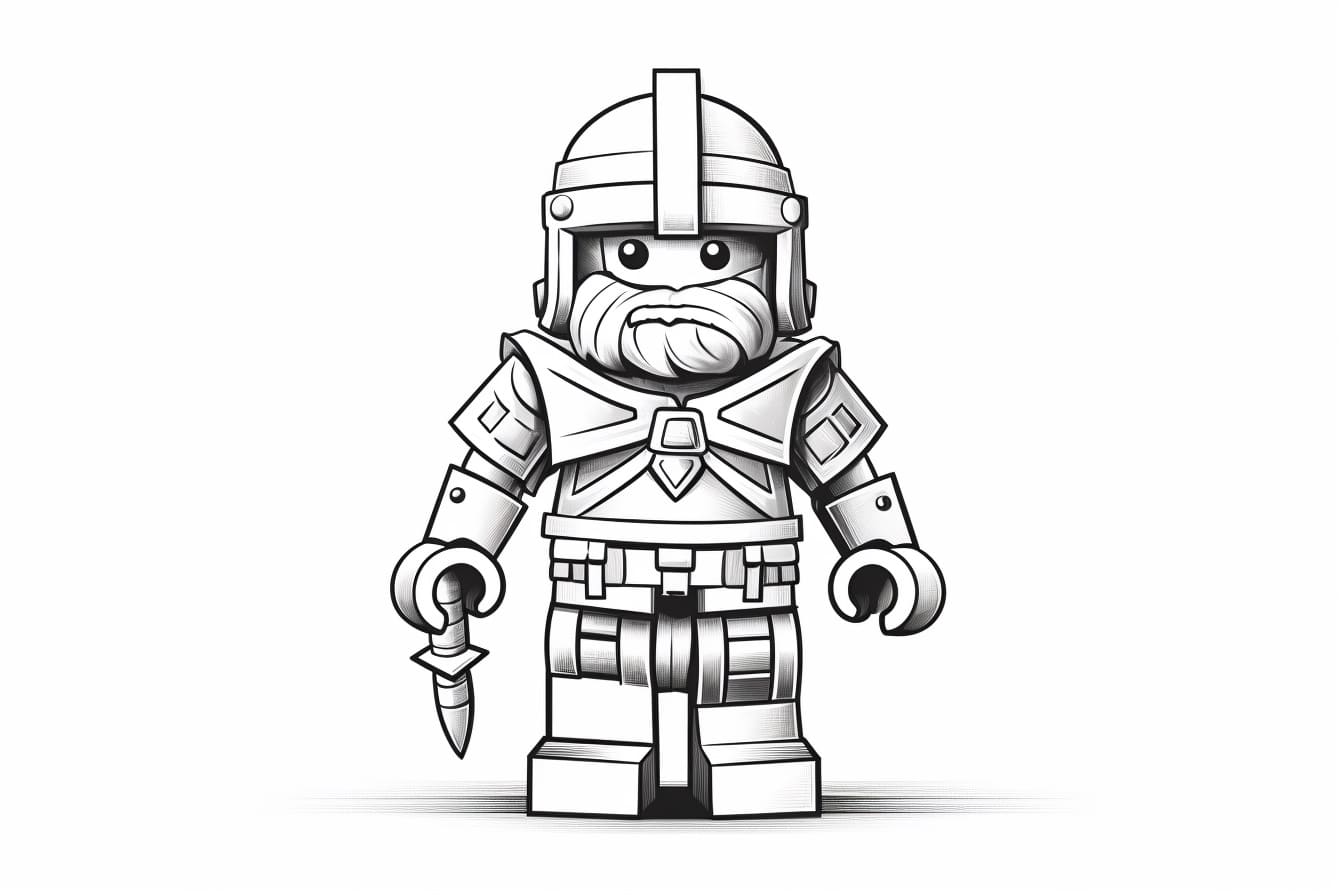
Welcome to this step-by-step tutorial on how to draw a Lego character! Whether you’re a beginner or an experienced artist, creating your own Lego character can be a fun and rewarding exercise. In this guide, we will walk you through the process of drawing a Lego character, from sketching its basic shapes to adding details and colors. So, let’s get started!
Materials Required
Before we begin, let’s gather all the materials you’ll need to create your Lego character:
- Paper: Choose a smooth, medium-weight paper that can handle both pencil and ink.
- Pencils: Have a few pencils with different lead hardness, such as HB, 2B, and 4B, to create different shades and textures.
- Eraser: A soft eraser will come in handy for correcting mistakes and smudges.
- Fine-tip Pens: Grab a set of fine-tip pens in various thicknesses to add clean lines and details.
Now that you have your materials ready, let’s dive into the steps of drawing a Lego character!
Step 1: Sketch the Basic Shapes
Start by sketching a rectangle for the body of your Lego character. This will serve as a guide for its overall proportions. Then, add a smaller rectangle on top for the head, ensuring that it is centered and slightly narrower than the body. Finally, draw two small rectangles on each side for the arms.
Step 2: Refine the Outline
Using your pencil, go over the basic shapes you sketched in the previous step. Start by rounding the corners of the rectangles to give the Lego character a more organic shape. Next, connect the head and body smoothly, creating a neck area. Refine the shape of the arms by slightly curving their edges.
Step 3: Add Facial Details
Now it’s time to bring your Lego character to life by adding facial features. Begin with a pair of large circular eyes, leaving some space between them. Then, add a small rectangular mouth just below the eyes. Remember to keep the features simple and in the traditional Lego style.
Step 4: Define the Body Details
Lego characters often have shirt pockets and buttons, so let’s add those next. Draw two small rectangles on the upper part of the body to represent the pockets. Then, add a couple of circles or dots below the pockets to signify buttons. Don’t forget to erase any guide lines that are no longer needed.
Step 5: Draw the Legs and Feet
Extend two vertical lines downwards from the body to create the legs. Keep in mind that Lego characters have blocky legs, so make them rectangular and slightly wider than the body. Once you have the legs in place, add simple squared-off feet at the end of each leg.
Step 6: Finalize the Arms
Shape the arms by drawing rounded rectangles at the ends of the arm guides you sketched earlier. Ensure that the arms are slightly shorter than the body. To make the hands of your Lego character, draw small rectangles at the ends of each arm.
Step 7: Refine the Outlines
Now that you have the basic shapes and features in place, go over your pencil lines with a fine-tip pen. Refine the outlines, making them clean and crisp. Use short and confident strokes for a more polished look. Allow the ink to dry completely before erasing any remaining pencil marks.
Step 8: Add Details and Textures
Once the ink is dry, it’s time to add some details to your Lego character. Start by drawing horizontal lines across the body and arms to represent the iconic Lego studs. Add some diagonal lines inside the pockets for a textured look. Don’t worry about being too precise with these details; a few simple lines will do the trick.
Step 9: Color Your Lego Character
Now comes the fun part—coloring your Lego character! Grab your colored pencils or markers and choose the colors you want for your character. Lego characters often have vibrant and bold colors, so don’t be afraid to experiment. Apply solid colors to the different areas of your character, leaving the studs white or using a light shade of gray.
Step 10: Add Shadows and Highlights
To make your Lego character pop, add some shading and highlights. Determine the light source and imagine where the shadows would fall. Use a darker shade of the base color to create shadows on the edges and undersides of the different parts. Then, use a lighter shade or white to add highlights on the opposite side, creating a sense of depth.
Conclusion
Congratulations! You have successfully learned how to draw a Lego character step by step. By following these simple instructions, you can now create your own unique Lego characters with ease. Remember to have fun and experiment with different colors and designs. With practice, your Lego characters will become even more detailed and expressive. Enjoy your artistic journey, and happy drawing!