Welcome to this step-by-step tutorial on how to draw a falling leaf. Whether you are an aspiring artist or just looking to have some creative fun, drawing a falling leaf can be a beautiful and rewarding project. In this guide, we will walk you through the process, starting with the materials you’ll need, and then taking you through each step to create a stunning representation of a leaf gracefully descending from a tree.
Materials Required
Before we begin, make sure you have the following materials ready:
- Pencil: Use a medium-soft graphite pencil that allows for easy shading and erasing.
- Eraser: Keep a good-quality eraser handy for correcting any mistakes.
- Paper: Choose a smooth and sturdy drawing paper that can withstand pencil shading techniques.
- Reference Image: Find a picture or a real leaf to reference. This will help you capture the details and the natural shape of a falling leaf more accurately.
Now that you have everything you need, let’s get started!
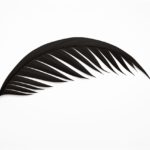
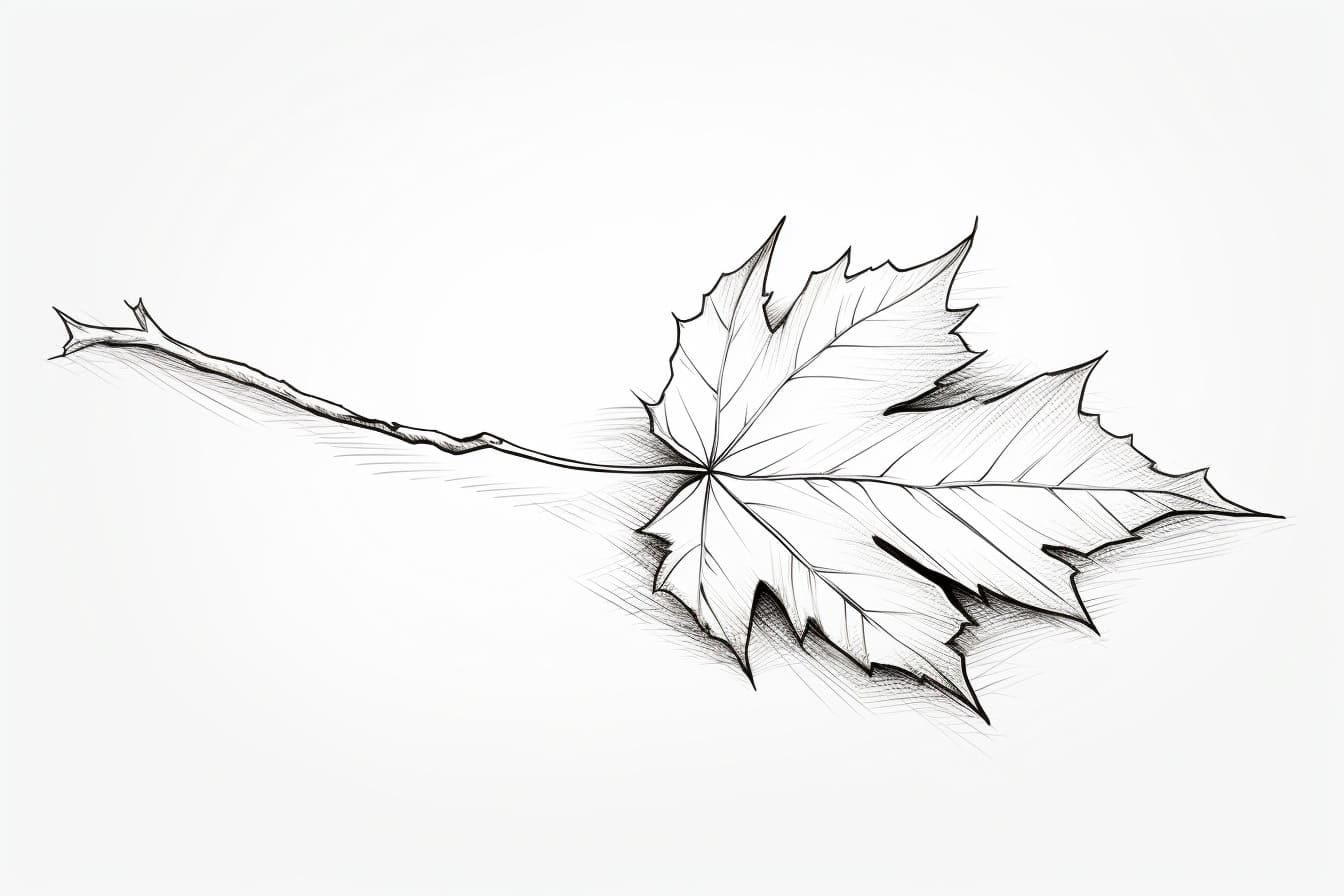
Step 1: Sketch the Basic Shape of the Leaf
Begin by lightly sketching the basic shape of the leaf. Start with a curved line that represents the length of the leaf’s central vein. Then, add two curved lines branching out from the main vein to define the leaf’s lobes or segments. Keep the lines light and loose, as you can refine them later.
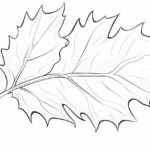
Step 2: Add Details to the Leaf
Next, add some details to the leaf to make it more realistic. Sketch smaller veins that radiate from the central vein to the edges of the lobes. These veins should curve and taper as they reach the outer edges of the leaf. Take your time with this step and pay attention to the unique patterns of the veins on your reference image.
Step 3: Create Texture and Shading
To give your leaf depth and dimension, start adding texture and shading to the drawing. Use light, gentle strokes to create the appearance of delicate lines and ridges on the leaf’s surface. Pay attention to the areas that would naturally catch more light and darken the areas that would be in shadow. This will help create a sense of volume and realism.
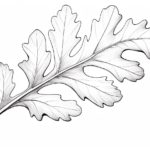
Step 4: Define the Leaf’s Edges
Now, take a closer look at the edges of the leaf and refine them. Falling leaves tend to have irregular edges with a slightly ragged appearance. Use short, jagged strokes to mimic the natural shape of the leaf’s edge. Don’t worry about making it too perfect – embrace the imperfections to capture the organic beauty of a falling leaf.
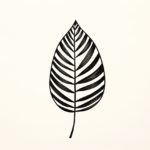
Step 5: Add Vein Details
To make your leaf drawing even more lifelike, add more intricate details to the veins. Use a sharp pencil or a fine-tip pen to carefully draw thinner lines within the broader veins. These smaller lines will add depth and complexity to your drawing, making it more realistic.
Step 6: Create Movement
To really capture the essence of a falling leaf, create a sense of movement in your drawing. Experiment with light, flowing lines that follow the direction of the leaf’s descent. Keep your strokes loose and gentle to achieve a delicate and graceful effect. Remember, the goal is to evoke a feeling of airiness and motion.
Step 7: Erase Unwanted Lines
Now that you have completed the main drawing, take a moment to look at your work as a whole. Identify any lines or marks that you may want to erase or clean up. Use a soft eraser to carefully remove any unwanted lines, sharpening the edges and improving the overall appearance of your drawing.
Conclusion
Congratulations! You have successfully learned how to draw a falling leaf. By following these step-by-step instructions and adding your own personal touch, you have created a beautiful representation of nature’s delicate dance. Drawing falling leaves can not only help you improve your artistic skills but also allow you to connect with the beauty of the natural world.
Remember, practice makes perfect, so continue to explore different techniques and subjects in your drawings, and even try drawing specific types of tree leaves, like an oak leaf. With time and dedication, you’ll see your skills grow and your creativity flourish. Enjoy the process and embrace the joy of drawing!