Are you fascinated by the majestic beauty of redwood trees? Do you want to learn how to capture their grandeur on paper? In this step-by-step guide, you will learn the techniques and skills required to draw a redwood tree. Even if you are a beginner, you can follow along and create a stunning artwork that showcases the magnificence of these incredible trees.
Materials Required
Before we start, gather the following materials:
- Drawing paper or sketchbook
- Pencil set (ranging from H to 6B)
- Eraser
- Sharpener
Now that you have your materials ready, let’s dive into the process of drawing a redwood tree.
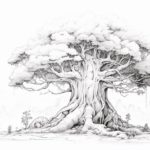
Step 1: Start with Basic Shapes
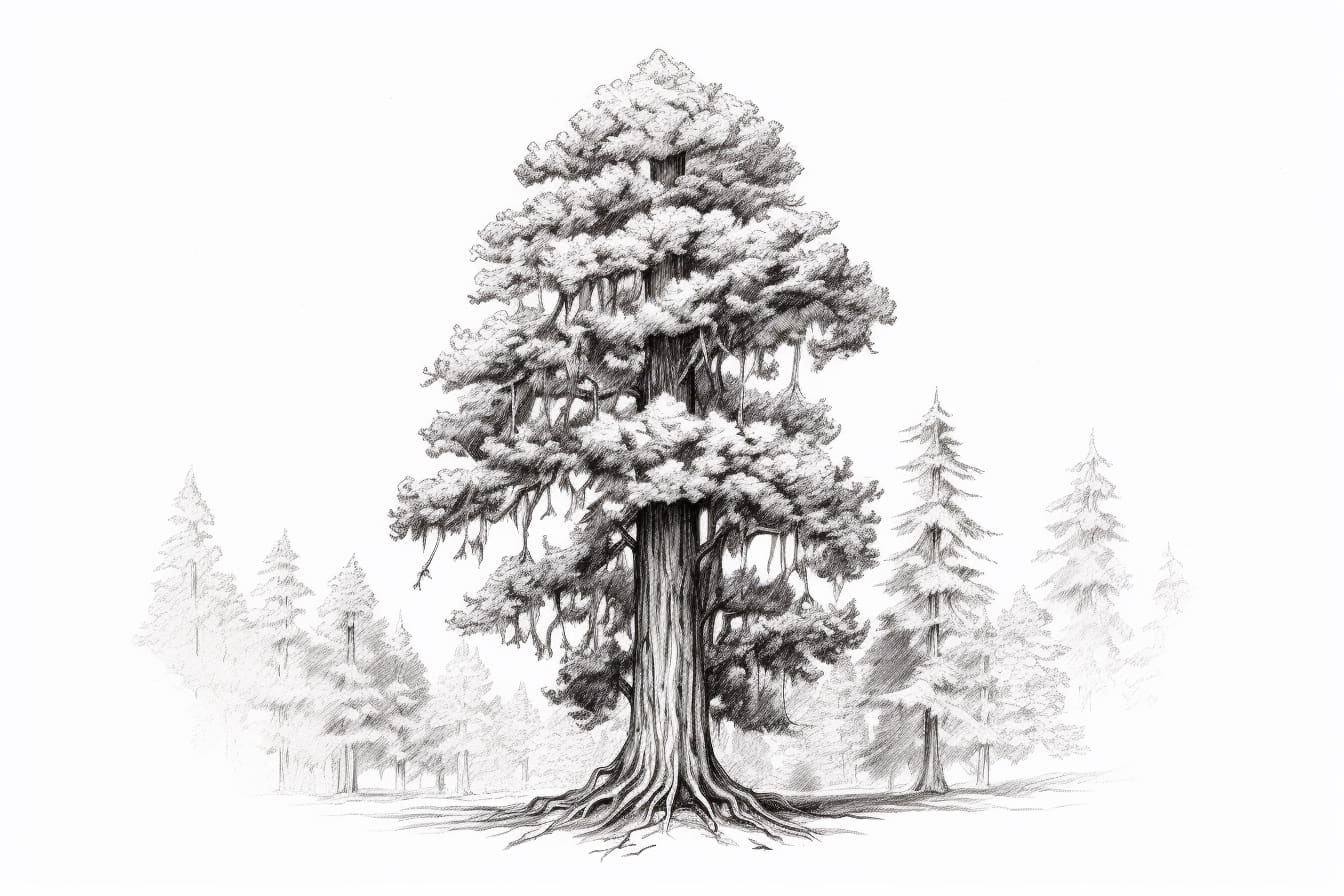
Begin by drawing a vertical line that represents the trunk of the redwood tree. This line will serve as your guide throughout the drawing process. Next, draw a large oval shape at the top of the trunk to represent the canopy of the tree. Don’t worry about adding details at this stage; focus on getting the proportions and overall shape right.
Step 2: Refine the Trunk and Branches
Using your pencil, start refining the shape of the trunk by adding some curves and texture to make it more realistic. Redwood trees often have a rough and textured bark, so try to capture that essence in your drawing. Add branches by drawing lines extending from the trunk. Remember to vary the thickness and angles of the branches to create a natural and organic look.
Step 3: Define the Canopy
Now it’s time to add details to the canopy of the redwood tree. Start by drawing smaller branches extending from the main branches. These smaller branches should become thinner as they reach the outer edges of the canopy. Once you have the main branches and smaller branches in place, use quick and light strokes to suggest the foliage. Redwood trees have needle-like leaves, so aim to create a feathery texture by using short, upward strokes.
Step 4: Add Depth and Shadows
To make your drawing more realistic, it’s essential to add depth and shadows. Observe the reference image or imagine a light source and use that as a guide to add shadows to the trunk and branches. Shade the areas where the branches overlap to create the illusion of depth. Use a blending tool or your finger to softly blend the shadows and create a smooth transition between light and dark areas.
Step 5: Refine Details and Textures
Take a step back and assess your drawing so far. Are there any areas that need refinement or additional details? Redwood trees have unique features, such as deep cracks in the bark and knots in the wood. Use your pencil to carefully add these details, paying attention to the overall texture. Use cross-hatching or stippling techniques to create the appearance of rough bark and enhance the three-dimensional quality of your drawing.
Step 6: Final Touches
Before you finish, take a moment to evaluate your drawing and make any necessary adjustments. Check if the proportions are accurate and if the overall composition is pleasing to the eye. If needed, go back and add more details or refine certain areas. Lastly, erase any visible construction lines and smudges to create a clean and polished finish.
Congratulations! You have successfully drawn a redwood tree, capturing its unique beauty on paper. Remember, practice is key to mastering any skill, so don’t be afraid to experiment and try different techniques. With time and patience, you will develop your own style and create stunning works of art.
Conclusion
Drawing a redwood tree allows us to appreciate and celebrate the magnificence of these majestic giants. Through the step-by-step instructions provided in this guide, you have learned how to bring a redwood tree to life on paper. By starting with basic shapes, refining details, adding depth and shadows, and paying attention to textures, you can create a realistic and captivating drawing. So grab your materials, find inspiration in nature, and let your creativity flow as you embark on your artistic journey to draw a redwood tree.