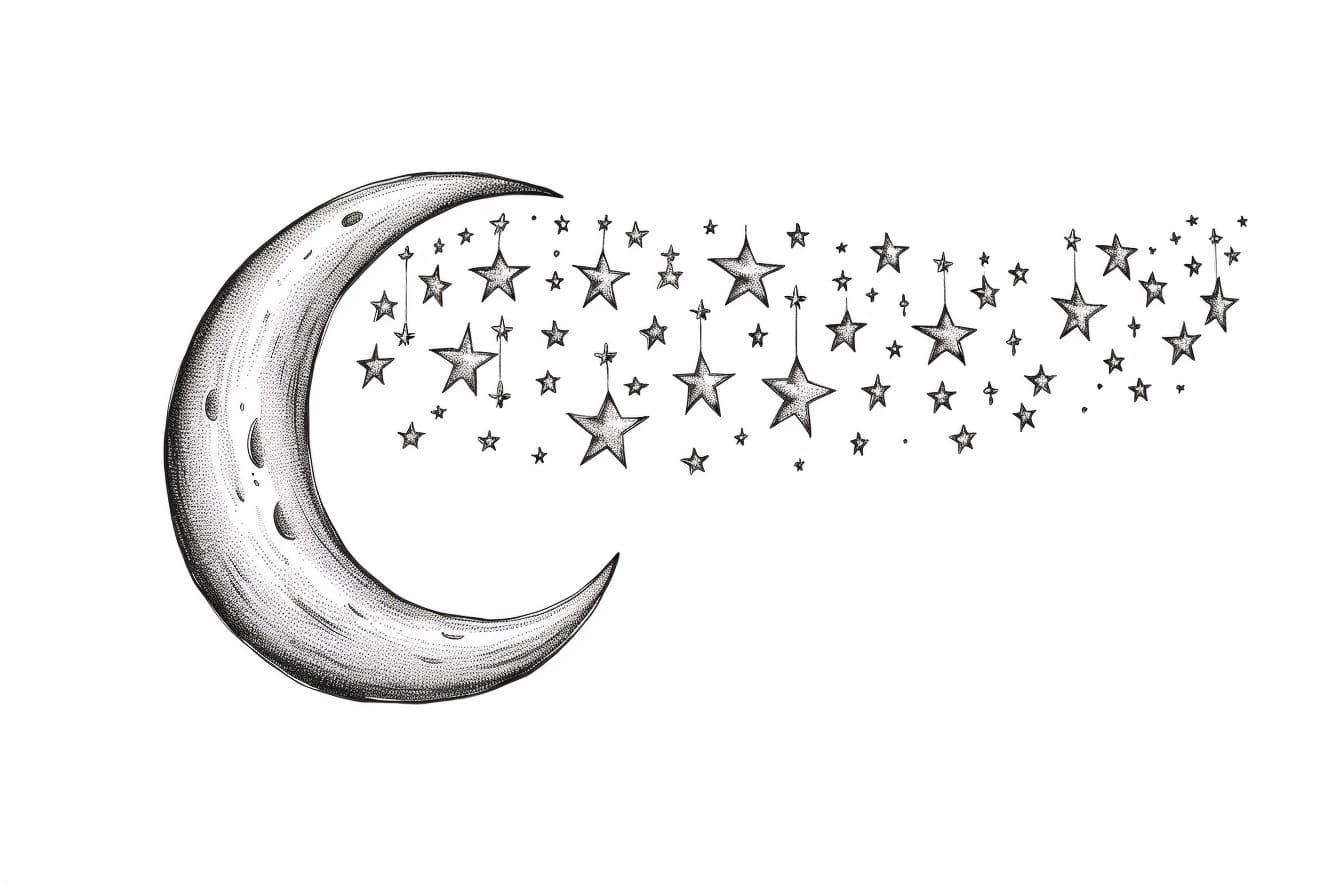
Welcome aspiring artists! In this tutorial, we will explore the enchanting process of how to draw a moon and stars. Whether you’re a beginner or an experienced artist looking to expand your repertoire, this step-by-step guide will help you create a celestial masterpiece. So grab your pencils, erasers, and imagination, and let’s get started!
Materials Required
Before we begin, let’s gather the materials you’ll need to embark on this artistic journey. Don’t worry, these are common tools that you probably already have:
- Drawing paper or sketchbook
- Pencils of varying hardness (2H, HB, 2B recommended)
- Erasers (kneaded and/or vinyl erasers)
- Ruler
- Compass or round object for tracing circles
- Blending stump or cotton swabs (optional)
Now that we have everything we need, let’s dive into the creative process!
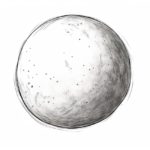
Step 1: Sketching the Moon
Start by drawing a large circle on your paper. You can use a compass or trace around a circular object if you’re not confident in drawing freehand. This circle will serve as the base for our moon.
Step 2: Adding Texture to the Moon
To give our moon some depth and texture, lightly shade the outer edges, gradually darkening towards the center. Use a circular motion to create a smooth transition between the shaded and unshaded areas. Remember, the moon has a rough and cratered surface, so don’t be afraid to experiment with different shading techniques.
Step 3: Shaping the Moon’s Shadows
Next, let’s add shadows to make the moon appear more three-dimensional. Identify the light source in your drawing and imagine where shadows would naturally fall. Start by darkening the opposite side of the moon from the light source, gradually blending the shading towards the center. This will create a gradual transition from light to dark.
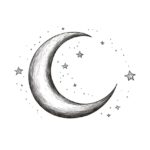
Step 4: Drawing the Stars
Now that our moon is complete, it’s time to adorn our night sky with shimmering stars. Start by lightly sketching small dots in various sizes across the paper. Remember, stars are not perfect circles, so feel free to vary their shapes and placement. Space them out unevenly to create a more natural and random appearance.
Step 5: Adding Details to the Stars
To make our stars stand out, we’ll add some extra details. Choose a few of the larger stars and outline them with a slightly darker pencil. This will create a subtle halo effect around them, adding depth and luminosity to your drawing. You can also experiment with different shading techniques to make the stars appear more twinkly and realistic.
Step 6: Blending and Final Touches
If you want a softer and more blended look, you can use a blending stump or a cotton swab to gently blend the shading on the moon and stars. This will help create a smoother transition between the different areas of your drawing. Take your time and experiment with different blending techniques until you achieve the desired effect.
Conclusion
Congratulations, you’ve successfully learned how to draw a moon and stars! With a few simple steps and some artistic flair, you’ve created a celestial scene that is sure to mesmerize. Keep practicing, embrace your creativity, and don’t be afraid to add your own unique touch to your artwork. Remember, the sky is the limit when it comes to art!