Welcome to this step-by-step guide on how to draw a shooting star! Shooting stars are not only a beautiful sight in the night sky but also a popular subject for artwork. By following these simple instructions, you’ll be able to recreate the magic of a shooting star on paper. So grab your drawing materials and let’s get started!
Materials Required
Before we begin, make sure to gather the following materials:
- A pencil
- A piece of paper
- An eraser
- Colored pencils, markers, or any other coloring tools you would like to use
- A ruler (optional, but recommended for creating straight lines)
Now that you have everything you need, let’s dive into the step-by-step process of drawing a shooting star.
Step 1: Sketch the Star
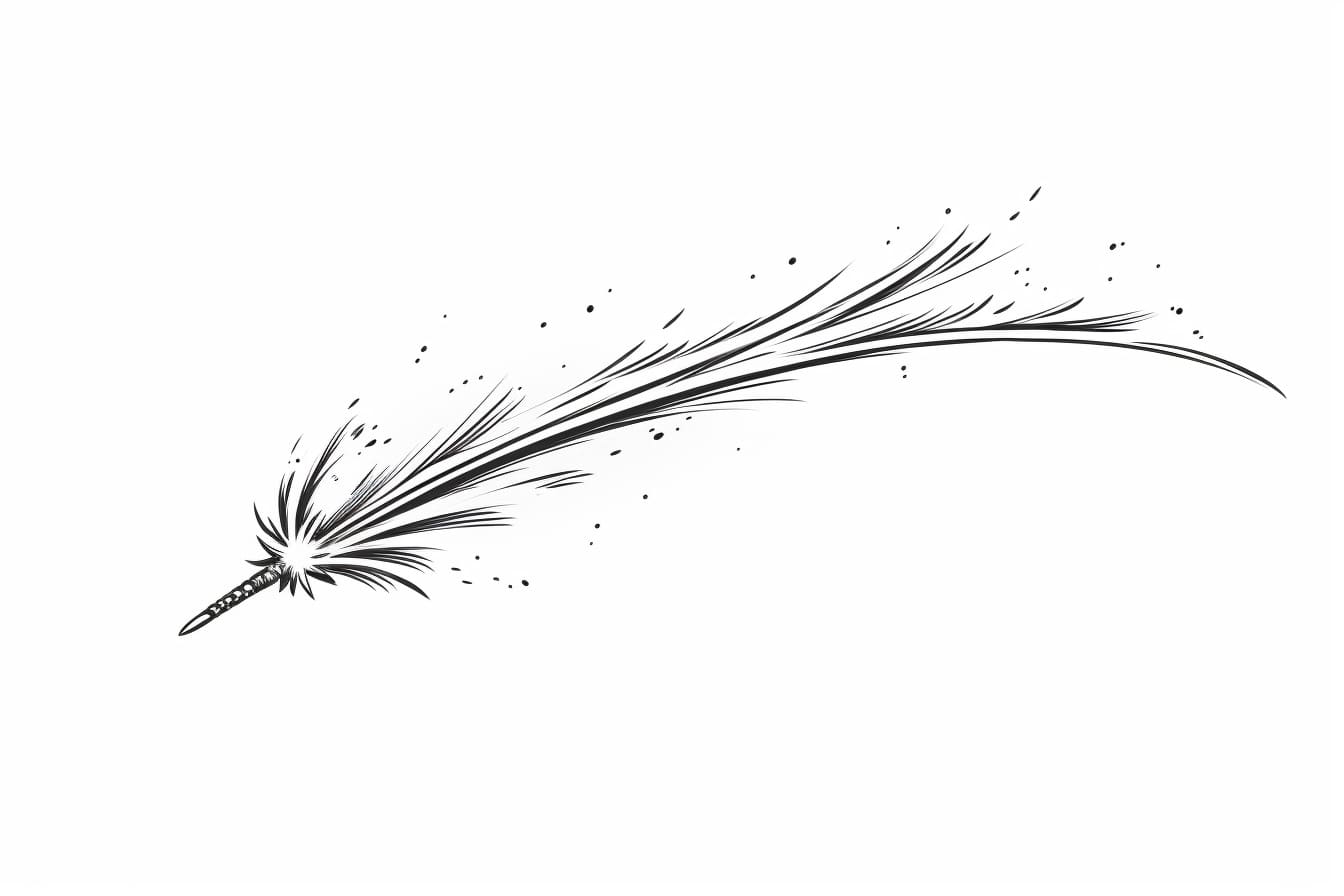
Start by lightly sketching the basic shape of the star. Begin with a small triangle shape at the top, then add two longer, curved lines that meet at a point below the triangle. This will be the tail of the star. Keep the lines loose and avoid pressing too hard with your pencil, as you may need to make adjustments later on.
Step 2: Add Details
Once you have the basic shape sketched out, it’s time to add some details to your shooting star. Draw small, curved lines radiating outward from the triangle at the top of the star. These lines will represent the star’s glowing trail as it streaks across the sky. You can make the lines as long or as short as you like, creating a sense of movement.
Step 3: Refine the Shape
Now that you have the main elements in place, take a moment to refine the shape of your shooting star. Use your eraser to gently remove any unnecessary lines and smoothen out any rough edges. Pay attention to the curves and angles of the star, ensuring they flow smoothly.
Step 4: Outline the Star
Once you’re satisfied with the shape, it’s time to outline your shooting star with a darker pencil or pen. Carefully trace over the sketched lines, making them bolder and more defined. Take your time and try to keep the lines smooth and consistent throughout.
Step 5: Color your Star
Now comes the fun part – adding color to your shooting star! Decide on the colors you want to use for the star and its glowing trail. You can go for a classic yellow or white for the star, and choose any vibrant colors for the trail. Use colored pencils, markers, or any other coloring tools of your choice to bring your star to life. Don’t be afraid to experiment with different color combinations and shading techniques to create depth and dimension.
Step 6: Background
To complete your shooting star drawing, consider adding a background to enhance the overall composition. You could draw a night sky with scattered stars, a moon, or even a landscape. Let your imagination run wild and have fun with it!
Conclusion
Congratulations! You have successfully learned how to draw a shooting star. By following these step-by-step instructions, you were able to create a beautiful representation of this celestial phenomenon on paper. Remember, practice makes perfect, so keep honing your drawing skills and exploring your creativity. Enjoy the process and continue to develop your artistic talents!