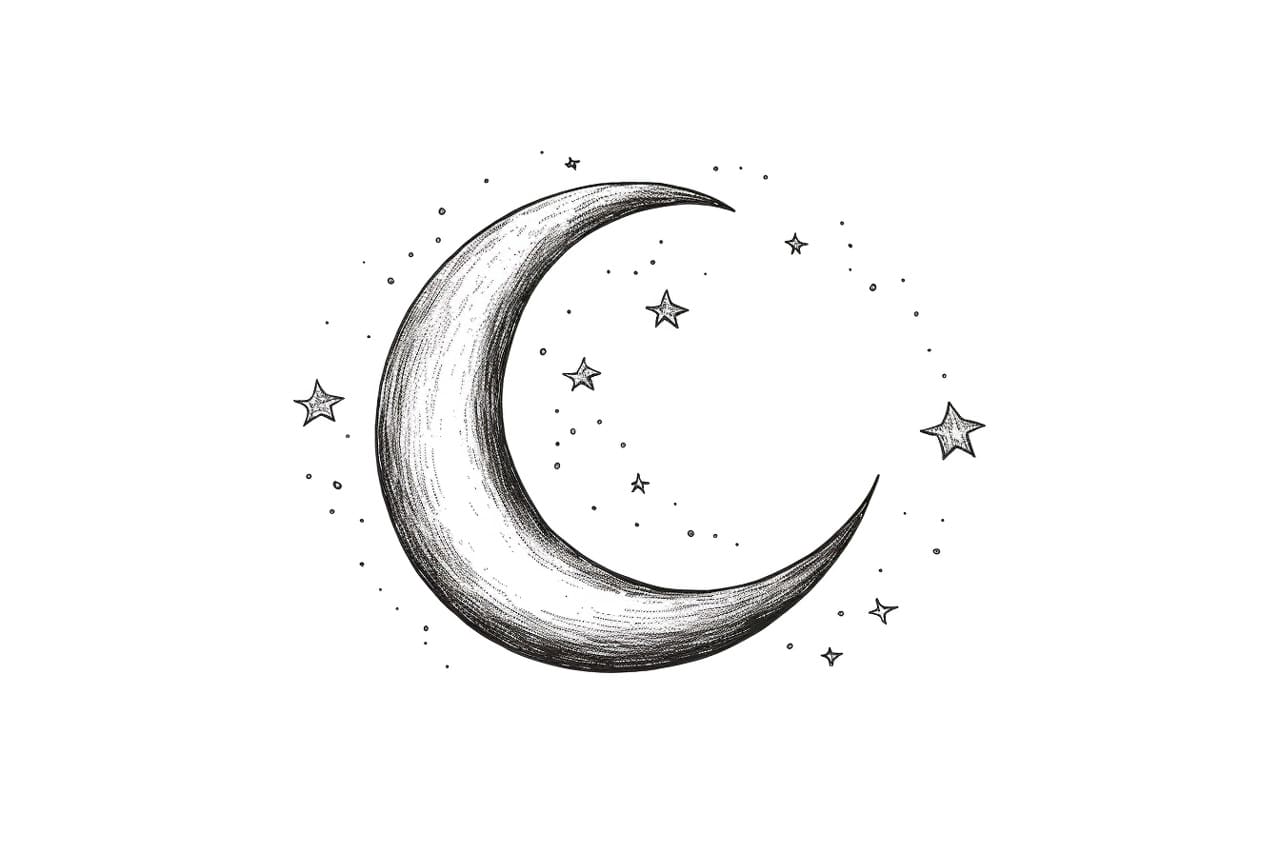
Welcome to this step-by-step tutorial on how to draw a crescent moon. Whether you are an aspiring artist or just looking for a fun, creative activity, this guide will help you create a stunning representation of a crescent moon. So you can grab your materials, follow along, and let’s get started!
Materials Required
Before we begin, let’s gather the materials you’ll need:
- Drawing paper or sketchbook
- Pencil
- Eraser
- Compass or round object (optional)
- Protractor (optional)
- Ruler (optional)
Feel free to improvise or use alternative materials if you don’t have these exact ones. The goal is to have fun and enjoy the process!
Step 1: Setting the Stage
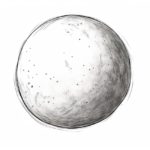
To begin drawing the crescent moon, start by drawing a large circle near the center of your paper. If you have a compass, it will come in handy to create a perfect circle. If not, you can use any round object as a guide, such as a plate or jar lid.
Step 2: Shaping the Crescent
Once you have your circle, imagine it as the complete shape of the moon. Now, using your pencil, draw a straight line from the top of the circle to the bottom, cutting it in half vertically. This line will act as a reference point for shaping the crescent.
Step 3: Curving the Ends
Next, focus on one side of the circle. Starting from the top, slowly curve the line downwards, following the shape of the circle. As you approach the bottom, begin curving the line back up towards the center, gradually meeting the vertical line you drew in Step 2. Repeat this process on the other side of the circle.
Step 4: Refining the Shape
Take a step back and assess the overall shape of your crescent moon. Make any necessary adjustments to ensure the curves are smooth and symmetrical. You can use a ruler or the edge of a book to help you refine the lines if needed. Remember, drawing is an iterative process, and it’s normal to make changes along the way.
Step 5: Adding Details
Now that you have the basic shape of the crescent moon, it’s time to add some details to make it more realistic. Start by lightly sketching a smaller circle within the crescent, near the center. This represents the shaded area of the moon.
Step 6: Shading
To create a sense of depth and dimension, we’ll add shading to our moon. Imagine a light source coming from one direction, and shade the opposite side of the smaller circle. Gradually darken the shading as you move towards the outer edge of the crescent, blending it smoothly with the rest of the moon.
Step 7: Final Touches
Take a moment to review your drawing and make any final adjustments. Erase any unnecessary lines or smudges, and refine the shading if needed. Congratulations, you have successfully drawn a crescent moon!
Conclusion
Drawing a crescent moon may seem intricate, but with a little patience and practice, anyone can do it. Remember to start with a large circle, create the basic shape of the crescent, add details, and finish off with shading. Don’t be afraid to experiment and make the drawing your own. So go ahead, grab your materials, and start creating your own stunning crescent moon masterpiece!