A solar eclipse is a fascinating astronomical event that occurs when the moon passes between the sun and the Earth, casting a shadow on our planet. Capturing the beauty and mystery of a solar eclipse in a drawing can be a truly rewarding experience. In this step-by-step guide, we will explore the process of drawing a solar eclipse. Whether you are an experienced artist or just starting with your artistic journey, this guide will provide you with the necessary instructions to create a stunning representation of this cosmic phenomenon.
Materials Required:
To begin your solar eclipse drawing, gather the following materials:
- Drawing paper or sketchbook
- Pencils of various grades (HB, 2B, 4B, etc.)
- Eraser
- Blending tools (tortillon or blending stump)
- Black ink pen or fine liner
- Colored pencils or markers (optional)
Now that we have everything we need, let’s dive into the step-by-step process of drawing a solar eclipse.
Step 1: Setting the Stage
Start by lightly sketching the basic outline of the sun and the moon in the center of your drawing paper. The sun should appear larger than the moon, as it is closer to us. Position the moon slightly to the right or left of the sun to create a visually pleasing composition.
Step 2: Shading the Sun
Using a softer pencil grade, such as 4B or 6B, gently shade the area surrounding the sun to create a darker background. Gradually build up the darkness, ensuring that the edges of the sun remain crisp and bright. Avoid shading over the moon at this stage.
Step 3: Adding Details to the Sun
Switch to a harder pencil grade, like HB or 2H, to draw the sun’s surface details. Solar flares and prominences can be depicted as curved lines or loops extending from the sun’s edges. Add a few of these details sparingly to create a dynamic and realistic representation of the sun’s activity.
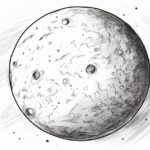
Step 4: Shading the Moon
Using a softer pencil grade, gently shade the surface of the moon. The moon’s surface is not perfectly smooth, so try to create a textured appearance by sketching irregular shapes and shading them accordingly. Leave a small portion of the moon’s surface unshaded to depict the sunlight hitting it.
Step 5: Highlighting the Moon
To give the moon a three-dimensional look, add highlights using an eraser. Lightly erase small areas of the shaded surface to reveal the bright reflection of the sun. This will create a contrast between the shaded and highlighted parts of the moon, making it appear more realistic.
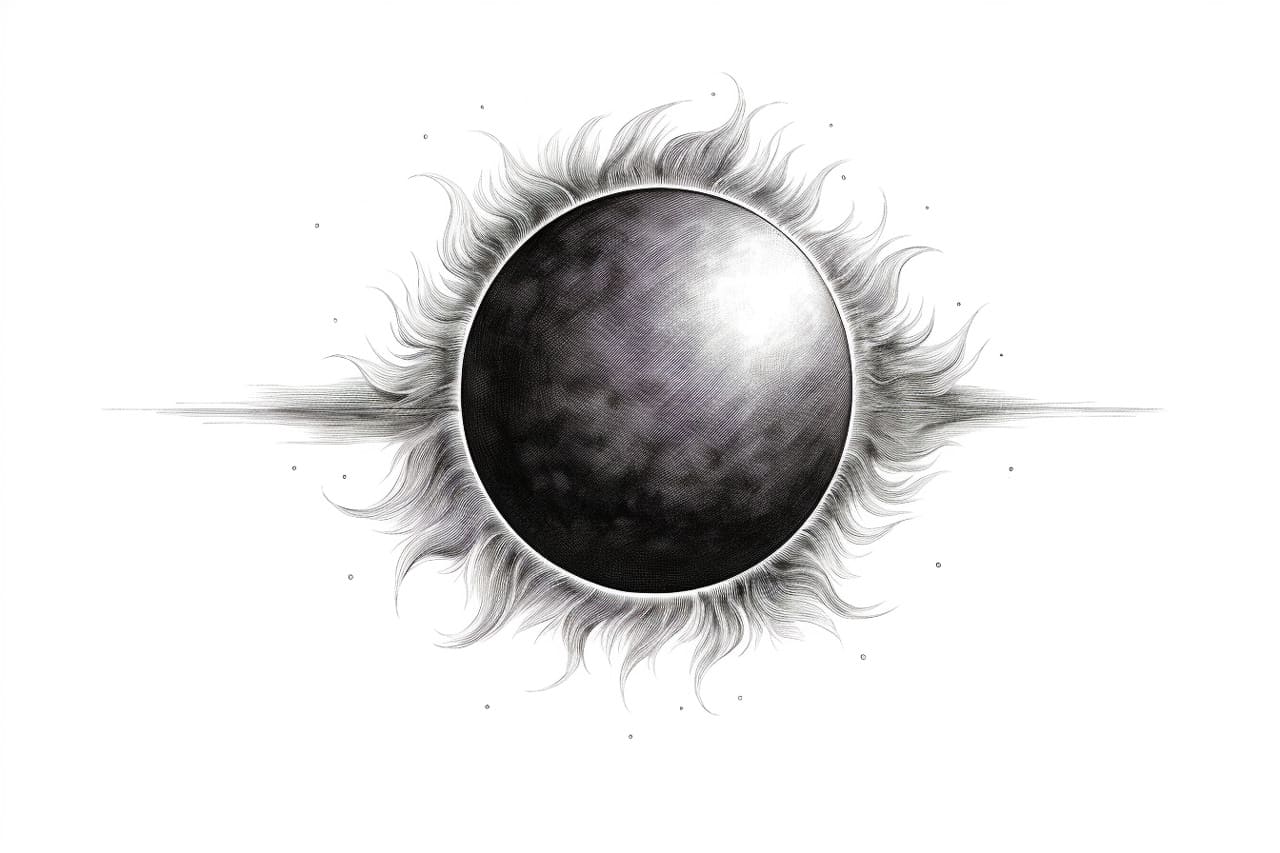
Step 6: Creating the Eclipse Effect
Carefully shade the area where the moon overlaps the sun to create the eclipse effect. The shading should gradually fade from dark to light, transitioning from the moon’s shadow to the brighter portions of the sun. Use a combination of hatching and cross-hatching techniques to achieve a smooth and gradual transition.
Step 7: Adding Final Details
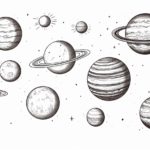
To enhance the overall drawing, consider adding additional elements such as stars, planets, or even a silhouette of the Earth below the sun and the moon. These extra details will not only make the drawing more visually interesting but will also add depth and context to your representation of a solar eclipse.
Conclusion
Drawing a solar eclipse allows you to capture the mesmerizing beauty and astronomical wonder of this celestial event on paper. By following the step-by-step instructions provided in this guide, you can create a remarkable drawing that showcases the magic of a solar eclipse. Remember to use different pencil grades, shading techniques, and add your unique artistic touch to make your drawing truly captivating. So, grab your materials, find inspiration, and start creating your own depiction of this celestial phenomenon!