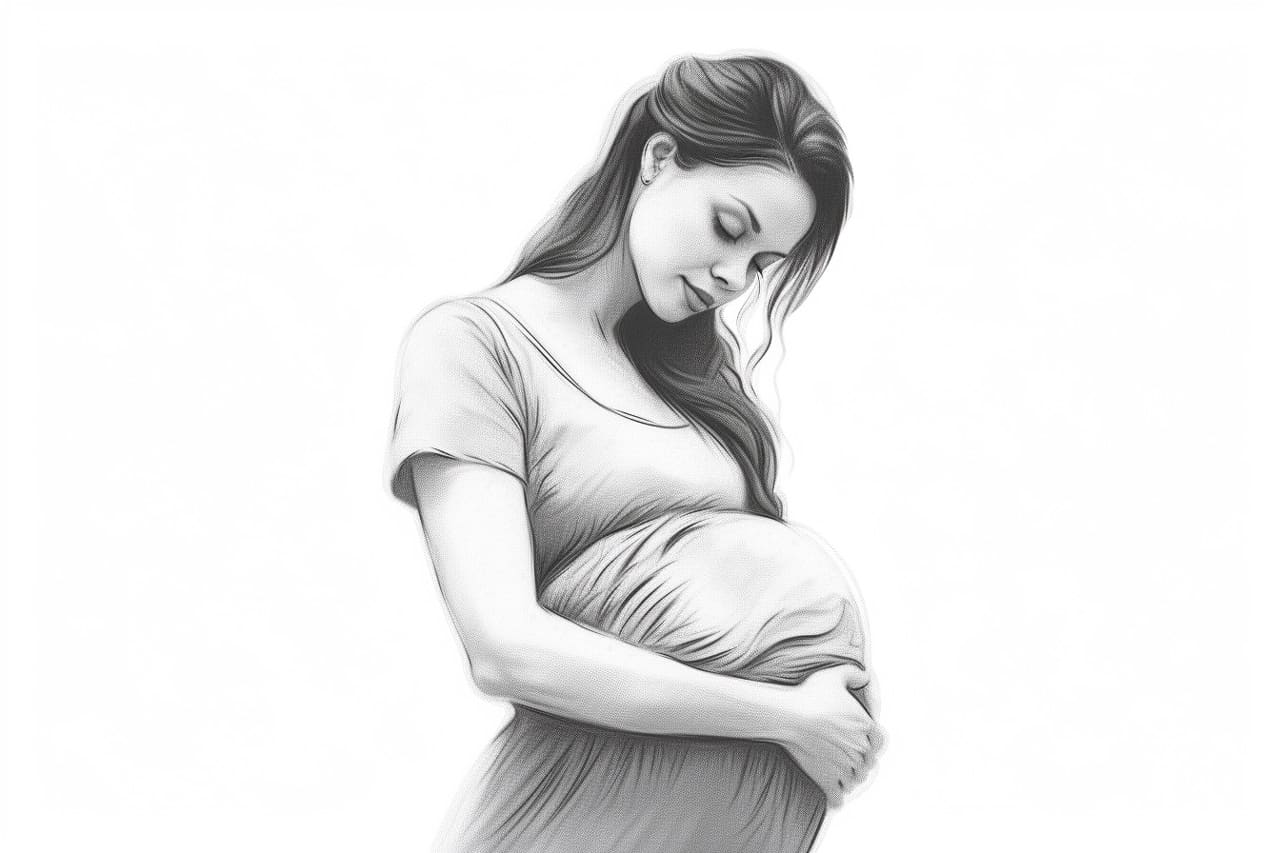
Drawing a pregnant woman can be a beautiful and challenging task. Capturing the curves and essence of pregnancy requires careful observation and attention to detail. In this step-by-step guide, we will walk you through the process of drawing a pregnant woman. Whether you are an experienced artist or just starting out, these instructions will help you create a stunning representation of the miracle of life.
Materials Required
Before getting started, gather the following materials:
- Drawing paper
- Pencil (preferably a softer lead like a 2B or 4B)
- Eraser
- Ruler
- Reference photo or model
Having these materials on hand will ensure a smooth drawing experience.
Step 1: Basic Structure
Begin by lightly sketching the basic structure of the pregnant woman’s body. Start with an oval shape for the head, followed by a slightly elongated oval for the torso. Draw a line down the center of the torso to help establish the midline. Add two lines that intersect the midline to indicate the position of the shoulders and hips.
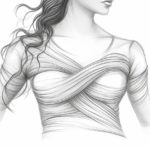
Step 2: Upper Body
Now, refine the shape of the upper body by adding gentle curves to represent the breasts and belly. Keep in mind that during pregnancy, the breasts often increase in size and roundness. Use light, flowing lines to capture the natural curvature.
Step 3: Arms and Hands
Next, add the arms. Start by drawing the shoulder joints at the upper end of the torso. Extend lines from the shoulders to indicate the length of the arms. At the ends of these lines, sketch simple shapes to represent the hands. Remember to take into account the slight swelling that can occur in a pregnant woman’s hands.
Step 4: Lower Body
Moving down to the lower body, continue to refine the shape of the belly. Pregnant women often experience a visible curvature in the lower back, so be sure to capture that gentle arch. Use the intersecting lines from Step 1 as a guide for positioning the hips. Add gentle curves to represent the thighs and legs, remembering that the legs may appear slightly wider due to pregnancy weight gain.
Step 5: Facial Features
Now that the body structure is complete, focus on adding facial features to bring your drawing to life. Start with the eyes, using simple shapes like ovals or almond shapes. Add eyebrows and gently curve the upper eyelids to give the eyes a soft, relaxed look. Sketch a small, slightly curved line for the nose and a simple smile for the mouth. Finally, add some flowing lines to represent the hair, taking into account that pregnant women’s hair often appears fuller and more vibrant.
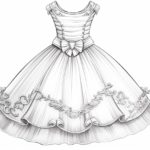
Step 6: Clothing and Details
To complete your drawing, add clothing and other details to enhance the pregnancy theme. Dress your pregnant woman in loose-fitting clothing, perhaps with a draped or belted style that accentuates the belly. You can also add accessories like earrings or a necklace to add personality and flair. Pay attention to the little details, such as wrinkles in the fabric or subtle shading, to give your drawing depth and realism.
Conclusion
Drawing a pregnant woman can be a rewarding experience that allows you to capture the beauty and joy of pregnancy. By following these step-by-step instructions and paying close attention to the details, you can create a stunning artwork that celebrates the miracle of life. Remember to take your time, practice, and most importantly, have fun with your drawing.
So grab your materials, find a comfortable space, and let your creativity flow as you bring a pregnant woman to life on paper.