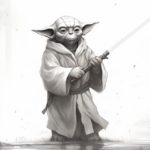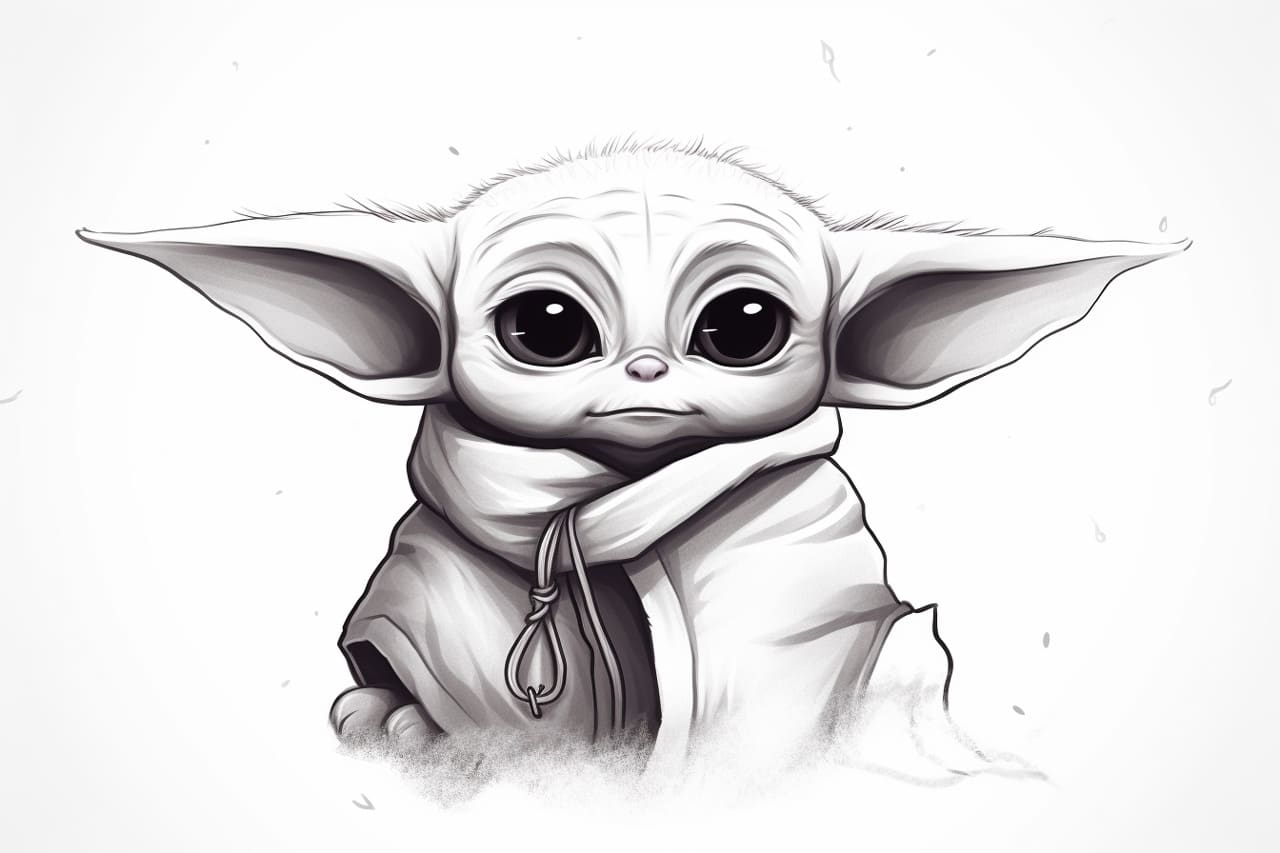
Welcome to this step-by-step guide on how to draw a Baby Yoda — everyone’s favorite character from “The Mandalorian”! In this tutorial, I will walk you through the process of capturing the irresistible cuteness of this beloved character on paper. Whether you’re a seasoned artist or just starting, follow along, and let’s bring Baby Yoda to life!
Materials Required
Before we begin, make sure you have the following materials ready:
- Pencil (preferably a mechanical pencil or a regular pencil with a sharp point)
- Eraser
- Drawing paper (preferably a sketchbook or a sheet of heavyweight paper)
- Fine-tip markers or pens (optional)
- Colored pencils or markers (optional)
Now that we have everything we need, let’s dive into the drawing process!
Step 1: Basic Shapes
To start, let’s break down Baby Yoda’s head into basic shapes. Begin by drawing a large oval shape in the center of your paper. This will be the head. Underneath the oval, draw a small horizontal line for the neck.
Step 2: Eyes and Ears
Moving on to the face, draw two large oval shapes within the head for the eyes. Leave a small gap between them. Inside each eye, draw a smaller oval for the pupils. Add a curved line above each eye to create the eyelids.
Next, draw two elongated “U” shapes on either side of the head for Baby Yoda’s ears. Make sure they align with the eyes and are pointing slightly outwards.
Step 3: Nose and Mouth
Now it’s time to add some facial features. Draw a small, slightly flattened oval shape just below the center of the head for the nose. Just above the nose, add a curved line for the mouth. Baby Yoda has a small, almost smile-like mouth, so keep it subtle.
Step 4: Wrinkles and Detailing
Baby Yoda’s face has some adorable wrinkles and detailing that we don’t want to miss. Starting from the lower eyelids, draw a series of curved lines that extend downwards, creating a few small wrinkles. Add a few more small, random lines around the eyes, nose, and mouth to give the face some texture.
Step 5: Body
Let’s move on to Baby Yoda’s body. Draw two curved lines on either side of the neck, extending downwards. These will be the shoulders. Underneath the shoulders, draw a curved line that connects them and forms the base of the body. Baby Yoda has a robe-like outfit, so add some folds and creases by drawing a few curved lines across the body.
Step 6: Arms and Hands
Starting from the shoulders, draw two slightly curved lines on each side for the arms. At the end of each arm, add a small oval shape for the hands. Baby Yoda’s hands are tiny, so keep them proportionate to the overall size of the body.
Step 7: Cloak and Details
To complete Baby Yoda’s outfit, draw a large “U” shape around the body, extending downwards. This will be the cloak. Add some folds and creases to the cloak by drawing curved lines across it. You can also add some additional details to the robe, such as a small belt or robe fastening.
Step 8: Feet
Moving on to the feet, draw two small, curved lines extending downwards from the bottom of the body. These will be the legs. At the end of each leg, draw a small oval shape for the feet. Baby Yoda’s feet are similar to his hands, so keep them proportionate and slightly smaller.
Step 9: Final Touches
Now that we have the basic structure and details in place, it’s time to refine the drawing. Go over the pencil lines with a pen or marker, following the main outlines of Baby Yoda’s features. You can also add some thin lines to emphasize the wrinkles, folds, and any other details you want to highlight.
Step 10: Coloring (Optional)
If you prefer a colored drawing, this is the time to bring out your colored pencils or markers. Baby Yoda has green skin, so lightly shade the entire head and body with a light green color. You can add some darker green tones to create depth and shadows. Use light strokes and layering to achieve a smooth and even color.
For Baby Yoda’s cloak, choose a suitable color that complements the green skin tone. Add some shading and highlighting to give it dimension and make it look more realistic.
Conclusion
Congratulations! You have successfully drawn Baby Yoda from “The Mandalorian.” I hope you enjoyed this step-by-step tutorial and found it helpful in bringing this adorable character to life on paper. Remember, practice makes perfect, so keep drawing and experimenting with different poses and expressions for Baby Yoda. May the Force be with you!