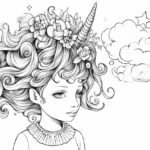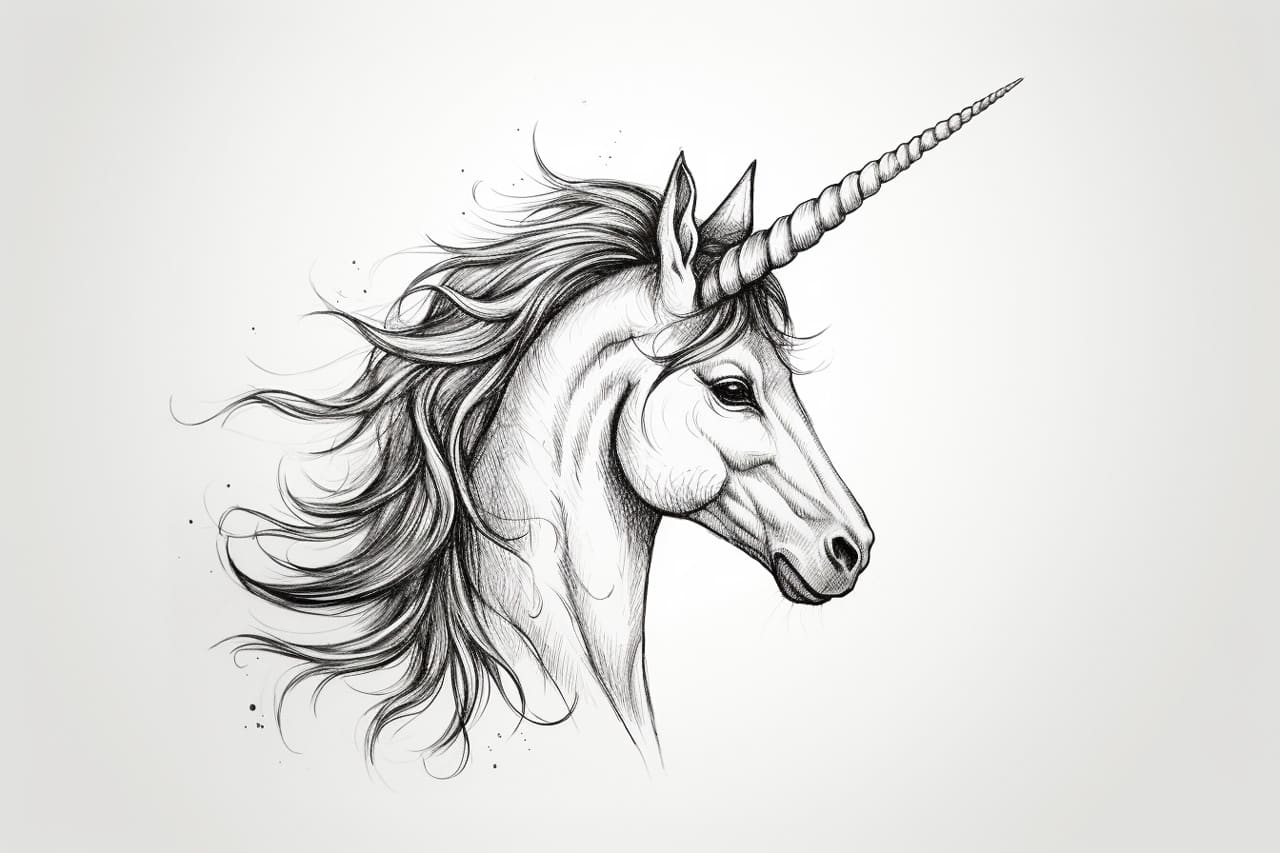
Welcome to this step-by-step guide on how to draw a unicorn horn. Unicorns are mystical creatures often associated with magic and beauty, and their horns are one of their most iconic features. Whether you are an experienced artist or just starting out, this tutorial will provide you with clear and concise instructions on how to create a stunning unicorn horn drawing. So grab your pencils and let’s get started!
Materials Required
To begin drawing a unicorn horn, you will need the following materials:
- Pencil: A graphite pencil will work well for sketching and detailing.
- Paper: Choose a good quality drawing paper that can handle pencil and eraser.
- Eraser: A soft eraser will help you correct any mistakes and achieve clean lines.
- Ruler: A straight ruler will assist in creating straight lines and symmetry.
- Optional: Colored pencils, markers, or watercolors for adding color to your drawing.
Now that you have gathered your materials, let’s dive into the step-by-step process of drawing a unicorn horn.
Step 1: Basic Guidelines
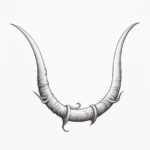
Begin by lightly sketching two vertical lines that will serve as the basic framework for your unicorn horn. These lines will determine the height and width of the horn. Next, draw a small circle at the top of the lines. This circle will be the base of the horn where it connects to the unicorn’s forehead.
Step 2: Shape the Horn
Using the circle as a guide, start drawing the shape of the unicorn horn. Begin by widening the lines at the bottom and gradually taper them towards the top. Imagine the horn as a twisted and spiraling cone. Take your time to ensure smooth and flowing lines. Erase any unnecessary guidelines as you go.
Step 3: Add Details
To make the unicorn horn more realistic and textured, it’s time to add some details. Start by drawing diagonal lines along the length of the horn, following its shape. These lines will represent the ridges and curves of the horn. Be mindful of the direction and spacing of the lines to create a natural look.
Step 4: Enhance the Texture
To give the unicorn horn a more three-dimensional appearance, add shading and highlights. Determine the light source in your drawing and shade the areas that would be in shadow accordingly. Use your pencil to create subtle gradients and add depth to the horn. Add highlights by leaving some areas untouched or lightly erasing to create a contrast.
Step 5: Refine and Define
Take a step back and assess your drawing so far. Use your eraser to clean up any smudges or stray marks. Refine the outline of the horn, emphasizing the curves and making any necessary adjustments. Pay attention to the overall symmetry and balance of your unicorn horn.
Step 6: Experiment with Colors
If you want to add color to your drawing, now is the time to do so. Consider the color scheme you want for your unicorn horn. You can use colored pencils, markers, or even watercolors to add a touch of magic. Gradually build up the colors, blending and layering to achieve the desired effect.
Conclusion
Congratulations! You have successfully learned how to draw a unicorn horn. With patience and practice, you can create beautiful and enchanting unicorn drawings. Remember to experiment with different styles, colors, and techniques to make your unicorn horn unique. Unleash your creativity and let your imagination soar as you embark on the journey of drawing magical unicorns. Happy drawing!