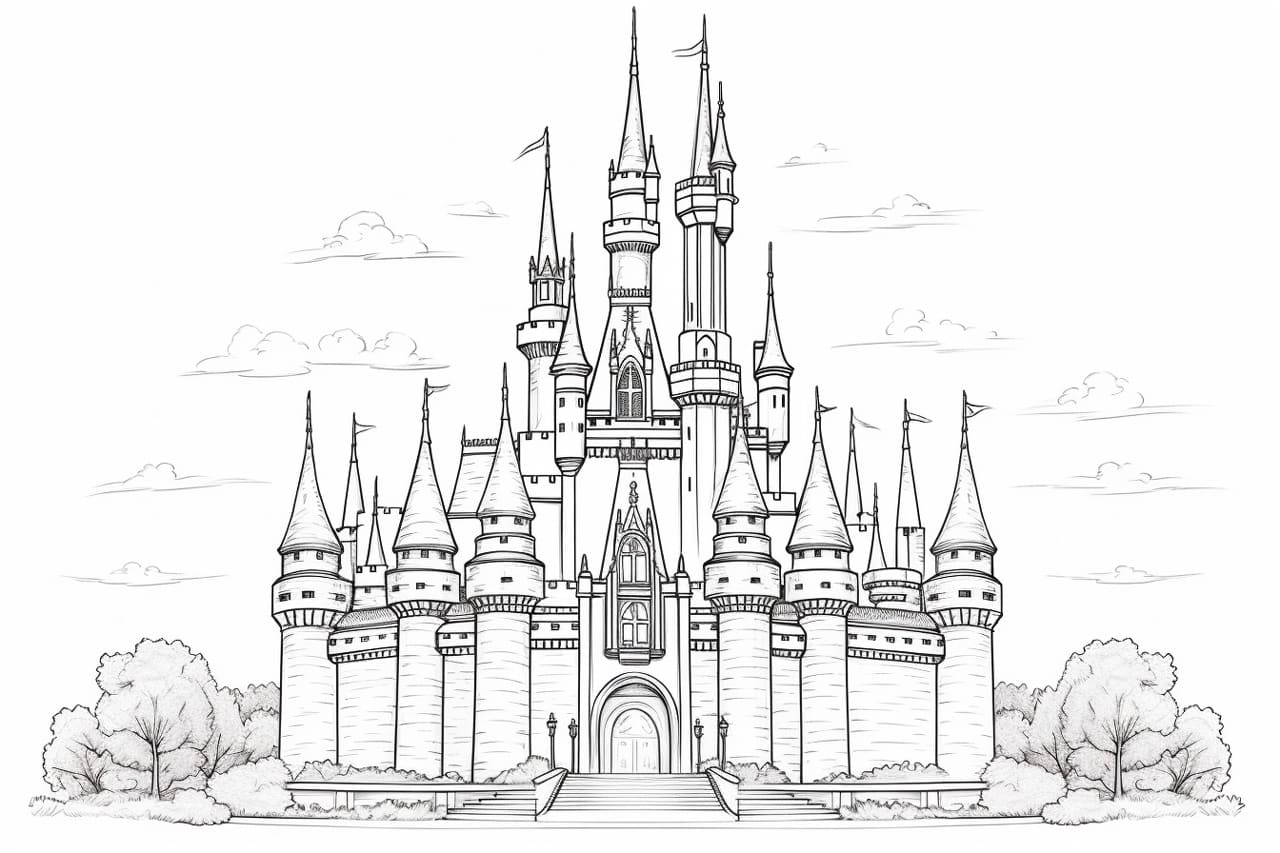
Welcome to this step-by-step tutorial on drawing a Disney castle! Whether you’re a Disney fan or just love drawing, you’ll enjoy recreating this iconic symbol of magic and enchantment. In this article, we will guide you through the process of how to draw a Disney castle, providing clear and concise instructions. So grab your drawing materials and let’s get started!
Materials Required
Before we begin, make sure you have the following materials:
- Paper
- Pencil
- Eraser
- Ruler
- Fine-tip black marker or pen
- Colored pencils or markers (optional)
Now that you have all the necessary materials, let’s jump into the drawing process!
Step 1: Basic Framework
Start by lightly sketching a rectangle in the center of your paper. This will serve as the main structure of the castle.
Step 2: Towers and Turrets
At the top corners of the rectangle, draw two tall towers. These towers should be slightly wider at the base and taper towards the top. Add cone-shaped roofs to the towers by drawing curved lines converging at the top.
Step 3: Windows and Doors
Using your ruler, draw simple rectangular windows and doors along the lower part of the castle. These can be evenly spaced or vary in size and shape, depending on your preference.
Step 4: Battlements and Detailing
Sketch small rectangular shapes along the top edge of the castle walls to create the battlements. Add details such as arches, balconies, or decorative elements using curved lines and intricate patterns to give your castle more character.
Step 5: Roofs and Spires
Draw triangular roofs on each tower, using diagonal lines to create depth. Add small spires and flags on top of the roofs, showcasing the grandeur of the castle.
Step 6: Drawbridge and Moat
Extend two parallel lines from the castle’s main entrance to create the drawbridge. Add stone supports underneath the bridge and sketch the moat by drawing a wavy line around the castle.
Step 7: Finalize the Outline
Now, using a fine-tip black marker or pen, carefully trace over the pencil lines to create a clean and bold outline for your Disney castle. Ensure that you trace only the lines you want to keep and erase any unnecessary pencil marks.
Step 8: Add Details and Texture
To add depth and detail, lightly shade the areas of the castle that would be in shadow, such as the sides of the towers and the underside of the roofs. Use small strokes to create texture on the walls and roofs, making them appear more realistic.
Step 9: Color Your Castle (Optional)
If you wish to add color to your drawing, use colored pencils or markers to bring your Disney castle to life. Refer to pictures of Disney castles for inspiration or let your imagination run wild to create a unique color scheme.
Conclusion
Congratulations! You’ve successfully drawn a Disney castle. By following these step-by-step instructions, you’ve created a magical piece of art that captures the essence of Disney’s enchanting world. Remember, practice makes perfect, so keep honing your drawing skills and exploring your creativity. Enjoy the process and have fun bringing the magic of Disney into your artwork!

