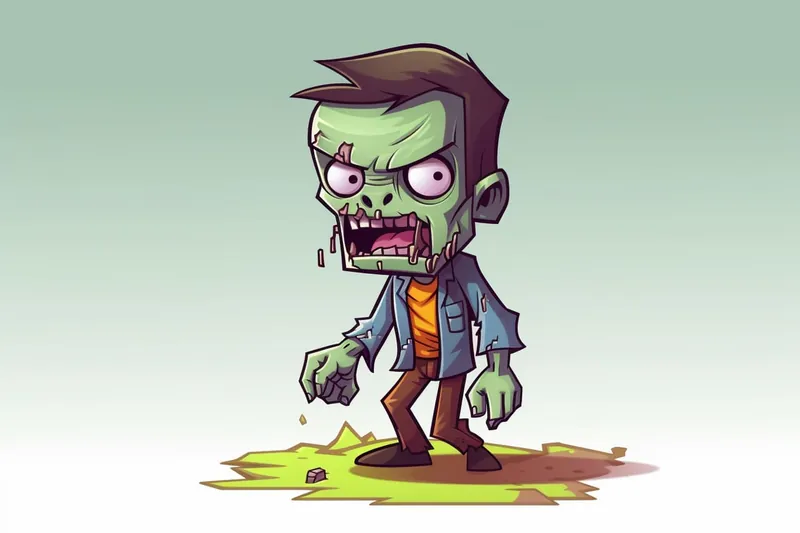
How to Draw a Minecraft Zombie
Learn how to draw a Minecraft zombie with this step-by-step tutorial. Create your own zombie masterpiece using basic shapes and easy-to-follow instructions.
Materials You'll Need
- Pencil
- Paper
- Eraser
Drawing characters from video games like Minecraft can be a fun and rewarding way to improve your artistic skills while celebrating your favorite digital worlds. In this tutorial, we will focus on how to draw a Minecraft zombie, one of the game's most recognizable and iconic mobs. These blocky, pixelated creatures are simple in design yet full of character, making them an excellent subject for artists of all skill levels. Whether you're a beginner eager to practice basic shapes or an experienced drawer looking to capture the unique style of Minecraft, this guide will walk you through every step.
Why draw a Minecraft zombie? Aside from their popularity in gaming culture, they offer a great opportunity to understand how to translate pixel art into hand-drawn illustrations. The modular design of the zombie's body—composed of cubes and rectangles—teaches you how to break down complex images into manageable shapes. This tutorial will introduce you to fundamental drawing techniques such as outlining, shading, and proportion control, all tailored to the stylized look of Minecraft's world. Plus, coloring your finished drawing can add an extra layer of creativity and make your zombie truly come alive.
By following this step-by-step guide on how to draw a Minecraft zombie, you'll gain confidence in your drawing abilities and have a unique piece of fan art to show off. Remember, practice makes perfect, so don't worry if it doesn't turn out exactly as you imagined the first time. Keep your pencils sharp and your imagination sharpener, and soon you'll be able to draw not just zombies but many other characters from the Minecraft universe. Ready to begin? Let's dive in and bring this pixelated creature to life on your paper!
Tip: As you work through the drawing steps, don't hesitate to use reference images from Minecraft or other artists to inspire your design choices and enhance your understanding of proportions and details. This can help you visualize how to adjust your drawing for a more authentic Minecraft style, allowing for creative freedom while staying true to the game's unique aesthetic.
Materials Required
Before we begin, make sure you have the following materials:
- A pencil
- Eraser
- Drawing paper
- Colored pencils or markers (optional)
Having these materials ready will ensure that you can follow along with the tutorial smoothly and make any adjustments as needed.
Step 1: Sketch the Head
Start by drawing a large square in the center of your paper. This square will be the zombie's head. Then, add two smaller squares on either side of the head, slightly overlapping the larger square. These squares will form the zombie's shoulders.
Step 2: Add the Facial Features
Inside the head square, draw two small circles for the eyes. Leave a small gap between the circles to indicate the zombie's nose. Below the eyes, sketch a horizontal line for the mouth. You can draw the mouth slightly open with jagged and uneven teeth for a classic zombie look.
Step 3: Outline the Body
Next, draw two long, vertical rectangles extending from the shoulders down to the bottom of the paper. These rectangles will form the zombie's body. Remember to make the lines slightly uneven to give the zombie a more characteristic appearance.
Step 4: Add the Arms
Position the arms of the zombie by drawing two straight lines extending outwards from the shoulders. Then, at the end of each line, sketch two shorter lines to represent the hands. The arms can be positioned in different poses, such as hanging down or reaching out.
Step 5: Detail the Clothing
To give your zombie some personality, add some clothing details. You can draw torn and ragged clothing by sketching random, jagged lines along the body and arms. Don't forget to add some patches and holes for an extra touch of decay.
Step 6: Draw the Legs
Start by drawing two straight lines extending from the bottom of the body down to the bottom of the paper, forming the zombie's legs. At the end of each leg, sketch two smaller lines to represent the feet. Just like the arms, the legs can also be positioned in various poses.
Step 7: Refine the Details
Now that you have the basic outline of your zombie, it's time to refine the details. Go over your initial sketch and add more defined lines to bring out the features. Pay attention to the facial expressions, the shape of the body, and the texture of the clothing. You can also add any additional details, such as scars or missing limbs, to make your zombie unique.
Step 8: Add Shadows and Highlights
To add depth and dimension to your drawing, incorporate shading. Determine the light source in your composition and add shadows accordingly. Darken areas that would be in shadow, such as under the chin or around the eyes. Conversely, use lighter strokes or leave areas blank to indicate highlights and areas of reflected light.
Step 9: Color (Optional)
If you want to add some color to your drawing, now is the time to do so. Use colored pencils or markers to bring your zombie to life. Minecraft zombies typically have various shades of green or grayish skin, but feel free to get creative and experiment with different colors.
Conclusion
Congratulations on completing your drawing of a Minecraft zombie! By following these steps, you've learned how to create your very own zombie character from the popular video game. Remember, practice makes perfect, so keep honing your drawing skills and challenging yourself with new subjects. Whether you're an avid Minecraft player or simply a fan of zombies, this tutorial has provided you with the tools to bring your imagination to life on paper.
So, grab your pencil and start drawing your own Minecraft zombie today!
Fun Facts About Minecraft Zombie
- Minecraft zombies are one of the first hostile mobs introduced in the game, appearing since the original alpha version.
- Zombies burn in sunlight unless they are wearing a helmet or standing in shade.
- They can break down wooden doors on hard difficulty, making them more challenging to defend against.
- Zombies can spawn with armor and weapons, sometimes enchanted, increasing their threat level.
- When killed, zombies have a chance to drop rotten flesh, which can be used to feed tamed wolves.
- Baby zombies are smaller, faster, and more aggressive versions that can fit through smaller gaps.
- Zombies can convert villagers into zombie villagers by attacking them, affecting village dynamics.
- They have a distinctive groaning sound that adds to the eerie atmosphere of Minecraft nights.
- Zombies can swim and will pursue players even underwater, making them persistent threats.
Suggestions for Scenes and Settings for Minecraft Zombie Drawings
- [A lone Minecraft zombie wandering through a dark, pixelated forest](https://yonderoo.com/how-to-draw-a-creepy-forest/) with glowing eyes peeking from the trees.
- A group of zombies slowly approaching a village at night, with villagers hiding behind wooden fences.
- A zombie climbing out of a pixelated graveyard, surrounded by tombstones and eerie fog.
- A Minecraft zombie battling a player character near a lava pool inside a cave.
- A zombie standing on a bridge over a river, with blocky trees and mountains in the background.
- A close-up portrait of a zombie face with tattered clothing and missing limbs, emphasizing texture and decay.
- A zombie emerging from a swamp biome, with pixelated lily pads and vines hanging around.
- A pack of zombies chasing a runaway pig or animal across a pixel-art meadow during sunset.
- A zombie trapped inside a wooden cage or prison, highlighting the contrast of captivity and wildness.
- A Minecraft zombie exploring a ruined castle or fortress, with broken walls and scattered blocks.