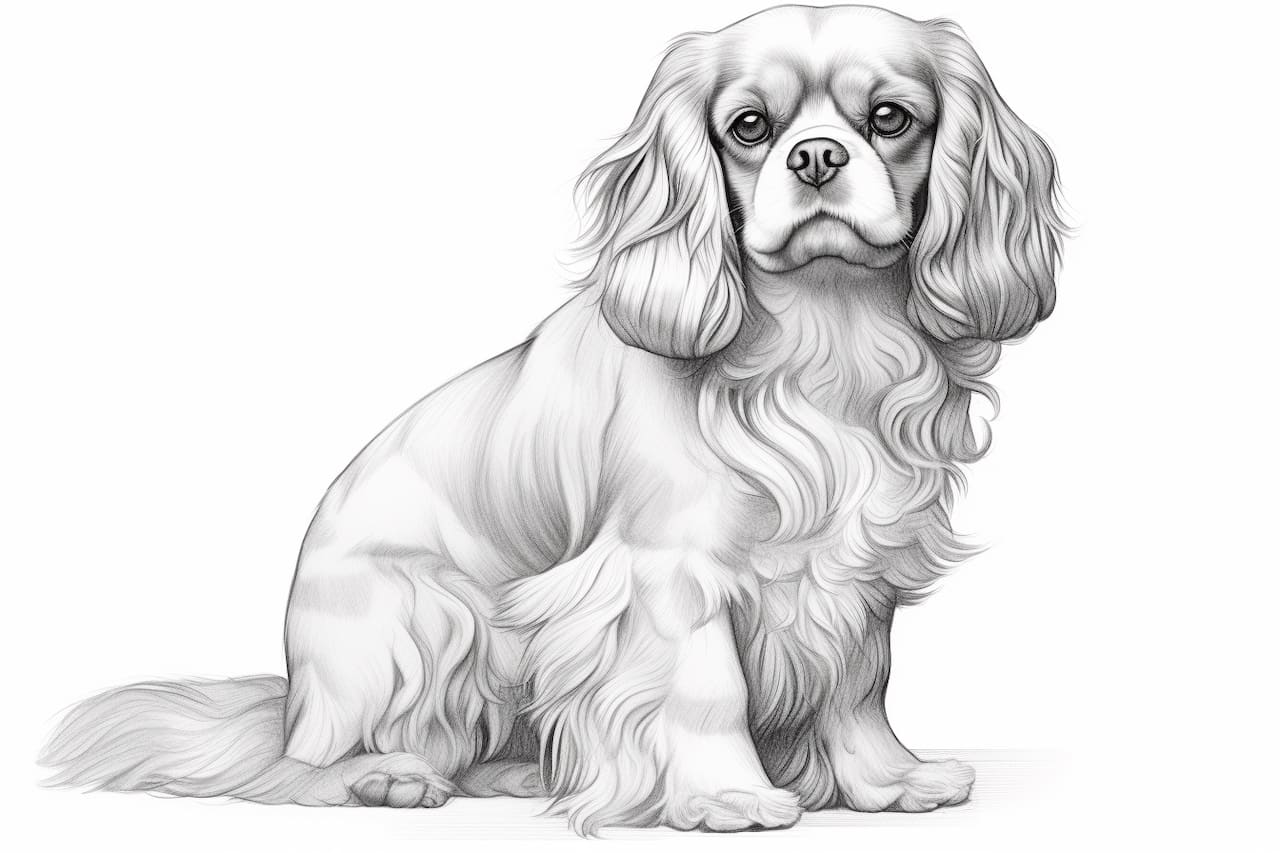
Have you ever wanted to capture the charm and elegance of a Cavalier King Charles Spaniel in your artwork? This step-by-step guide will teach you how to draw this beloved breed with precision and detail. Whether you are a beginner or an experienced artist, follow these instructions to create your very own masterpiece.
Materials Required
Before we dive into the drawing process, let’s gather the materials you’ll need to complete this project:
- Drawing paper or sketchbook
- Pencils (preferably a range of 2B to 4B)
- Eraser (kneaded or vinyl)
- Pencil sharpener
- Ruler (optional, for drawing guidelines)
Now that you have everything ready, let’s get started on your Cavalier King Charles Spaniel drawing!
Step 1: Outline the Head and Ears
Begin by lightly sketching a circle at the center of your paper. This circle represents the head of the Spaniel. Then, draw two perpendicular lines intersecting at the center of the circle to create guideline markings.
Next, add the ears by drawing two curved lines on either side of the head. These lines should start at the top of the circle and extend towards the sides, slightly curving downwards.
Step 2: Sketch the Facial Features
Now, let’s bring the face of the Cavalier King Charles Spaniel to life. Start by sketching two almond-shaped eyes within the head, using the guidelines as a reference. Remember to leave some space between the eyes to create a natural look.
Below the eyes, draw a small curved line for the nose. Then, add a slightly curved line above the nose for the eyebrows. These small details can make a big difference in capturing the expression of the Spaniel.
Step 3: Add the Muzzle and Mouth
Extend a curved line from the bottom of the head to create the muzzle. This line should curve slightly downwards towards the center of the face, resembling the shape of a shallow letter “U”.
Within the muzzle, draw a small dot for the nose and a curved line below it for the mouth. Take your time to ensure these features align properly and maintain the proportions of the breed.
Step 4: Outline the Body and Legs
To continue, let’s outline the body of the Spaniel. From the bottom of the head, extend two curved lines downward, gradually converging towards the center. These lines will form the sides of the neck and body.
Next, sketch two curved lines extending downwards from the body, representing the front legs. Remember to make them slightly wider towards the body and tapering towards the paws.
Step 5: Draw the Back and Hind Legs
Now, draw a curved line behind the neck and body to create the Spaniel’s back. This line should start from the neck and smoothly flow towards the hindquarters.
For the hind legs, draw two parallel lines extending downwards from the back, curving slightly towards the paws. Pay attention to the proportions and angles to accurately represent the pose of the Spaniel.
Step 6: Add the Tail and Tail Feathers
The Cavalier King Charles Spaniel is known for its beautiful feathered tail. To depict this characteristic, sketch a long curved line extending from the hindquarters downwards. Then, draw several small curved lines branching out from the main line to create the tail feathers.
Step 7: Refine the Details
With the basic structure in place, it’s time to refine the drawing and add more intricate details. Use a darker pencil or increase the pressure on your pencil to define the outline of the Spaniel’s body, head, and ears.
Pay close attention to the unique markings and fur patterns of this breed. Use short, gentle strokes to mimic the texture of the fur, giving your drawing a more realistic appearance.
Step 8: Erase Guidelines and Add Final Touches
Before finishing your artwork, carefully erase any remaining guidelines and unnecessary sketch lines. Use an eraser that won’t smudge or damage the drawing paper.
Once the guidelines are erased, take a step back and observe your drawing. Make any necessary adjustments to ensure the proportions and overall likeness of the Cavalier King Charles Spaniel are accurate.
Conclusion
Congratulations on completing your drawing of a Cavalier King Charles Spaniel! By following these step-by-step instructions, you’ve learned how to capture the unique features and personality of this wonderful breed. Remember, practice makes perfect, so don’t hesitate to try this tutorial multiple times to improve your skills.
Now, armed with your newfound knowledge, grab your materials and let your creativity flow as you continue to explore the world of art. Happy drawing!