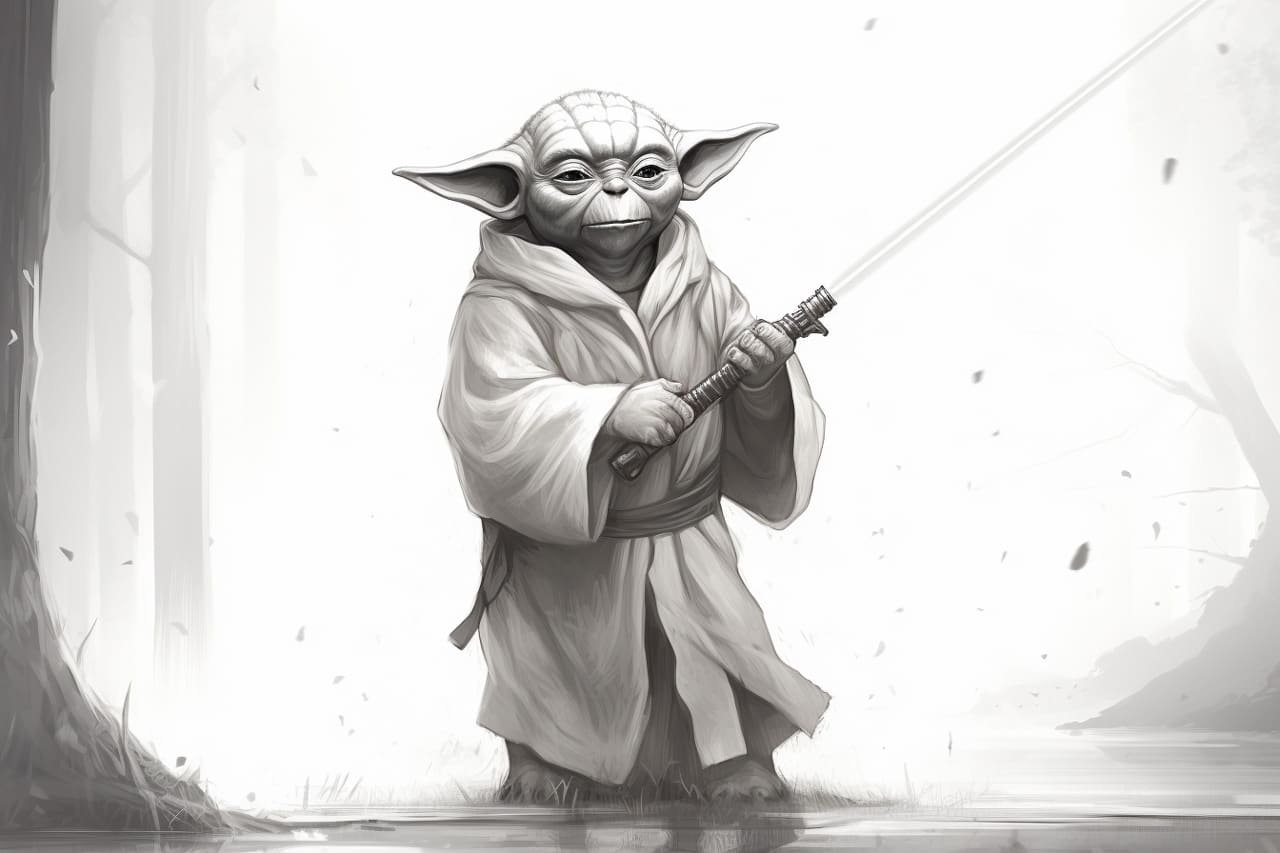
Greetings, aspiring artists! Today, we are here to learn the art of how to draw a Yoda, the wise and iconic Jedi Master from the Star Wars universe. Whether you are a beginner or a seasoned artist, this step-by-step guide will help you bring this beloved character to life on your canvas. So, let’s grab our pencils and dive into the world of Yoda!
Materials Required
To begin your artistic journey in drawing Yoda, gather the following materials:
- A pencil (preferably an HB or 2B)
- A sketch pad or drawing paper
- An eraser
- A set of colored pencils or markers (optional)
- A reference image of Yoda (either printed or on a digital device)
Make sure you have these materials ready before moving forward. Once you have everything, let’s embark on our artistic endeavor!
Step 1: Head Shape
Begin by sketching a large oval shape in the center of your paper. This oval will form the basis for Yoda’s head. Take your time to ensure the shape is proportionate and symmetrical. Don’t be afraid to use lighter lines and shapes as guidelines, as they can be erased later.
Step 2: Facial Structure
Divide the oval shape into four equal sections by drawing a horizontal and vertical line across it. These lines will help us establish the placement of Yoda’s facial features. The horizontal line will serve as the eye level, while the vertical line will help align the center of his face.
Step 3: Eyes and Eyebrows
On the upper part of the oval, draw two small almond-shaped eyes on either side of the vertical line. Yoda’s eyes are small and set deeply, so be sure to leave enough space between them. Add a slight curve above each eye to depict his bushy eyebrows, which are one of his defining features.
Step 4: Nose and Mouth
Below the eyes, draw a small, triangular shape to represent Yoda’s pointy nose. This should be placed slightly off-center towards the left side of the vertical line. Next, draw a small curved line underneath the nose to indicate his mouth. Keep the mouth simple, as Yoda is often portrayed with a serene expression.
Step 5: Ears
Yoda’s large, pointy ears are an essential part of his appearance. Draw two elongated “C” shapes on either side of his head, starting from the top of the oval and extending downwards. These ears should be slightly tilted and more prominent than his other facial features.
Step 6: Wrinkles and Details
To add depth and character to Yoda’s face, carefully sketch wrinkles and creases around his eyes, forehead, and mouth. Pay attention to the reference image to capture the unique texture and aged appearance of his skin. Use light, curved lines to indicate these wrinkles, and don’t overdo them – subtlety is key here.
Step 7: Hat and Robes
Moving on to Yoda’s attire, draw a small rectangle shape above his head to represent his signature Jedi Master hat. This hat should have a slightly curved brim and sit snugly on top of his head. Next, using long, flowing lines, sketch Yoda’s robe, starting from the sides of his head and cascading down to the bottom of the oval shape.
Step 8: Arms and Hands
Yoda’s arms are short yet expressive, so let’s tackle those next. Draw two slightly curved lines extending from either side of his torso to represent his arms. At the end of each arm, add a simple oval shape to depict his hands. Remember to keep the proportions in mind, ensuring that the hands are smaller in comparison to the head and body.
Step 9: Body and Clothing
Yoda’s body is relatively small compared to his head, so draw a simple, rounded shape beneath his head to represent his torso. Connect the arms and robe to this shape, creating a seamless flow. Add a few lines to show the folds and texture of his robe, giving it a sense of movement and dimension.
Step 10: Color and Shading (Optional)
If you prefer to add color to your drawing, now is the time to do so. Use your colored pencils or markers to bring Yoda to life. Refer to the reference image for guidance on the colors of his skin, eyes, clothing, and accessories. Additionally, consider adding subtle shading to certain areas, such as the wrinkles and folds of his robes, to make your drawing more realistic.
Congratulations, young padawan! You have successfully learned how to draw Yoda, capturing the essence of this iconic character on paper. Remember, the key to mastering any art form is practice, so don’t hesitate to keep honing your skills and experimenting with different techniques.
May the Force be with you, and happy drawing!
Conclusion
In this tutorial, we explored the step-by-step process of drawing Yoda, the wise Jedi Master from the Star Wars universe. By following the instructions and using the materials listed, you can create your own rendition of this beloved character. Remember to take your time, be patient, and practice regularly to improve your artistic abilities.
Drawing Yoda allows you to delve into the fascinating world of Star Wars while honing your artistic skills. So, grab your pencils, let your imagination soar, and bring this iconic character to life on your canvas!