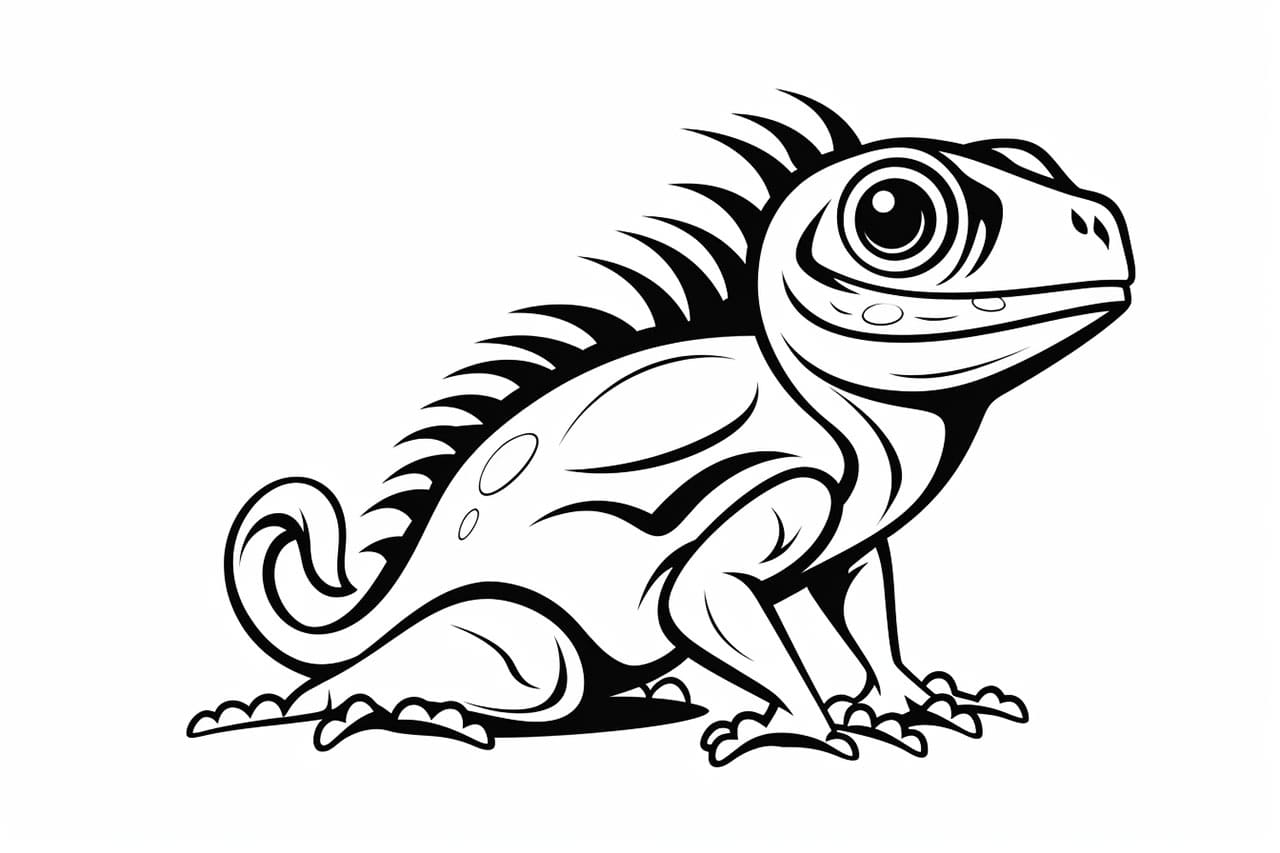
Welcome to this step-by-step guide on how to draw a lizard! Whether you’re a beginner or an experienced artist, this tutorial will teach you how to create a realistic lizard drawing. Lizards come in various sizes and shapes, but we will focus on a generic lizard shape that you can customize as you like. So grab your drawing supplies and let’s get started!
Materials Required
To begin drawing your lizard, gather the following materials:
- Sketchbook or drawing paper
- Pencil (HB or 2B)
- Eraser
- Fine-tip markers or pens (optional)
- Colored pencils or markers (optional)
You can adjust the materials based on your preferences and the level of detail you want to achieve in your drawing. Now that we have everything we need, let’s begin!
Step 1: Basic Lizard Shape
To start, lightly sketch a long oval shape on your paper. This will be the body of your lizard. Remember, this is just a guide, so don’t press too hard with your pencil. Take your time to perfect the shape before moving on to the next step.
Step 2: Adding the Head and Tail
Extend a slightly curved line from one end of the oval to create the lizard’s tail. You can make it as long or short as you like. Next, at the opposite end of the oval, draw an elongated shape for the lizard’s head. The head should be smaller than the body, and you can add a rounded snout to give it a more defined shape. Make sure to leave space for the lizard’s eyes in the next step.
Step 3: Eyes and Facial Features
Now it’s time to add some personality to your lizard by drawing its eyes and facial features. Start by drawing two small circles on the lizard’s head for the eyes. Lizards have a unique eye shape, with a small vertical pupil. Add the pupil as a vertical oval within each eye, leaving a small white highlight to give them life. Next, draw a curved line above each eye to indicate the lizard’s eyebrows. Finally, add a small triangle shape for the nose.
Step 4: Legs and Feet
Lizards have four legs, and each leg has five toes. Draw two pairs of curved lines extending from the lizard’s body to create the front and hind legs. At the end of each leg, sketch five small ovals to represent the lizard’s toes. Make sure to create a slight curve in the toes to make them look more realistic.
Step 5: Body Details
Now that you have the basic lizard shape, it’s time to add some details. Start by drawing a line down the center of the lizard’s body to create the spine. From the spine, add a series of curved lines branching out on each side to represent the lizard’s scales. Lizards have different patterns on their bodies, so feel free to experiment and create your own unique design.
Step 6: Coloring Your Lizard
If you want to add some color to your drawing, now is the perfect time! Choose your favorite colored pencils or markers and start adding shades and patterns to your lizard. Lizards come in a variety of hues, so feel free to get creative with your color choices. Remember to blend different shades together to give your lizard a more realistic appearance.
Conclusion
Congratulations, you have successfully learned how to draw a lizard! By following these step-by-step instructions, you have created a detailed and lifelike lizard drawing. Remember, practice makes perfect, so don’t be afraid to try drawing lizards in different poses or angles. Keep experimenting and refining your skills, and soon you will be able to draw lizards with ease. Have fun and keep on creating!