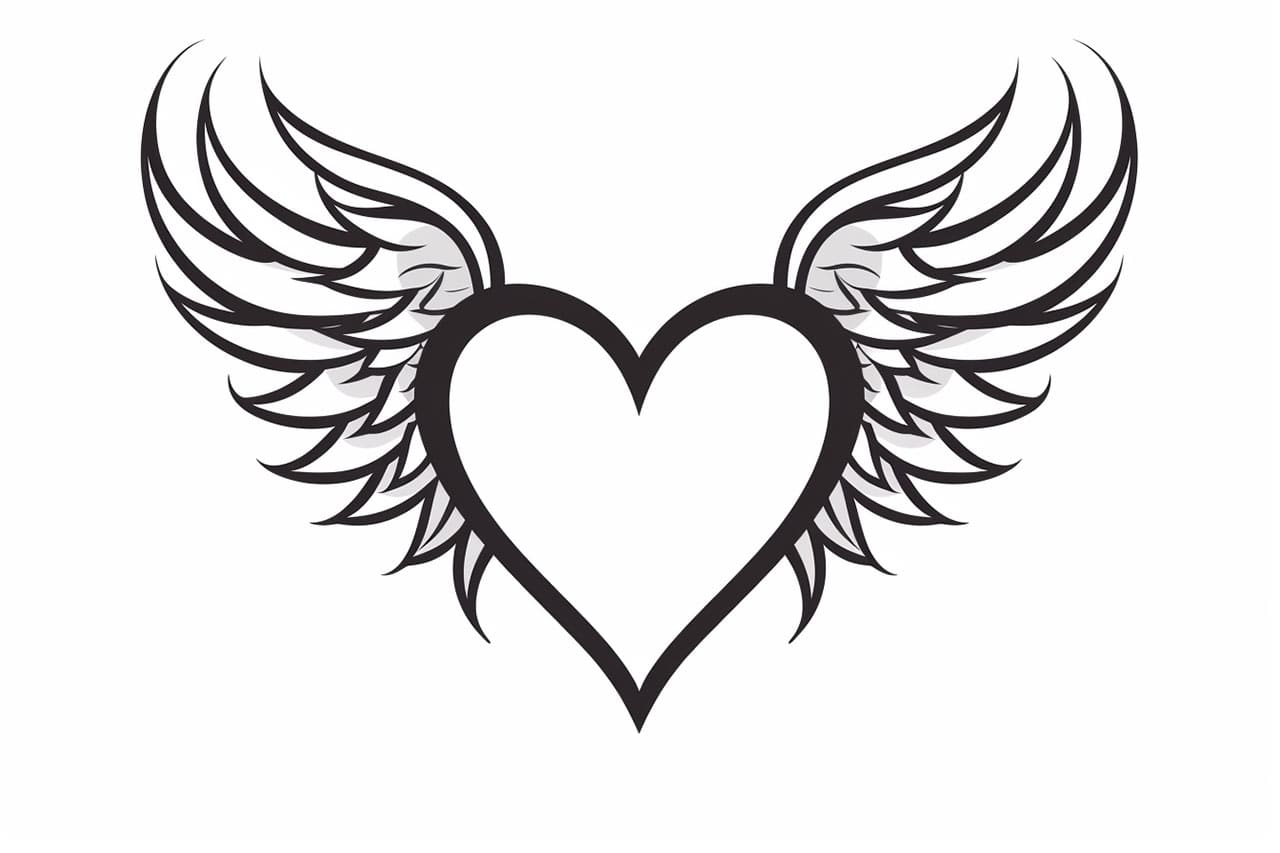
Have you ever wanted to draw a heart with wings? This iconic symbol represents love, freedom, and a sense of soaring through life. Whether you want to create artwork for a special occasion or simply enjoy the process of drawing, this step-by-step guide will help you bring your heart with wings to life. So grab your drawing materials and let’s get started!
Materials Required:
Before we begin, gather the following materials:
- A pencil
- Eraser
- Paper
- Fine-tip marker or pen (optional)
- Colored pencils, markers, or other coloring tools (optional)
Step 1: Sketch the Heart
To start, lightly sketch the outline of a heart shape on your paper. Begin at the top with a rounded curve, then angle inward to form the pointed bottom of the heart. Take your time to ensure the shape is symmetrical and that you’re happy with the overall size and proportions.
Step 2: Add the Wings
Next, determine where you’d like the wings to be positioned on your heart. Imagine the heart like a bird’s body, and place the wings accordingly. Begin by drawing a curved line on one side of the heart, starting from the top and extending outward. Repeat this step on the other side to create a symmetrical pair of wings.
Step 3: Define the Outline
Now it’s time to define the outline of your heart and wings. Using your pencil or a fine-tip marker, trace over the sketch lines to make them more prominent. Pay attention to details such as the curves and angles of the heart shape, as well as the structure of the wings. The outline will serve as a guide for adding more intricate details later on.
Step 4: Add Feathers to the Wings
To give your wings a realistic and textured appearance, draw small feather-like shapes along the outer edges. These can be simple curved lines or more detailed feather shapes, depending on your preference and skill level. Remember to repeat this step on both wings to maintain symmetry.
Step 5: Create a Halo (Optional)
If you’d like to add a halo to your heart with wings, draw a small circle or oval shape above the top of the heart. This can be a simple outline or filled in with color later on for a more vibrant effect. The halo represents a sense of divinity and spirituality often associated with angels.
Step 6: Add Facial Features (Optional)
To give your heart with wings a friendly and expressive face, draw eyes, a nose, and a smile just below the curve of the heart shape. These features can be as simple or as detailed as you like, depending on your personal style and artistic preferences. Experiment with different expressions to give your artwork its own unique personality.
Step 7: Refine and Erase
Now that you’ve added the main elements of your heart with wings, take a moment to step back and examine your drawing. Make any necessary adjustments to the proportions, refine the outline, and erase any unwanted guidelines or sketch lines. This is your opportunity to fine-tune your artwork before moving on to the coloring stage.
Step 8: Color Your Artwork (Optional)
If you wish to add color to your heart with wings, use colored pencils, markers, or any other coloring tools of your choice. Consider using vibrant hues to represent the energy and vibrancy of love and freedom associated with this symbol. Experiment with shading and blending techniques to add depth and dimension to your artwork.
Step 9: Outline with a Marker or Pen (Optional)
For a bold and defined look, you can outline your entire artwork with a fine-tip marker or pen. This step is optional but can add a polished and finished appearance to your drawing. Be careful and take your time to ensure the lines are clean and smooth.
Conclusion
Congratulations! You have successfully learned how to draw a heart with wings. This symbolic artwork represents love, freedom, and the ability to soar through life. By following these step-by-step instructions, you can create your own unique interpretation of this timeless design. Remember to consider your preferred materials and style, and feel free to experiment with different colors and additional details. Whether you choose to leave your artwork in pencil or color it in, embrace the creative process and enjoy the journey of expressing yourself through drawing.


