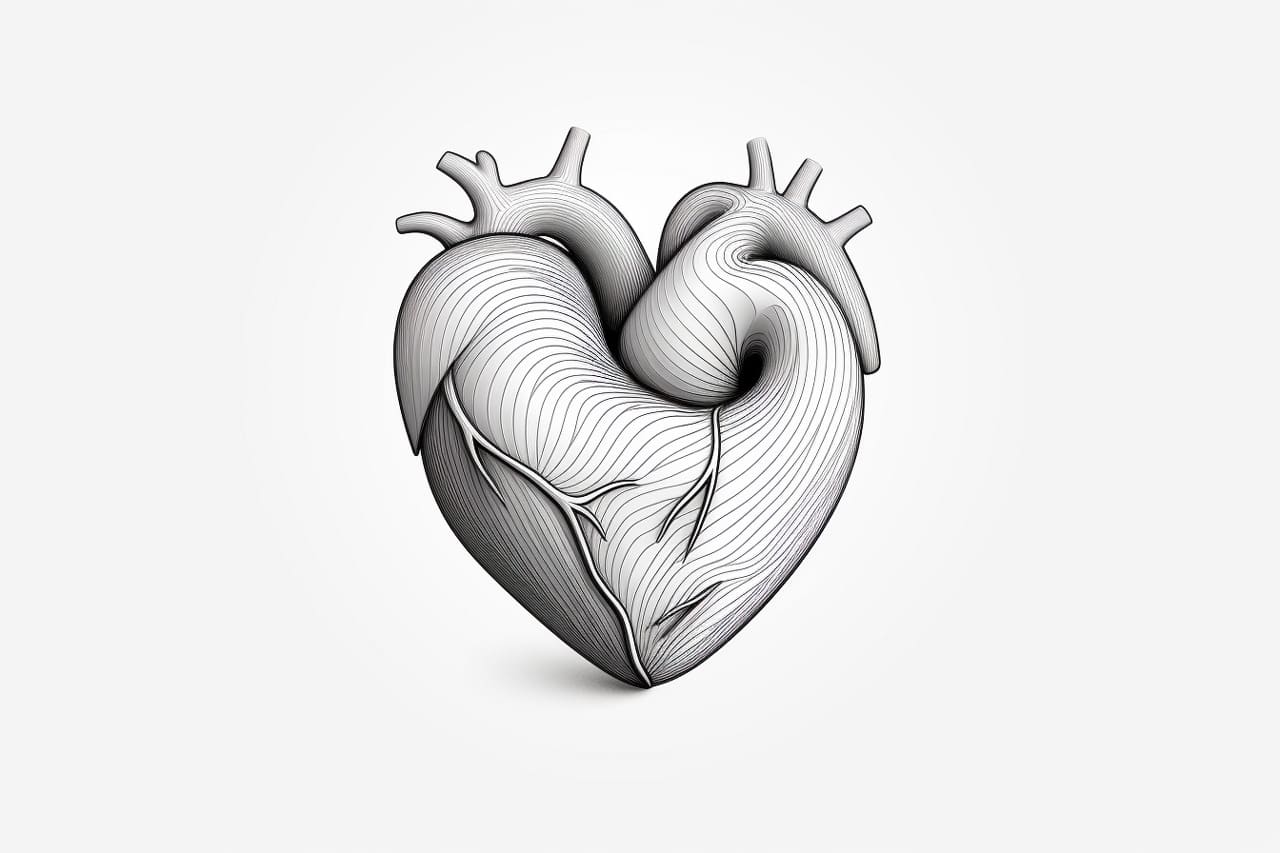
Are you interested in learning how to draw a 3D heart? Well, you’re in luck! In this step-by-step guide, I’ll walk you through the process of creating a realistic and eye-catching 3D heart drawing. Whether you’re an aspiring artist or just looking for a fun creative project, this tutorial is perfect for you. So, grab your drawing supplies and let’s get started!
Materials Needed
Before we dive into the steps, let’s gather the necessary materials:
- Drawing paper or sketchbook
- Pencil
- Eraser
- Fine-tipped black pen or marker
- Colored pencils or markers (optional)
With your materials ready, let’s move on to the drawing process.
Step 1: Draw the Outline
Start by drawing a vertical line that will serve as the centerline of the heart. At the top of the line, draw a small horizontal line that connects to it, creating a “v” shape. This will form the top of the heart.
Step 2: Define the Shape
Next, draw two curved lines that extend from the top of the heart’s “v” shape and meet at a point at the bottom. These lines should be symmetrical and slightly curvy, following the natural shape of a heart. Adjust the curves until you’re satisfied with the overall shape.
Step 3: Add Depth and Dimension
To create a three-dimensional effect, we will add thickness to the heart’s shape. Draw curvy lines that mirror the outline of the heart, starting from the left side and gradually curving towards the centerline. Repeat this on the right side as well. These lines should be parallel to the outline and slightly spaced apart.
Step 4: Draw the Inner Curves
Inside the heart, draw two curved lines that start from the top and extend towards the bottom of the heart. These lines should follow the same overall shape as the heart but slightly smaller in size. These curves will add depth and detail to your drawing.
Step 5: Add Shading
To make the heart appear more three-dimensional, we will add shading. Start by determining the light source in your drawing. With that in mind, shade the left side of the heart with diagonal lines, gradually getting darker as you move away from the light source. Leave the middle section and the right side of the heart lighter to create contrast.
Step 6: Add Highlights
To enhance the three-dimensional effect, add highlights to your drawing. Using an eraser, gently remove some of the shading in areas where light would naturally hit the heart, such as the top and sides. This will create a more realistic and polished look.
Step 7: Outline the Heart
Using a fine-tipped black pen or marker, go over the pencil lines to outline the heart. Make sure to follow the contours of the heart carefully and define the edges. Erase any remaining pencil marks for a clean and finished look.
Step 8: Color the Heart (Optional)
If you prefer a colored version, grab your colored pencils or markers and add some vibrant hues to your heart. You can use shades of red for a traditional look or get creative with different color combinations. Experiment and have fun with your coloring choices!
Conclusion
Congratulations! You’ve successfully learned how to draw a 3D heart. By following these step-by-step instructions, you’ve created a visually appealing and realistic heart drawing. Remember, practice makes perfect, so don’t hesitate to try drawing hearts in various sizes and styles. Keep exploring your artistic skills and enjoy the process.


