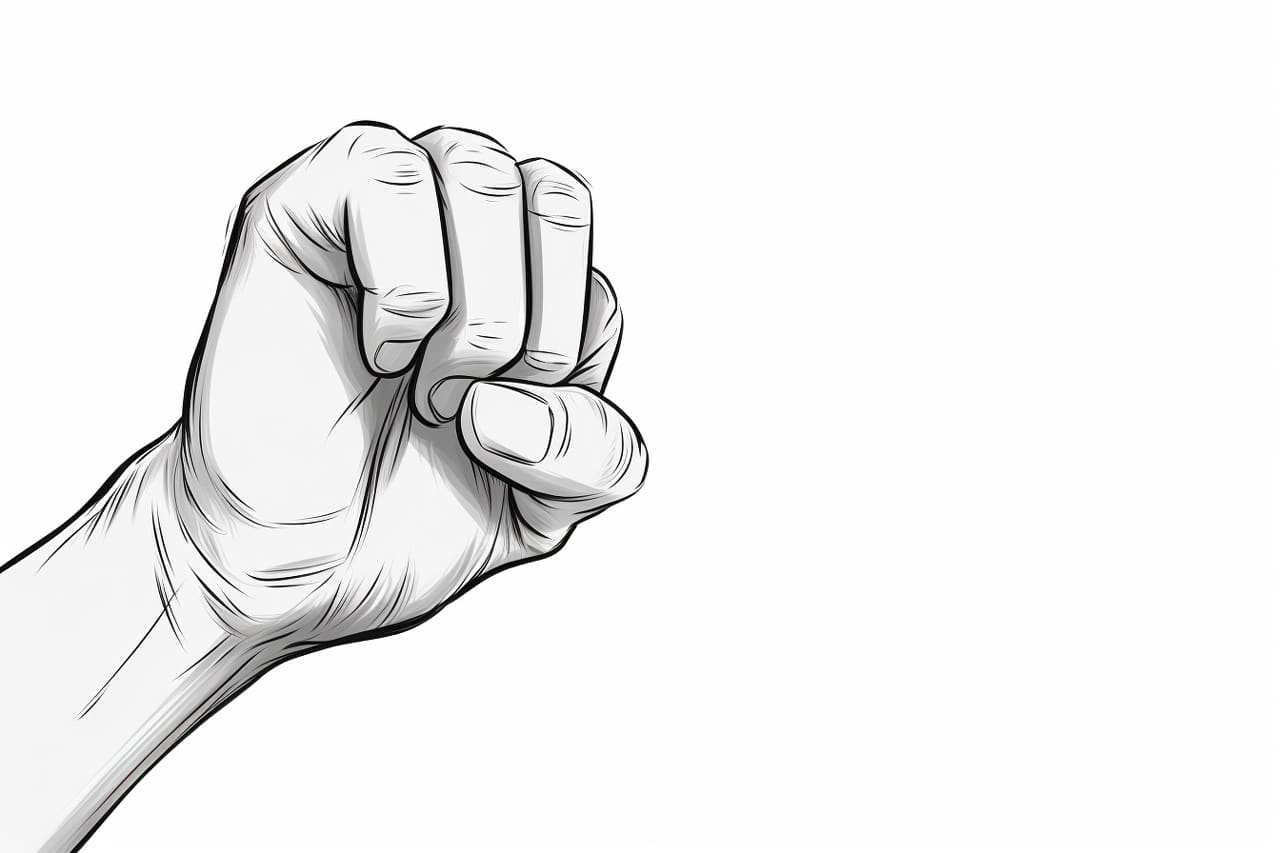
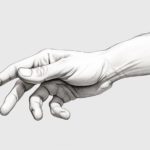
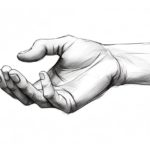
Welcome to this step-by-step guide on how to draw a cartoon hand. Whether you are an aspiring artist or simply looking to improve your drawing skills, mastering the art of drawing hands can greatly enhance your artwork. Hands are often considered one of the most challenging aspects of drawing, but with practice and patience, you can create realistic and expressive hands in your cartoons. So let’s dive in and get started!
Materials Required
Before we begin, let’s gather the materials you will need for this tutorial:
- Pencil
- Eraser
- Paper
Now that we have everything we need, let’s move on to the steps.
Step 1: Basic Shapes
We’ll start by sketching basic shapes to create a solid foundation for our hand. Begin by drawing an oval shape for the palm, and then add a smaller oval shape at one end for the thumb.
Step 2: Finger Guidelines
Next, we’ll add guidelines to help us position the fingers correctly. Draw four straight lines extending from the top of the palm shape. These lines will serve as a reference for the fingers.
Step 3: Thumb
Now, we’ll focus on drawing the thumb. Start by adding a shape that resembles a trapezoid at the base of the thumb oval. Then, connect it to the palm shape. Once you have the basic structure, refine the shape to make it more thumb-like.
Step 4: Finger Length
Using the guidelines we drew earlier, we’ll add the length of the fingers. Start by sketching elongated shapes for each finger, making sure to follow the natural curve of the guidelines. Remember, fingers are not all the same length, so be mindful of this as you draw.
Step 5: Finger Joints
Now that we have the basic finger shapes, let’s add joints to make them more realistic. Draw small circles or ovals where the joints would be on each finger. This will add depth and structure to your cartoon hand.
Step 6: Nail Details
To make the fingers look more polished, let’s add some nail details. Start by drawing curved lines at the tip of each finger to represent the nails. You can make them as prominent or subtle as you like, depending on the style you’re aiming for.
Step 7: Palm Lines
Now it’s time to add some lines to represent the natural creases and contours of the palm. Draw curved lines across the palm shape, paying attention to the overall shape and proportions. This will give your cartoon hand a more realistic appearance.
Step 8: Refine and Erase
At this stage, take a step back and evaluate your drawing. Make any necessary adjustments to the shapes and proportions to ensure they look balanced. Once you’re satisfied with the overall look, carefully erase any unnecessary guidelines and sketchy lines.
Step 9: Adding Details
To make your cartoon hand more visually appealing, let’s add some additional details. You can draw some wrinkles on the knuckles or the back of the hand to give it a more realistic texture. Don’t be afraid to get creative and experiment with different styles!
Step 10: Final Touches
Once you’re happy with the overall look of your cartoon hand, you can add shading and texture to make it pop. Use your pencil to lightly shade certain areas to create depth and dimension. You can also use an eraser to highlight certain areas and create highlights.
Congratulations! You have successfully learned how to draw a cartoon hand. Remember, practice is key when it comes to mastering any art form. The more you draw, the better you’ll become. So keep practicing, experimenting, and don’t be afraid to make mistakes. With time and dedication, you’ll be able to draw cartoon hands with ease!
Conclusion
In this step-by-step tutorial, we explored the process of drawing a cartoon hand. By following the outlined steps and practicing regularly, you can develop the skills needed to draw realistic and expressive hands in your cartoons. Remember to be patient with yourself and have fun with your drawings. So grab your pencil, paper, and start practicing today!

