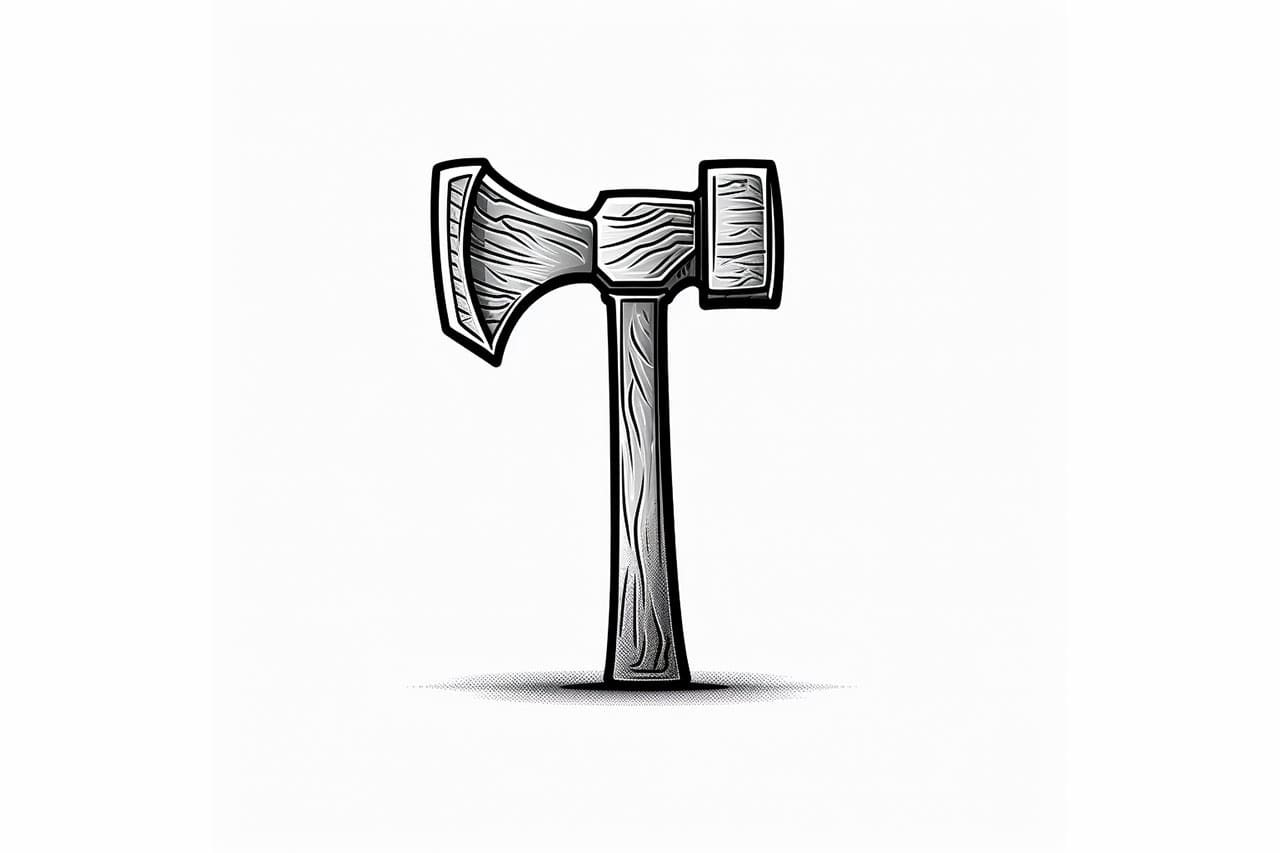
Are you interested in learning how to draw a hammer? Maybe you’re working on a carpentry illustration or simply want to improve your drawing skills. Whatever the reason, this step-by-step guide will help you create a realistic representation of a hammer. As an expert artist and drawing instructor, I will provide clear and concise instructions to make the process easy and enjoyable. So, let’s get started!
Materials Required
Before we begin, gather the following materials:
- Paper
- Pencil
- Eraser
- Ruler
- Pencil sharpener
Ensure you have these materials at hand before proceeding with the steps below.
Step 1: Basic Shape
Begin by drawing a vertical straight line in the center of your paper. This line will serve as the handle of the hammer. Make sure it is long enough to fit the size of the hammer you want to draw.
Step 2: Hammerhead
At the top of the handle line, draw a rectangle shape that represents the hammerhead. The top of the rectangle should be slightly wider than the bottom and have rounded corners. This will give the hammer a more realistic appearance.
Step 3: Hammer Claw
On the left side of the hammerhead, draw a triangular shape pointing downwards. This will be the claw of the hammer. It should be slightly curved to match the contour of the hammerhead.
Step 4: Handle Details
Next, add some details to the handle of the hammer. Draw two parallel lines running vertically along the handle to represent the grip. Then, draw another pair of parallel lines enclosing the section where the handle connects to the hammerhead. This will give the handle a solid and sturdy appearance.
Step 5: Hammerhead Details
To give the hammerhead a more realistic look, add some details. Draw two short horizontal lines near the top of the hammerhead to represent the visible part of the hammer claw. Then, draw a diagonal line starting from the top of the hammerhead to connect with the claw. This line should form a triangular shape with the claw.
Step 6: Shading and Shadows
Now that the basic structure of the hammer is complete, it’s time to add shading and shadows to make it look three-dimensional. Shade the hammerhead and the handle to create the illusion of depth and volume. Pay attention to the direction of your light source to determine where the shadows should fall.
Step 7: Refine and Detail
Take a step back and evaluate your drawing. Are there any areas that need refinement or additional details? Take this opportunity to perfect the shape of the hammerhead and the handle. Add any other necessary details, such as the texture on the grip or the logo of the tool manufacturer.
Conclusion
Congratulations! You have successfully learned how to draw a hammer. You have created a realistic representation of this essential tool by following these step-by-step instructions. Remember to practice regularly to improve your drawing skills. With time and dedication, you will become more proficient in drawing various objects and subjects.
I hope you found this guide helpful in developing your artistic abilities. If you enjoyed learning how to draw a hammer, feel free to explore our other drawing tutorials for further inspiration. Happy drawing!