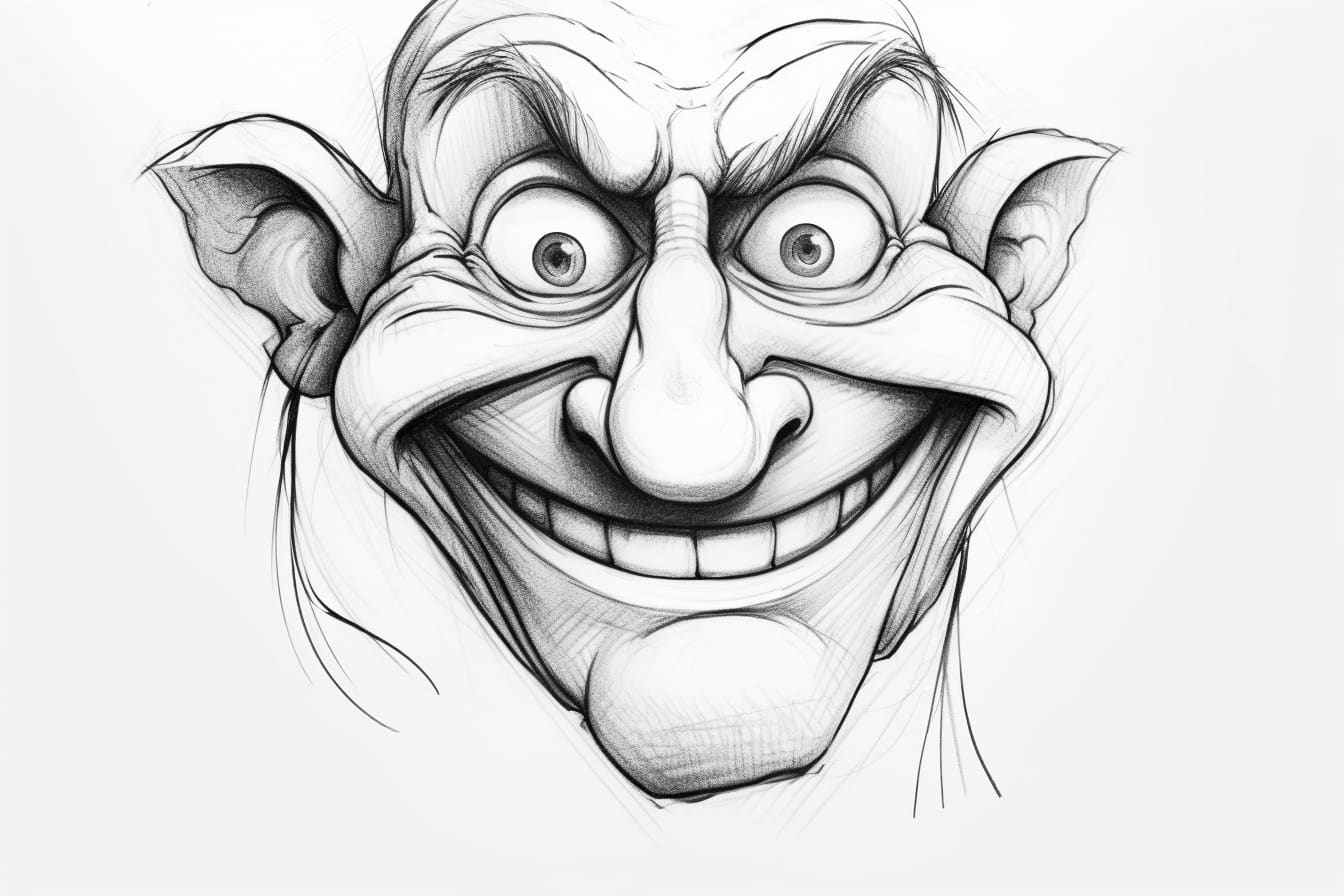
Do you want to learn how to draw a grin? Whether you’re an aspiring artist or just looking to improve your drawing skills, mastering the art of drawing different facial expressions can greatly enhance your artwork. A grin is a common and expressive facial expression that can add character and emotion to your drawings. In this tutorial, we will guide you through step-by-step instructions on how to draw a grin, from the initial sketch to the final details. So grab your drawing supplies and let’s get started!
Materials Required
Before we begin, make sure you have the following materials:
- Paper: Choose a smooth and sturdy paper suitable for drawing.
- Pencil: Use a regular graphite pencil with a medium or soft lead.
- Eraser: Have a soft eraser handy for correcting any mistakes.
- Fine-tipped Pen: You can use a fine-tipped pen to outline and add details to your drawing, or simply use a darker pencil.
Now that you have your materials ready, let’s dive into the step-by-step process of drawing a grin!
Step 1: Start with the Basic Shape
Begin by lightly sketching an oval shape on your paper. This oval will serve as the basic outline for the head. Take your time to get the proportions right, and adjust the size and shape as needed.
Step 2: Add Facial Guidelines
Next, draw horizontal and vertical lines intersecting at the center of the oval. These guidelines will help you place the facial features accurately. The horizontal line will represent the eye level, while the vertical line will determine the midline of the face.
Step 3: Draw the Eyes
Using the guidelines as a reference, draw the eyes slightly above the horizontal line. A common characteristic of a grin is squinted or narrowed eyes. Draw small curved lines to represent the top and bottom eyelids. Remember to leave some space between the eyes for the nose.
Step 4: Sketch the Nose
Below the space between the eyes, draw a small triangular shape for the nose. The tip of the nose should be facing slightly upwards to give the impression of a grin.
Step 5: Outline the Shape of the Mouth
Now, let’s work on the mouth. Grins are characterized by wide, curved smiles. Starting from the edges of the nose, draw two curved lines that gradually widen as you approach the sides of the face. These lines will outline the shape of the mouth.
Step 6: Add the Teeth
Inside the grin, sketch curved lines to represent the upper and lower row of teeth. Make sure to leave some space between each tooth for a more natural look. Remember, teeth are not perfectly straight, so feel free to add some irregularities to make them appear more realistic.
Step 7: Refine the Facial Features
Next, go over your initial sketch and refine the facial features. Darken the lines that you want to keep and erase any unnecessary guidelines. Pay attention to the curvature of the lips and the placement of the teeth. Take your time to ensure your grin looks well-proportioned.
Step 8: Add Shading and Details
To give your grin more depth and dimension, add shading to your drawing. Identify the light source and shade the areas of the face that would be in shadow. This will help make your grin appear three-dimensional. You can also add details such as eyelashes, eyebrows, and texture lines to enhance the overall look.
Step 9: Finalize Your Drawing
Once you are satisfied with your drawing, go over the lines with a fine-tipped pen or darken them with a darker pencil. This will make your drawing stand out and give it a polished look. Take your time and be patient with this step, as it will add the finishing touch to your artwork.
Conclusion
Congratulations! You have successfully learned how to draw a grin. Remember, practice makes perfect, so don’t be afraid to experiment and try different variations of grins. Drawing facial expressions is a skill that takes time to develop, so be patient with yourself and enjoy the process. With enough practice, you will be able to capture various emotions and expressions in your drawings. Keep exploring and honing your artistic abilities!