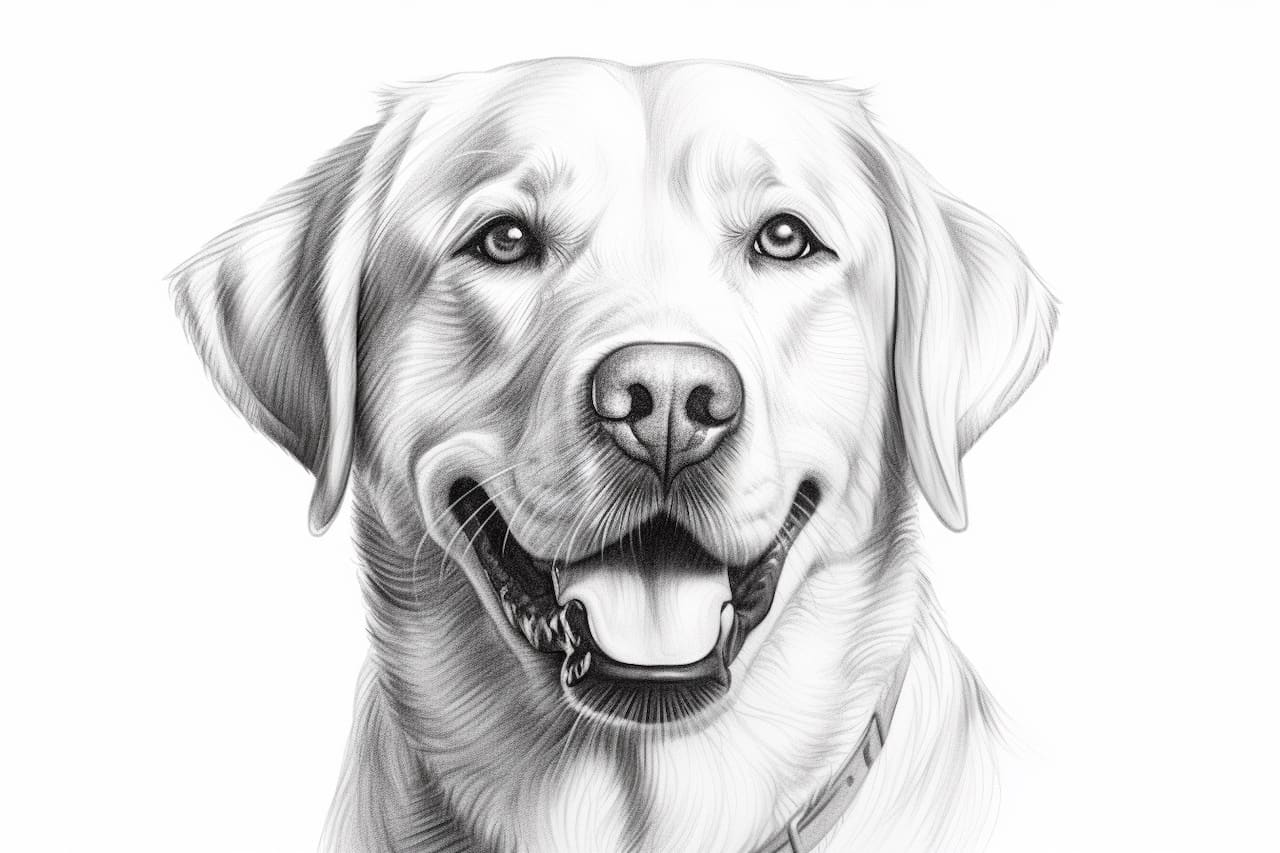
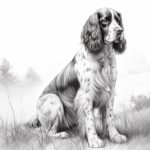
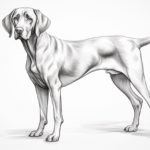
Are you a dog lover and aspiring artist? If so, you’ve come to the right place! In this step-by-step guide, I will show you how to draw a Labrador Retriever, one of the most beloved dog breeds. Labrador Retrievers are known for their friendly and loyal nature, making them a popular choice for families and dog enthusiasts alike.
Before we begin, let’s gather the materials you’ll need for this drawing:
- Pencil: A standard HB pencil or a mechanical pencil with a lead size of 0.7mm will work perfectly.
- Eraser: A kneaded eraser or a vinyl eraser will come in handy for making corrections and removing any unwanted lines.
- Paper: Use a smooth, heavyweight paper that is suitable for drawing. A size of 8×10 inches or larger will give you enough space to work on the details.
- Reference photo: Find a high-quality photo of a Labrador Retriever that you can reference while drawing. This will help you capture the specific characteristics of the breed.
Now that we’re all set, let’s dive into the steps of drawing a Labrador Retriever!
Step 1: Basic Shapes and Guidelines
To begin, lightly sketch an oval shape for the head and a slightly larger oval shape for the body. Connect the two shapes with a neck line. This will serve as our initial framework.
Step 2: Outlining the Head and Ears
Using the basic oval shape as a guide, start outlining the Labrador Retriever’s head. Pay close attention to the shape of the muzzle and the placement of the eyes and ears. Labrador Retrievers have medium-sized, droopy ears that are set slightly back on their head.
Step 3: Adding Facial Features
Now, let’s add the eyes, nose, and mouth to bring the Labrador Retriever to life. Labrador Retrievers have kind, expressive eyes and a black nose. Take your time to capture the details and proportions accurately.
Step 4: Sketching the Body and Tail
Extend the initial oval shape to create the body of the Labrador Retriever. Pay attention to the breed’s muscular build and broad chest. Labrador Retrievers also have a thick, tapered tail. Sketch the tail, making it slightly curved towards the end.
Step 5: Drawing the Legs and Paws
Labrador Retrievers have strong, athletic legs with defined muscle structure. Sketch the legs, keeping in mind the proportions and angles. Don’t forget to add the paws, which should be slightly rounded.
Step 6: Refining the Details
Now it’s time to add the finer details that will make your Labrador Retriever drawing come to life. Pay attention to the fur texture and the distinctive features of the breed, such as the webbed feet and the thick double coat. Use short, curved strokes to create the appearance of fur.
Step 7: Erasing and Final Touches
Carefully go over your drawing, erasing any unwanted lines and refining the details. Make sure the proportions are correct and the features are well-defined. Take your time with this step to ensure the best possible outcome.
Congratulations, you’ve successfully drawn a Labrador Retriever! Remember, practice makes perfect, so don’t be discouraged if your first attempt doesn’t turn out exactly as expected. With time and dedication, your drawing skills will continue to improve.
Conclusion
Drawing a Labrador Retriever can be a rewarding experience, allowing you to capture the beauty and essence of this wonderful breed. By following the step-by-step instructions in this guide, you can create a realistic and captivating portrayal of a Labrador Retriever.
Remember, drawing is all about observation and practice. Take your time to study the breed’s unique features and refine your skills. With each drawing, you will become more confident and skilled in capturing the essence of Labrador Retrievers.
So grab your pencil, paper, and reference photo, and start mastering the art of drawing Labrador Retrievers today!

