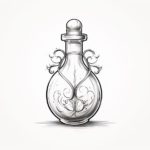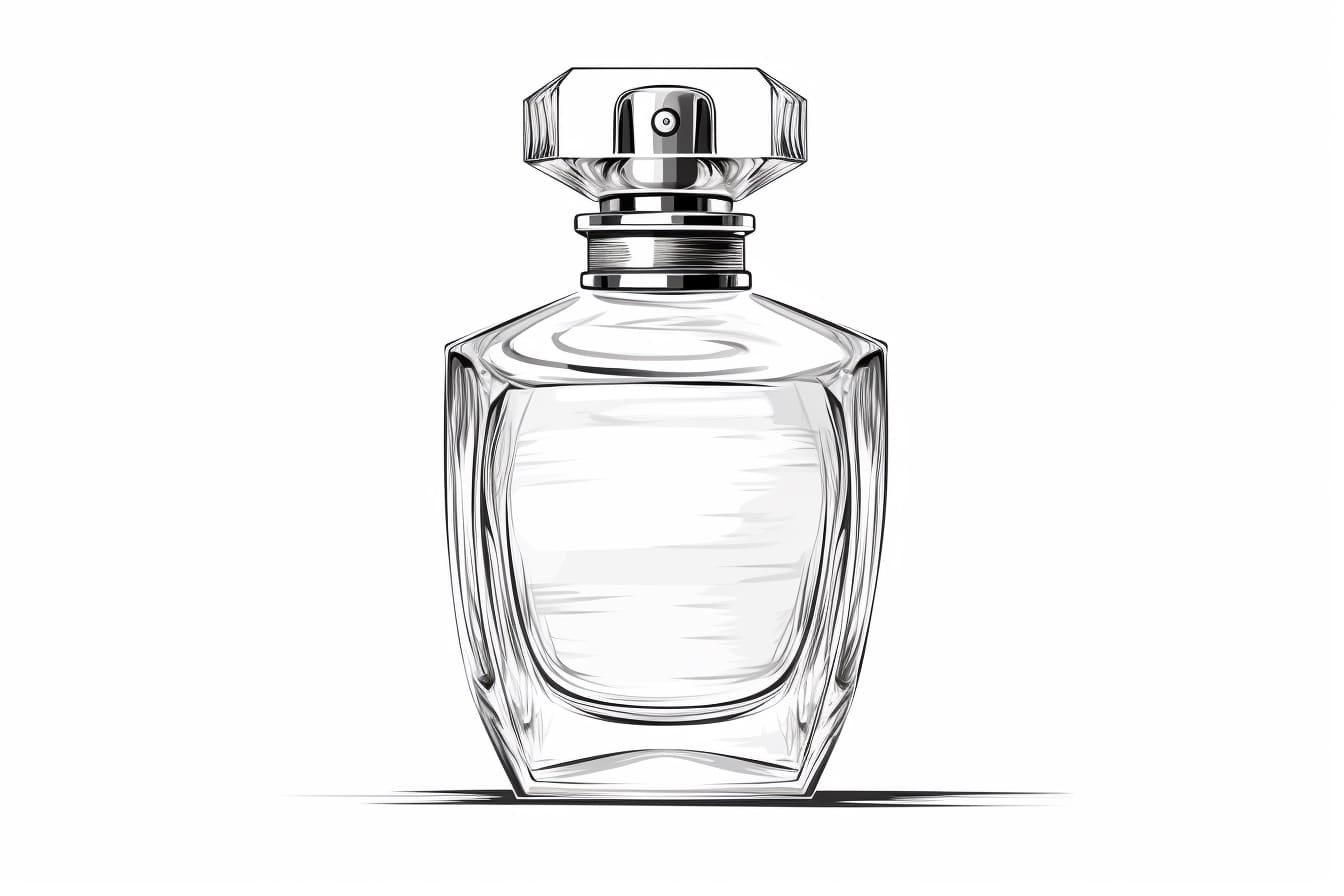
Perfume bottles are not only functional containers but also beautifully designed pieces of art. Drawing a perfume bottle can be a rewarding and creative experience. In this step-by-step guide, you will learn how to draw a perfume bottle using simple shapes and techniques. So, grab your drawing materials and let’s get started!
Materials Required
To follow along with this tutorial, you will need:
- A pencil
- A piece of paper
- An eraser
- Fine-tip markers or colored pencils (optional)
Now that you have all the materials ready, let’s begin!
Step 1: Sketch the Basic Shape
Start by lightly sketching a medium-sized oval shape towards the center of your paper. This will form the basis of the perfume bottle.
Step 2: Define the Upper and Lower Parts
Divide the oval shape into two unequal parts using a horizontal line. The top part will represent the cap of the perfume bottle, while the bottom part will be the body of the bottle.
Step 3: Add Details to the Cap
Draw a smaller oval shape above the defining line, representing the cap. Make sure it aligns properly with the overall shape of the bottle. Add some additional details like a curved line or a decorative pattern to give the cap a more intricate design.
Step 4: Outline the Body of the Bottle
Using the lower part of the oval shape, sketch the outline of the body of the bottle. Start from the bottom and gradually make your way up, following the curvature of the oval. Remember to keep the lines light and smooth for now, as you will be refining them later.
Step 5: Add the Neck and Sprayer
At the top of the body, draw a long, narrow rectangle that represents the neck of the bottle. Towards the upper part of the neck, add a small rectangle or cylindrical shape to represent the sprayer. This is where the perfume is released.
Step 6: Refine the Shape
Go back to your initial sketch and start refining the shape of the bottle. Use more confident and darker lines to define the edges and curves. Pay attention to the overall proportions of the bottle, making sure it looks symmetrical.
Step 7: Add Details to the Cap
In this step, you will add more details to the cap of the bottle. Draw a small circle or oval shape at the center of the cap to represent the opening. Add small lines or patterns around the cap to enhance its design.
Step 8: Outline the Neck and Sprayer
Refine the outline of the neck and sprayer, using smooth curves and lines. Make the neck slightly narrower towards the top, and add some small lines or dots to indicate texture or reflection.
Step 9: Draw the Label
To make the perfume bottle more realistic, add a label on the body of the bottle. Draw a rectangular shape that fits within the body, leaving some space around the edges. You can also add some decorative elements or a brand name to the label.
Step 10: Add Shadows and Highlights
Now it’s time to add depth and dimension to your drawing. Shade the areas that are farther from the light source to create shadows, using hatching or cross-hatching techniques. Add highlights by leaving some areas untouched or adding white lines to indicate reflections.
Step 11: Refine and Erase
Take a step back and look at your drawing as a whole. Make any necessary adjustments or refinements to ensure all the proportions and details are accurate. If you have any light sketch lines still visible, erase them carefully using a clean eraser.
Conclusion
Drawing a perfume bottle can be a fun and artistic exercise. By following the step-by-step instructions outlined in this guide, you can create a realistic and beautifully designed perfume bottle drawing. Remember to be patient and take your time with each step. With practice, you will improve your skills and be able to create even more intricate and detailed drawings.
So, grab your pencil and paper, and start exploring the world of perfume bottle art through your own unique drawings.