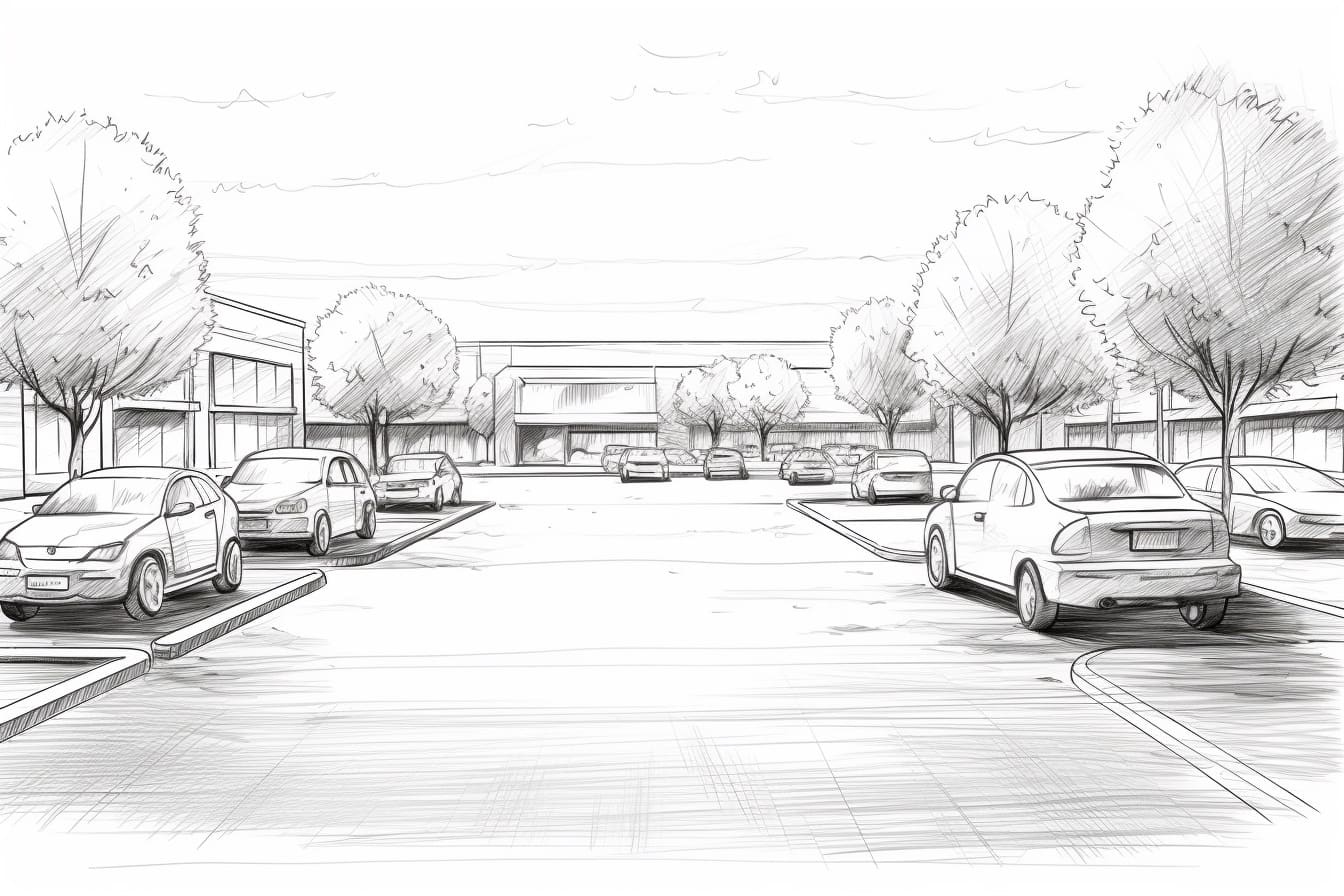
Parking lots are essential parts of our urban landscape, providing convenient spaces for vehicles to park. Whether you’re an aspiring artist or just looking to have some fun, drawing a parking lot can be an enjoyable project. In this step-by-step guide, we will walk you through the process of how to draw a parking lot. So, grab your drawing materials, and let’s get started!
Materials Required
Before we begin, make sure you have the following materials ready:
- Drawing paper or sketchbook
- Pencil
- Eraser
- Ruler
- Fine-tip pens or markers (optional)
- Colored pencils or markers (optional)
Gather these materials and set up a comfortable workspace where you can focus on your drawing.
Step 1: Prepare the Paper
Start by selecting the size of your drawing paper or sketchbook. Consider the level of detail you want to include in your parking lot drawing and choose an appropriate size. Once you have your paper ready, use your ruler to draw a light border around the edges. This will help you maintain a neat and organized composition.
Step 2: Establish the Horizon Line
The horizon line is an essential element in any landscape drawing. It represents the viewer’s eye level and helps create a sense of space. In the case of a parking lot, the horizon line should be positioned at the same height as the viewer’s eyes, typically around the middle of the paper. Use your ruler to draw a straight line across the paper at this level.
Step 3: Draw the Basic Shapes
Now it’s time to sketch out the basic shapes of the parking lot. Start by drawing a rectangle near the bottom of the paper to represent the ground. This will serve as the foundation for your parking lot. Then, using your ruler, draw several smaller rectangles or squares on top of the ground shape to represent the individual parking spaces. Pay attention to perspective and make the parking spaces smaller as they recede into the distance.
Step 4: Add Depth with Lines
To create a sense of depth and perspective in your parking lot drawing, add lines to indicate the lanes and markings. Use your ruler to draw parallel lines within each parking space to represent the lane dividers. You can also draw diagonal lines across the parking lot to show the angled parking spots. Adding these lines will make your drawing look more realistic and dynamic.
Step 5: Detail the Parking Spaces
Next, focus on adding details to the parking spaces. Use your pencil to draw small rectangles or squares within each parking space, representing the cars. You can also add shading or cross-hatching to create the illusion of three-dimensional objects. Take your time with this step, as it’s the details that will bring your parking lot drawing to life.
Step 6: Add Surroundings
A parking lot doesn’t exist in isolation but is surrounded by various elements such as buildings, trees, and roads. Sketch in these elements to complete the overall composition. Use your ruler to draw straight lines for the buildings and roads and add organic shapes for the trees and plants. Again, pay attention to perspective and scale to maintain a realistic representation.
Step 7: Ink or Color (Optional)
If you want to add more visual interest to your parking lot drawing, you can choose to ink or color it. Use fine-tip pens or markers to trace over the pencil lines of your drawing. This will create a bold and defined look. Alternatively, you can use colored pencils or markers to add vibrant hues to your parking lot and its surroundings. Experiment with different techniques and textures to enhance the visual appeal of your drawing.
Conclusion
Drawing a parking lot allows you to capture a slice of urban life on paper. By following these step-by-step instructions, you can create a realistic and engaging parking lot drawing. Remember to start with the basic shapes, add depth with lines, and pay attention to the details. With practice, you’ll be able to create parking lot drawings that are both visually striking and conceptually captivating. So, pick up your pencil, let your creativity flow, and enjoy the process of drawing a parking lot!


